Healthy Bites: Your New Go-To Gluten-Free Treat
Discover the best gluten free snack bites recipe! Perfect for quick, healthy, and naturally gluten free snacks. Enjoy guilt-free snacking!
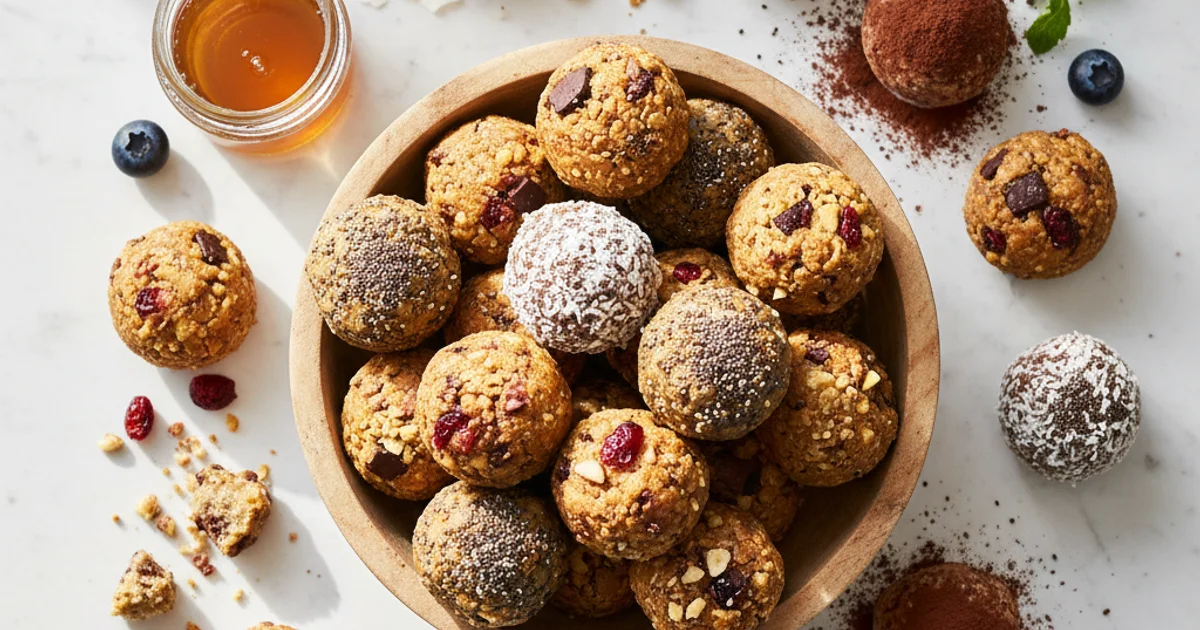
- 1Introduction: Why Gluten Free Snacks Are a Must-Have in Your Kitchen
- 2Why You’ll Love These Gluten Free Snack Bites
- 3Ingredients Overview: Crafting the Best Naturally Gluten Free Snacks
- 4Equipment You’ll Need for These Easy Gluten Free Snack Recipes
- 5Step-by-Step Instructions: Crafting Your Perfect Gluten Free Snack
- 6Pro Tips & Tricks for Irresistible Gluten Free Snack Ideas
Ingredients
Dry Ingredients
- 1 ½ cups certified gluten-free rolled oats
- ¼ cup ground flaxseed meal
- ½ teaspoon ground cinnamon (optional)
- Pinch of sea salt
Wet Ingredients
- ½ cup natural peanut butter (or almond/cashew butter)
- ¼ cup maple syrup (or honey)
- 1 teaspoon vanilla extract
Optional Add-ins
- ¼ cup mini chocolate chips (dairy-free for vegan)
- ¼ cup shredded unsweetened coconut
- 2 tablespoons chopped dried cranberries or raisins
Instructions
Instructions
Combine dry ingredients in a large bowl.
Instructions
Add wet ingredients to the dry mixture and mix well.
Instructions
Fold in optional add-ins until evenly distributed.
Instructions
Roll mixture into 1-inch balls or press into a square pan.
Instructions
Chill in the refrigerator for at least 30 minutes to firm up.
Instructions
Serve and enjoy, or store for later.
Recipe FAQs
How do I ensure my oats are truly gluten-free?
Can I make these snacks nut-free?
How can I reduce the sugar content further?
Are these suitable for a low-carb diet?
What's the best way to prevent them from falling apart?
Can I bake these instead of chilling them?
Healthy Bites: Your New Go-To Gluten-Free Treat
Discover the best gluten free snack bites recipe! Perfect for quick, healthy, and naturally gluten free snacks. Enjoy guilt-free snacking!
Prep Time
10 min
Cook Time
25 min
Total Time
35 min
Dry Ingredients
- 1 ½ cups certified gluten-free rolled oats
- ¼ cup ground flaxseed meal
- ½ teaspoon ground cinnamon (optional)
- Pinch of sea salt
Wet Ingredients
- ½ cup natural peanut butter (or almond/cashew butter)
- ¼ cup maple syrup (or honey)
- 1 teaspoon vanilla extract
Optional Add-ins
- ¼ cup mini chocolate chips (dairy-free for vegan)
- ¼ cup shredded unsweetened coconut
- 2 tablespoons chopped dried cranberries or raisins
Introduction: Why Gluten Free Snacks Are a Must-Have in Your Kitchen
Finding truly satisfying and wholesome options when dietary needs shift can often feel like a culinary quest. Many of us navigate the challenges of gluten sensitivities or simply choose a gluten-free lifestyle for its perceived health benefits. However, the supermarket aisles, while offering more options than ever, don’t always deliver on taste, texture, or ingredient transparency, especially when it comes to a quick gluten free snack. What I discovered is that many store-bought alternatives are packed with fillers, excessive sugars, or just lack that homemade appeal.
This often leaves us searching for convenient yet nourishing choices that don’t compromise on flavor or our commitment to healthier eating. The benefits of crafting your own treats are immense: you gain complete control over every single ingredient, ensuring freshness and avoiding any unwelcome additives or hidden allergens. Plus, it’s often far more cost-effective in the long run. There’s a deep satisfaction in knowing exactly what goes into your body, especially when it comes to something you enjoy regularly.
This recipe for Gluten-Free Snack Bites is designed to be your new secret weapon in the kitchen. It’s a versatile and incredibly easy solution for anyone seeking a delicious, homemade option that caters to various dietary preferences, whether you’re looking for vegan gluten free snacks or just a generally healthier alternative. These bites are not only simple to prepare but also provide sustained energy without the post-snack slump. They are a testament to how flavorful and convenient homemade options can be.
Why You’ll Love These Gluten Free Snack Bites
What I love about this recipe is its sheer simplicity. You don’t need any fancy equipment or a culinary degree to whip up a batch of these delightful bites. In my kitchen, I always gravitate towards recipes that deliver big on flavor without demanding hours of my time, and this one fits the bill perfectly. It’s an ideal solution for those moments when you need a satisfying pick-me-up but are short on time.
Building on this, these bites are naturally inclusive. They cater beautifully to various dietary needs without feeling like a compromise. If you’re looking for vegan gluten free snacks, a simple swap or two makes these entirely plant-based. Similarly, for those managing sugar intake, adapting them into gluten free sugar free snacks is straightforward. Everyone at your table can enjoy them, which is a real win in my book.
Here’s the thing: while being quick and adaptable, these bites don’t skimp on nutrition. They’re crafted with wholesome, naturally gluten free ingredients that offer sustained energy. You’ll feel genuinely nourished, not just temporarily satisfied. This makes them excellent gluten free healthy snacks to keep on hand throughout the week. Trust me on this one, curbing cravings with something truly good for you is a game-changer. These are among my favorite gluten free snack ideas because they combine convenience with genuine health benefits.
Ingredients Overview: Crafting the Best Naturally Gluten Free Snacks
Here’s the thing, the foundation of any truly satisfying treat lies in its individual components. For these delightful bites, we’re focusing on ingredients that are not only naturally gluten-free but also contribute significantly to flavor, texture, and nutritional value. Understanding each ingredient’s role elevates your baking from following a recipe to truly crafting something special.
Our primary base is certified gluten-free rolled oats. It’s crucial to select certified gluten-free oats, especially if you have Celiac disease or severe gluten sensitivity. Regular oats can be cross-contaminated with wheat during processing. These oats provide a fantastic source of fiber, aiding digestion and promoting a feeling of fullness. They also offer a pleasant chewiness, forming the backbone of this recipe. Building on this, the next essential ingredient is nut butter. Whether you choose creamy peanut butter, rich almond butter, or mild cashew butter, this acts as the primary binding agent. It introduces healthy monounsaturated fats, which are vital for energy and nutrient absorption, along with a good dose of plant-based protein. Different nut butters will subtly alter the flavor profile, allowing for a range of gluten free snack ideas.
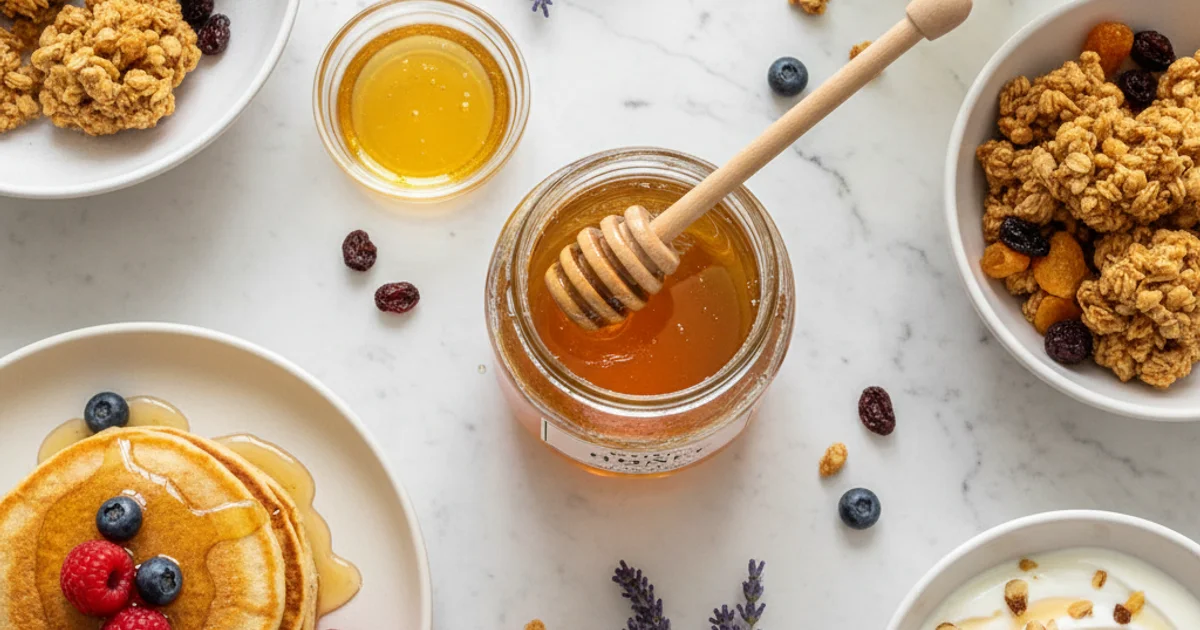
The sweetness in this recipe comes from a natural sweetener. My go-to is pure maple syrup for its nuanced flavor, but honey works beautifully too. For those aiming for gluten free sugar free snacks, finely pureed dates can provide natural sweetness and additional fiber. You can also experiment with a small amount of stevia or monk fruit extract, adjusting to your taste preferences. To boost the nutritional content and aid in binding, we incorporate flaxseed meal or chia seeds. Both are powerhouses of omega-3 fatty acids, which support brain health, and dietary fiber. They absorb moisture, helping to create a cohesive mixture that holds its shape.
For those irresistible flavor notes, cocoa powder is a classic choice, transforming these into a rich, chocolatey indulgence. A dash of vanilla extract enhances nearly any sweet recipe, adding warmth and depth. A pinch of cinnamon can introduce a subtle spice, while shredded coconut adds texture and a tropical essence. Mini chocolate chips, particularly dairy-free ones, are a popular addition for an extra burst of sweetness and indulgence. These elements are key to developing truly delicious gluten free snack ideas. Finally, consider optional add-ins for customization and an extra nutritional punch. Dried cranberries or chopped apricots add a fruity chew, while chopped walnuts or pecans provide crunch and healthy fats. A scoop of your favorite protein powder can transform these into a more substantial gluten free healthy snack, perfect for post-workout recovery or a sustained energy boost. These additions are what make these treats truly versatile gluten free snack recipes.
Equipment You’ll Need for These Easy Gluten Free Snack Recipes
When embarking on any culinary adventure, having the right tools at your disposal makes all the difference. For these delightful bites, you won’t need a professional chef’s arsenal, but a few key items will ensure a smooth process. I always find that preparation is half the battle won in the kitchen. Having everything laid out and ready streamlines the entire experience.
First up, a large mixing bowl is essential. This provides ample space to combine all your ingredients without making a mess. You’ll want one that’s sturdy and wide enough for easy stirring. Next, precise measurements are crucial for consistent results, so a set of measuring cups and spoons is non-negotiable. These ensure you get the exact ratios needed for the perfect texture and flavor in your gluten free healthy snacks. Using accurate measurements helps avoid crumbly or overly sticky outcomes.
A spatula or sturdy spoon will be your best friend for mixing everything thoroughly. I prefer a silicone spatula for its flexibility and ability to scrape down the sides of the bowl. This ensures all components are evenly incorporated. For chilling, a baking sheet is incredibly useful. While not strictly necessary for every step, it provides a flat surface to place your formed treats before they fully set. Lining this with parchment paper or a silicone mat is a smart move. This prevents any sticking and makes for easy cleanup, which is always a bonus when making gluten free snack recipes.
To achieve uniform portion sizes, a small cookie scoop or a tablespoon is invaluable. This helps ensure each bite cooks or sets evenly and looks appealing. Evenly sized portions are important for consistency in texture. If you’re working with sticky ingredients like dates, a food processor can be a real time-saver. It blends everything into a smooth, cohesive mixture much faster than by hand. This can make a significant difference in the final texture of your vegan gluten free snacks.
Finally, an airtight container is critical for proper storage. This keeps your finished snacks fresh and prevents them from drying out. I always have a few on hand for my gluten free snack food recipes. Having the right equipment ensures your journey to creating delicious, naturally gluten free snacks is efficient and enjoyable.
Step-by-Step Instructions: Crafting Your Perfect Gluten Free Snack
-
Gather & Measure: Begin by gathering all of your ingredients and allowing any refrigerated items, such as nut butter, to come to room temperature for easier mixing. Accurately measure each ingredient according to the recipe to ensure perfect consistency and flavor.
-
Combine Dry Ingredients: In a large mixing bowl, whisk together the gluten-free rolled oats, ground flaxseed or chia seeds, and any dry flavorings you are using, such as cinnamon or cocoa powder, until they are thoroughly combined.
-
Add Wet Ingredients: Pour the creamy nut butter, your chosen liquid sweetener (like maple syrup or honey), and the vanilla extract into the bowl with the dry ingredients. Mix everything together vigorously using a sturdy spoon or spatula until all ingredients are well combined and a thick, uniform dough forms.
-
Incorporate Add-ins: Gently fold in any optional ingredients you’ve chosen, such as mini chocolate chips, chopped dried cranberries, shredded coconut, or finely diced nuts, ensuring they are evenly distributed throughout the mixture.
-
Form the Snacks: Using a small cookie scoop or your hands, roll the mixture into uniform 1-inch balls, or press it into a parchment-lined pan to create bars, shaping them to your desired size and thickness.
-
Chill & Set: Arrange the formed snack bites or bars in a single layer on a baking sheet lined with parchment paper, then transfer to the refrigerator for at least 30 minutes to allow them to firm up completely before serving.
-
Serve & Enjoy: Once firm, your delicious and easy gluten-free snack bites are ready to eat, proving just how simple it is to whip up healthy, gluten-free treats!
Pro Tips & Tricks for Irresistible Gluten Free Snack Ideas
Building on this, mastering the nuances of this recipe elevates it from good to truly memorable. In my kitchen, I always prioritize the quality of my ingredients. Choosing fresh, high-quality nut butter makes a significant difference in both flavor and texture. Furthermore, for those with sensitivities, always ensure your oats are certified gluten-free to avoid cross-contamination, a crucial step for any gluten free snack. What I discovered is that achieving the perfect consistency for these bites is key. If your mixture feels too dry and crumbly, a tiny splash of liquid, such as almond milk, water, or even a touch more sweetener, can bind everything together beautifully. Conversely, if it seems too wet to hold its shape, incorporate a little more rolled oats or a tablespoon of flaxseed meal; this will help absorb excess moisture and firm it up.
Here’s the thing, uniform portioning not only makes for a more aesthetically pleasing presentation but also ensures even chilling. I always reach for a small cookie scoop; it’s a simple tool that guarantees each bite is consistently sized. This consistency is particularly helpful when you’re making a batch of gluten free healthy snacks for meal prep. The secret is in the subtle layers of flavor you can introduce. Don’t shy away from incorporating warming spices like cinnamon or a pinch of nutmeg. A drop of pure almond or peppermint extract can transform the profile, offering unique gluten free snack ideas that keep things interesting. I sometimes lightly toast my oats before adding them to the mixture; this simple step brings out a wonderfully nutty aroma and deeper flavor.
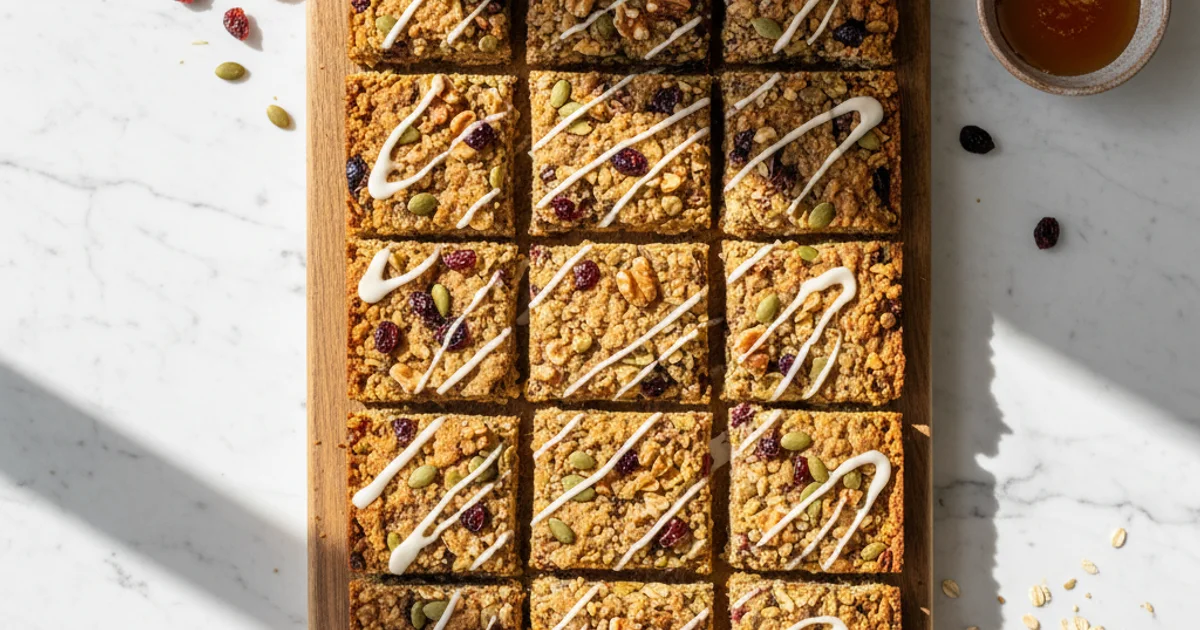
A common mistake is not pressing firmly enough if you decide to make bars. For gluten free snack bars, line your pan with parchment paper and really press the mixture down with the back of a spoon or your hands. This compression is vital for creating sturdy bars that won’t crumble when cut. You can learn more about the benefits of rolled oats, a naturally gluten-free ingredient, on Healthline. Lastly, when rolling the individual bites, lightly wetting your hands prevents the sticky mixture from clinging to your palms. This small but mighty trick makes the rolling process much smoother and less messy, allowing you to create perfect little vegan gluten free snacks with ease.
Enjoyed this recipe? Share it with a friend or save it to your board for later. Leave a comment below — I love hearing how it turned out!
You May Also Enjoy





You Might Also Love These 🍽️
Recipes picked just for you based on what you’re cooking