Crispy GF Garlic Bread: Your New Favorite!
Craving delicious garlic bread but need it gluten-free? This easy gluten-free garlic bread recipe is crispy, packed with flavor, and perfect for any meal. Get the best tips!

- 11. Savoring Every Bite: Why Gluten-Free Garlic Bread Matters
- 22. Why You’ll Absolutely Love This Gluten-Free Garlic Bread Recipe
- 33. Essential Ingredients for Flavorful Gluten-Free Garlic Bread
- 44. Equipment You’ll Need for Perfect Gluten-Free Garlic Bread
- 55. Step-by-Step Instructions: Mastering Gluten-Free Garlic Bread
- 66. Pro Tips & Tricks for the Best Gluten-Free Garlic Bread
Ingredients
For the Garlic Bread
- 1 (12-14 ounce) gluten-free baguette or loaf
- 1/2 cup unsalted butter, softened (or dairy-free butter)
- 4-6 cloves fresh garlic, minced
- 2 tablespoons fresh parsley, finely chopped
- 1/4 teaspoon salt, or to taste
- 1/8 teaspoon black pepper, or to taste
- 2 tablespoons grated Parmesan cheese (optional, or dairy-free parmesan)
Instructions
Instructions
Preheat oven and prepare baking sheet.
Instructions
Slice gluten-free bread.
Instructions
Combine butter, minced garlic, parsley, salt, and pepper.
Instructions
Spread garlic butter evenly on bread slices.
Instructions
Bake until golden and crispy.
Instructions
Broil briefly for extra crispness (optional).
Instructions
Garnish and serve immediately.
Recipe FAQs
Can I use any gluten-free bread for this recipe?
How do I prevent my gluten-free garlic bread from becoming soggy?
What's the best way to mince garlic for garlic bread?
Can I make this recipe dairy-free or vegan?
How long does homemade gluten-free garlic bread last?
Can I prepare the garlic butter in advance?
Crispy GF Garlic Bread: Your New Favorite!
Craving delicious garlic bread but need it gluten-free? This easy gluten-free garlic bread recipe is crispy, packed with flavor, and perfect for any meal. Get the best tips!
Prep Time
10 min
Cook Time
15 min
Total Time
25 min
For the Garlic Bread
- 1 (12-14 ounce) gluten-free baguette or loaf
- 1/2 cup unsalted butter, softened (or dairy-free butter)
- 4-6 cloves fresh garlic, minced
- 2 tablespoons fresh parsley, finely chopped
- 1/4 teaspoon salt, or to taste
- 1/8 teaspoon black pepper, or to taste
- 2 tablespoons grated Parmesan cheese (optional, or dairy-free parmesan)
1. Savoring Every Bite: Why Gluten-Free Garlic Bread Matters
For many, the aroma of toasted garlic and warm bread evokes instant comfort. It’s a universal side dish, perfect alongside pasta, soup, or even as a standalone snack. However, for those navigating a gluten-free diet, this simple pleasure often feels out of reach. What I discovered is that traditional garlic bread, with its crusty exterior and soft interior, is a tough act to follow when avoiding gluten.
In my kitchen, I’ve seen the disappointment firsthand. Store-bought gluten-free alternatives often fall short. They can be dry, crumbly, and frankly, quite flavorless, leaving you longing for the real deal. This recipe changes all of that. It’s designed to bring back that satisfying experience without compromise. You no longer have to settle for a pale imitation.
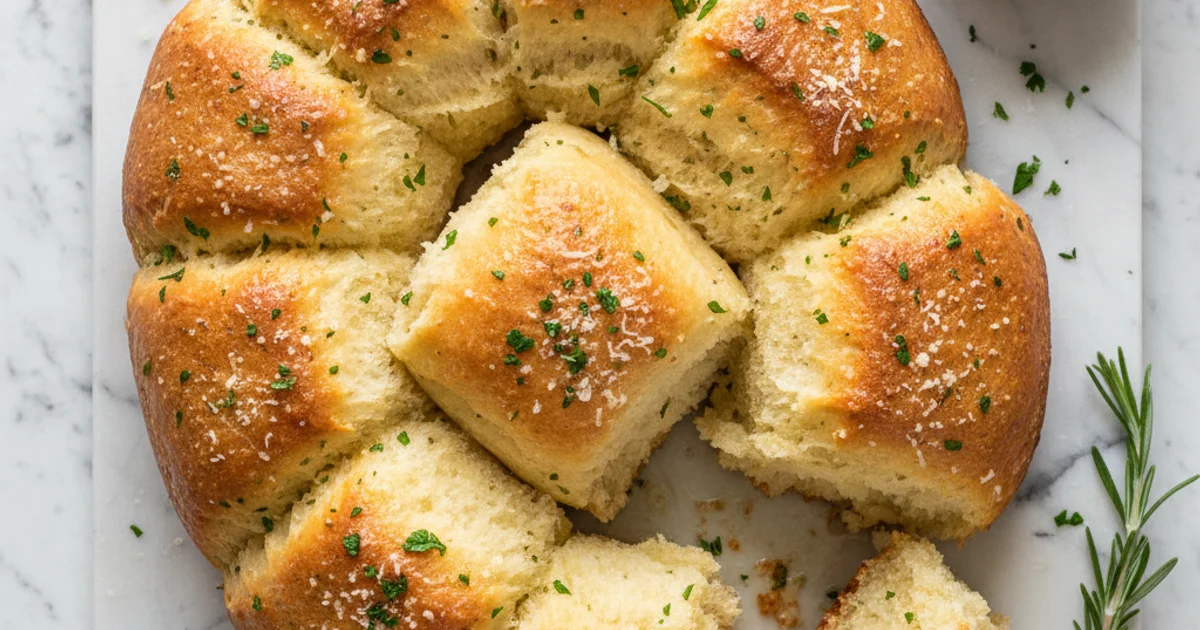
Here’s the thing: everyone deserves to enjoy the simple pleasures of good food, regardless of dietary needs. This recipe isn’t just about avoiding gluten; it’s about crafting a truly exceptional dish. It delivers a perfectly crisp crust and a tender, aromatic interior. The rich garlic butter permeates every crevice, creating an unforgettable flavor profile.
This dish is a game-changer for anyone who’s missed the joy of dipping a warm, buttery piece of bread into their favorite marinara. It reclaims that nostalgic feeling of family dinners and shared meals. Building on this, it’s also incredibly versatile, pairing beautifully with a wide array of main courses. Get ready to experience the pure delight of a truly spectacular gluten free garlic bread, made right in your own home.
2. Why You’ll Absolutely Love This Gluten-Free Garlic Bread Recipe
What I discovered is that many people miss the simple pleasure of a good garlic bread. This recipe isn’t just a substitute; it’s a celebration of flavor and texture in its own right. You won’t believe how easily you can achieve that classic garlic bread experience without any gluten.
Here’s the thing: the biggest challenge with gluten-free baking is often texture. Dry, crumbly bread is a common complaint. My approach specifically tackles this, ensuring a crispy exterior that gives way to a wonderfully soft and chewy interior. We achieve this by carefully selecting the right base and employing a specific toasting method. It’s all about balance.
Beyond the texture, the flavor profile is paramount. I always load up on fresh garlic, because that pungent, aromatic kick is what truly defines this dish. Combined with a generous amount of good quality butter and a blend of fresh herbs, each bite is an explosion of savory goodness. This isn’t a shy, understated side; it’s bold and satisfying.
Another aspect I prioritize is simplicity. In my kitchen, recipes need to be effortless and quick to fit into busy weeknights. This recipe uses readily available ingredients and straightforward steps, meaning you can have a warm, fragrant loaf on your table in under 30 minutes from start to finish. There’s no complex proofing or fancy equipment required.
Finally, inclusivity matters. This recipe is naturally dietary-friendly, catering to those avoiding gluten. Building on this, I’ve also made sure to include simple modifications for dairy-free and vegan variations. This ensures everyone at your table, regardless of their dietary needs, can enjoy a slice of this comforting treat. It’s truly a versatile crowd-pleaser.
3. Essential Ingredients for Flavorful Gluten-Free Garlic Bread
Building on this, selecting the right components is paramount for achieving that classic taste and texture. I always prioritize fresh, high-quality ingredients when I’m in my kitchen. What I love about this approach is how each element contributes uniquely to the final product.
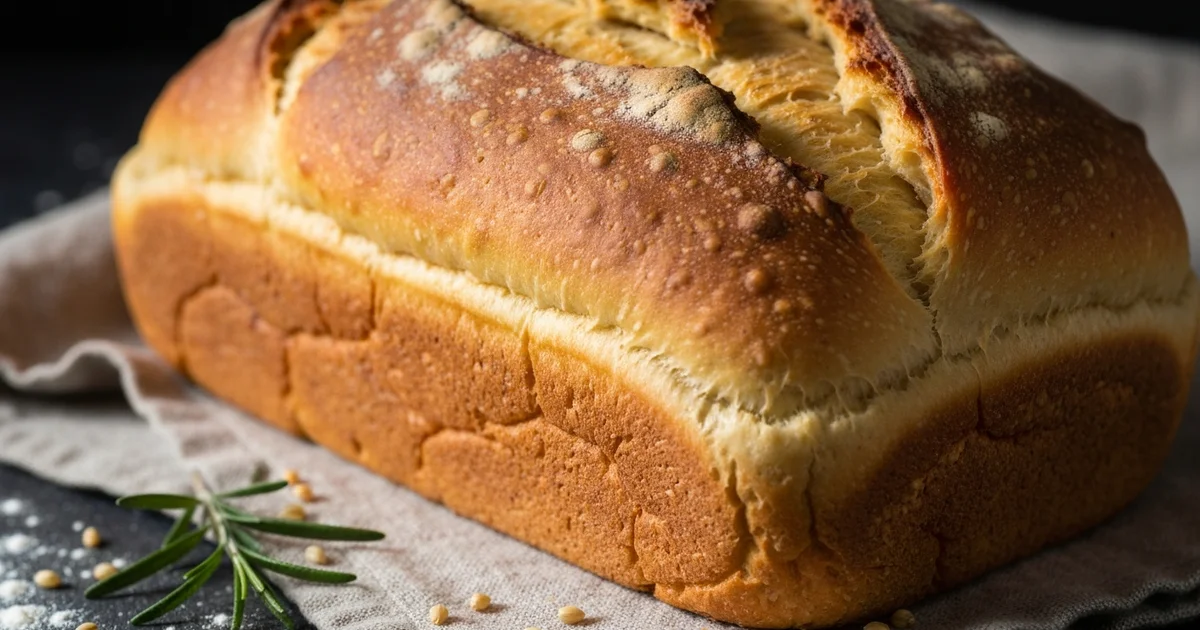
First, let’s talk about the foundation: the gluten-free baguette or loaf. This is crucial for successful gluten-free garlic bread. Not all gluten-free breads are created equal, especially for this application. I’ve found that denser, sturdier loaves hold up much better to the butter and baking process, preventing sogginess. Brands like Udi’s or Schar often have suitable baguettes, but check your local gluten-free bakeries too; they sometimes offer excellent options specifically designed for toasting. Look for a loaf that feels substantial, not airy, as this will give you that satisfying bite. A common mistake is using a very soft or crumbly gluten-free bread, which will fall apart when sliced and spread.
Next, unsalted butter (or a dairy-free stick alternative) is indispensable. Butter provides richness, carries the garlic flavor beautifully, and helps create those coveted crispy edges. Using unsalted butter allows you to control the overall saltiness of the dish. If using a dairy-free option, ensure it’s a stick-form butter substitute, as these tend to have better fat content and behave more like traditional butter during melting and baking than soft tub margarines.
Fresh garlic cloves are non-negotiable. Trust me on this one, pre-minced garlic in a jar simply doesn’t deliver the same pungent, aromatic punch. For this recipe, I recommend mincing the garlic finely or using a garlic press for an even distribution of flavor. The quantity is up to your preference – I usually go for 4-6 cloves for a standard baguette, but adjust based on your love for garlic!
Fresh parsley adds a vibrant green color, a burst of herbaceous freshness, and a subtle peppery note that balances the richness of the butter and garlic. Dried parsley simply won’t offer the same visual appeal or fresh flavor. Finely chop it just before mixing.
Parmesan cheese (optional, or dairy-free parmesan) introduces a wonderful umami depth and a salty, slightly nutty crust when baked. Grating fresh Parmesan from a block will always yield superior flavor and melt beautifully compared to pre-grated varieties, which often contain anti-caking agents.
A drizzle of good quality olive oil serves multiple purposes. It adds a fruity undertone, helps the butter spread more easily, and can prevent the garlic from scorching too quickly in the oven. It also contributes to the overall moisture of the bread, keeping it from drying out.
Finally, salt and black pepper are essential seasonings. They enhance all the other flavors, making them pop. Taste your butter mixture before spreading and adjust as needed. For optional additions, a pinch of red pepper flakes can provide a gentle warmth, while a touch of dried oregano can add an earthy, aromatic layer. The secret is to ensure every ingredient plays its part in building a complex flavor profile.
4. Equipment You’ll Need for Perfect Gluten-Free Garlic Bread
Building on this, having the right tools makes all the difference in the kitchen. In my kitchen, I always make sure to have these essential items ready before starting any recipe. You’ll notice that good equipment streamlines the process, leading to a much more enjoyable cooking experience. What I love about this particular setup is its simplicity; you likely already own most of these items. This means less stress and more focus on creating that deeply aromatic, golden-brown treat. The right tools ensure consistency, which is key for achieving that satisfying sizzle and perfect texture every single time. Here’s what actually works for preparing this delightful dish.
First, a baking sheet is non-negotiable. It provides a flat, stable surface for the bread, allowing for even heat distribution. A sturdy, heavy-gauge sheet prevents warping at high temperatures. Next, you’ll want either aluminum foil or parchment paper to line your baking sheet. This makes cleanup incredibly easy and stops the bread from sticking. I personally prefer parchment paper for a slightly crispier bottom crust, but foil works perfectly fine too. A small mixing bowl is needed for combining the butter, garlic, and herbs. Its compact size makes it ideal for whisking these ingredients together thoroughly.
Then, a pastry brush is invaluable for evenly coating the bread. It ensures every nook and cranny gets covered with the rich, aromatic butter mixture. If you don’t have a brush, a spoon can work in a pinch, though it might take a bit more effort to spread. A sharp serrated knife is crucial for slicing through the delicate structure of gluten-free bread without tearing or squishing it. This preserves the bread’s integrity, ensuring beautiful, uniform slices. For the garlic, a garlic press or a microplane is excellent for achieving a fine mince. This releases maximum flavor and prevents large chunks of raw garlic in the final product. Finally, accurate measuring spoons and cups are fundamental. They ensure precise ingredient quantities, which is especially important for balancing flavors and achieving the desired consistency in the butter spread. Having these items laid out and ready makes the entire preparation smooth and efficient.
5. Step-by-Step Instructions: Mastering Gluten-Free Garlic Bread
Here are steps 1 to 3 for your recipe article:
-
Prep the Bread: Begin by preheating your oven to 375°F (190°C). Take your gluten-free baguette or loaf and, using a serrated knife, slice it lengthwise down the middle, creating two halves. Alternatively, if you prefer individual slices, cut the loaf crosswise into 1-inch thick pieces, making sure not to cut all the way through if you want a pull-apart style. This method of slicing maximizes the surface area for butter absorption and ensures optimal crispiness during baking.
-
Make the Garlic Butter: In a small microwave-safe bowl or saucepan, melt 1/2 cup (1 stick) of unsalted butter until fully liquid. While the butter is melting, finely mince 4-6 cloves of fresh garlic, adjusting the quantity to your personal taste preference for garlic intensity. Once the butter is melted, add the minced garlic, 2 tablespoons of finely chopped fresh parsley, 1/2 teaspoon of dried oregano, 1/4 teaspoon of salt, and 1/8 teaspoon of black pepper to the bowl, stirring well to combine all the ingredients into a fragrant garlic butter mixture.
-
Spread the Love: Place the prepared bread halves or slices cut-side up on a baking sheet. Using a pastry brush or the back of a spoon, generously and evenly coat the entire cut surface of each bread piece with the freshly made garlic butter mixture, ensuring every crevice and edge is thoroughly covered to infuse maximum flavor and achieve a golden-brown crisp.
-
Baking for Perfection: Preheat your oven to 375°F (190°C). Place the baking sheet with the garlic bread onto the middle rack and bake for 12-15 minutes, or until the edges are golden brown and the bread is crispy to the touch.
-
Optional Broiling for Extra Crispy Tops: For an even crispier top and a deeper golden color, you can briefly broil the garlic bread. After the initial baking, switch your oven to the broil setting (high). Watch the bread very carefully, broiling for only 1-2 minutes until the top is beautifully golden and bubbly, as it can burn quickly.
-
Finishing Touches: Carefully remove the baking sheet from the oven and transfer the hot garlic bread to a cutting board. Garnish generously with freshly chopped parsley before slicing and serving immediately.
6. Pro Tips & Tricks for the Best Gluten-Free Garlic Bread
Building on this, mastering a few key techniques elevates this treat from good to truly exceptional. One common pitfall with any garlic bread, especially the gluten-free variety, is the bread itself. I always tell home cooks that the foundation is everything. You need a sturdy, yet soft, loaf that can stand up to the butter and garlic without becoming soggy or crumbling. My personal preference leans towards artisan-style loaves from brands like Schar or Canyon Bakehouse. These brands often provide a denser crumb structure, which absorbs the garlic butter beautifully and crisps up perfectly in the oven. Avoid overly airy or crumbly loaves; they tend to disintegrate under the butter’s moisture.
Here’s the thing, achieving that rich garlic flavor without bitterness requires a delicate touch. A common mistake is simply mincing raw garlic and spreading it directly onto the bread. While this works, a superior method involves gently infusing your butter. I often mince my garlic finely, then sauté it in a small amount of butter over very low heat for a minute or two until fragrant but not browned. This mellows the raw edge of the garlic and ensures its flavor permeates the butter more effectively. The secret is to avoid any browning; burnt garlic is acrid and unpleasant. This gentle pre-cooking step truly makes all the difference in the final taste profile of this dish.
Worth noting here, the temperature of your butter significantly impacts ease of application and overall coverage. In my kitchen, I find that slightly softened, room-temperature butter is ideal. It spreads effortlessly across the bread’s surface, ensuring an even layer without tearing the delicate gluten-free crumb. If your butter is too cold, it will be hard to spread, leading to uneven patches. Conversely, butter that’s too melted can make the bread soggy, particularly if it pools in certain areas. Aim for a consistency that allows for smooth, uniform coverage. This even distribution is crucial for consistent flavor in every bite.
What I discovered, an even coating of the garlic butter mixture is paramount for a uniformly flavorful experience. After softening the butter and infusing it with garlic, I like to use a pastry brush or the back of a spoon to spread it from edge to edge. Don’t be shy, but also don’t drown the bread. The goal is a generous, consistent layer that will melt and permeate the bread during baking. This meticulous application ensures that each piece offers that satisfying burst of savory goodness. For more detailed insights on infusing flavors into butter, you can check out this resource on compound butter techniques.
In practice, achieving ultimate crispiness boils down to heat and timing. I always preheat my oven to a relatively high temperature, usually around 400°F (200°C), before placing the prepared bread inside. The high heat helps to rapidly evaporate moisture from the bread, leading to a golden-brown, crunchy exterior. Baking it for the recommended time, typically 10-15 minutes, allows the butter to sizzle and the edges to crisp beautifully. If you desire an even deeper golden color and extra crunch, a quick 1-2 minute broil at the very end can work wonders. Just keep a close eye on it, as broilers can go from perfect to burnt in seconds.
Here’s what actually works, seasoning to taste is not just a suggestion; it’s a vital step. While the recipe provides a starting point for salt and pepper, everyone’s palate is different. I encourage you to taste a tiny bit of your garlic butter mixture before spreading it. Adjust the salt content until it sings. Freshly ground black pepper adds a lovely bite, and a sprinkle of dried parsley or fresh chives at the end brightens the flavors. Don’t underestimate the power of a final pinch of flaky sea salt after baking; it adds a delightful textural contrast and enhances the overall taste.
Enjoyed this recipe? Share it with a friend or save it to your board for later. Leave a comment below — I love hearing how it turned out!
You May Also Enjoy




You Might Also Love These 🍽️
Recipes picked just for you based on what you’re cooking