Delicious Gluten-Free Bread You Can Make Today
Discover what bread is gluten free with our easy recipe, perfect for home cooks looking for delicious gluten-free alternatives.
Ingredients
Dry Ingredients
- 2 cups gluten-free flour (e.g., Bob's gluten-free flour)
- 1 tsp baking powder
- 1 tsp salt
- 2 tbsp psyllium husk
Wet Ingredients
- 1 tbsp honey
- 1 ½ cups warm water
- 2 tsp instant yeast
Instructions
Instructions
Preheat the oven and prepare the loaf pan.
Instructions
Mix dry ingredients in a bowl.
Instructions
Combine wet ingredients and add to the dry mix.
Instructions
Knead the dough in the mixer for about 5 minutes.
Instructions
Transfer to the loaf pan and let rise.
Instructions
Bake in the preheated oven and check internal temperature.
Recipe FAQs
What is the best gluten-free flour for bread?
Can I use a bread machine for gluten-free bread?
Why isn't my gluten-free dough rising?
What is the internal temperature of bread when done?
How do I store gluten-free bread?
Can I substitute psyllium husk in this recipe?
Delicious Gluten-Free Bread You Can Make Today
Discover what bread is gluten free with our easy recipe, perfect for home cooks looking for delicious gluten-free alternatives.
Prep Time
10 min
Cook Time
40 min
Total Time
50 min
Dry Ingredients
- 2 cups gluten-free flour (e.g., Bob's gluten-free flour)
- 1 tsp baking powder
- 1 tsp salt
- 2 tbsp psyllium husk
Wet Ingredients
- 1 tbsp honey
- 1 ½ cups warm water
- 2 tsp instant yeast
Introduction: Why This Topic Matters
For many people, bread is a staple that brings comfort and joy, but for those with gluten sensitivities or celiac disease, the options can feel limited. You might be wondering, what bread is gluten free? The growing awareness of gluten intolerance has led to an increased demand for gluten-free options, yet store-bought varieties often lack flavor and texture. What I love about making gluten-free bread at home is that you have control over the ingredients, which can lead to a healthier and more satisfying loaf. Imagine enjoying a slice of warm, freshly baked bread without the worry of gluten. In this article, I’ll guide you through a simple recipe that not only meets gluten-free standards but also delivers on taste and texture. Let’s dive into the world of gluten-free baking!
Why You’ll Love This Gluten Free Bread Recipe
When it comes to gluten-free bread, you’ll discover a world of possibilities that cater to your taste and dietary needs. What I love about this gluten-free bread recipe is how easy it is to make using a KitchenAid commercial mixer, which takes the hard work out of kneading. You’ll find that the dough comes together seamlessly, providing a great foundation for a bread that rivals traditional options in both texture and flavor.
This recipe is highly customizable, allowing you to experiment with various ingredients. You can easily incorporate psyllium husk for added elasticity or try different alternative flours like almond or oat flour. This flexibility means you can create a loaf that suits your personal preference while still adhering to gluten-free requirements.
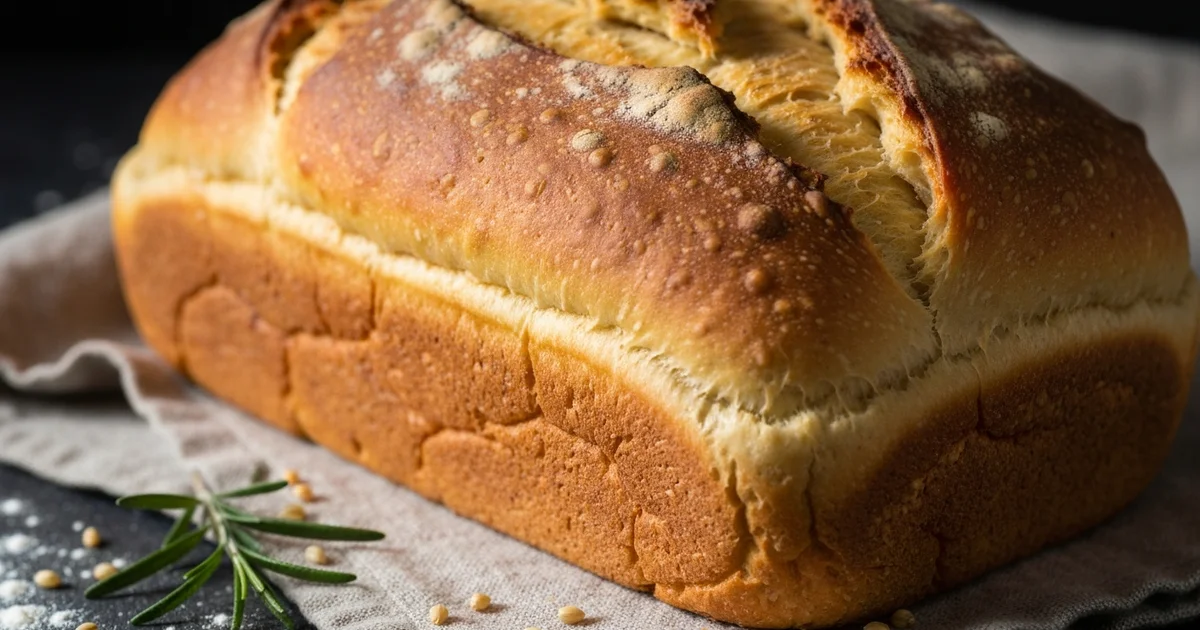
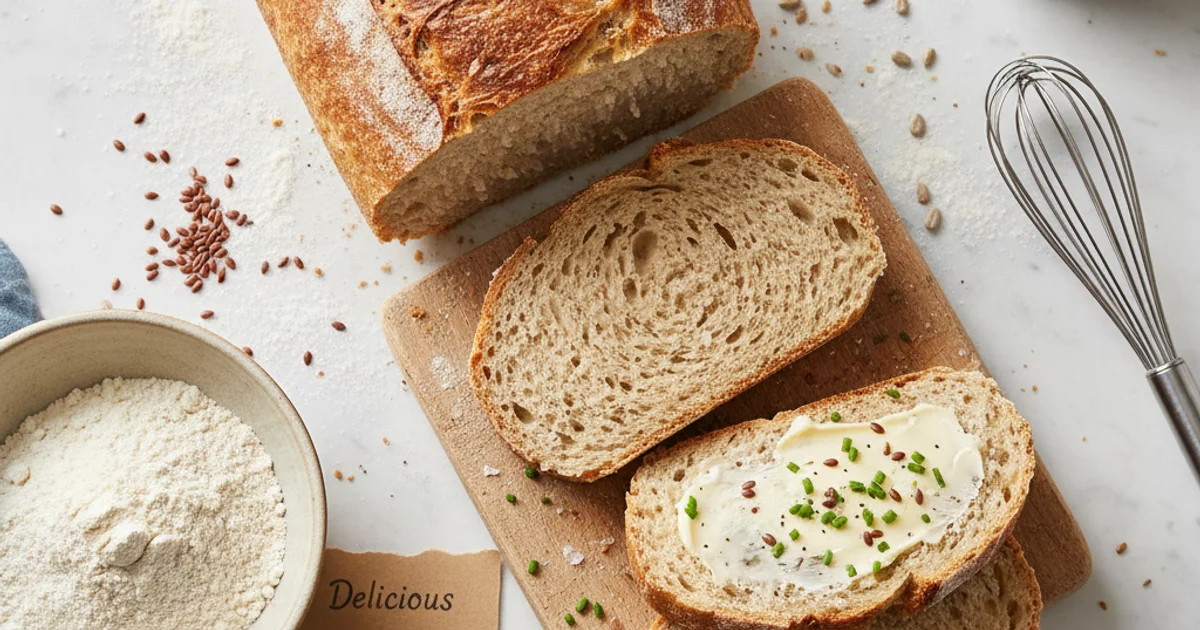
The end result is a versatile loaf that can be used for sandwiches, toast, or simply enjoyed on its own. You won’t believe how satisfying it is to slice into this golden brown bread, revealing a soft and fluffy interior. Plus, this gluten-free bread recipe utilizes ingredients like Bob’s Red Mill baking powder, ensuring a reliable rise and texture.
With a few simple tweaks, you can also adapt this recipe for a gluten-free bread machine, making it perfect for those who prefer the convenience of automated baking. Trust me on this one; once you try this recipe, you’ll never look back.
Ingredients Overview: What You Need for Gluten-Free Bread
To create a successful gluten-free bread, understanding each ingredient’s role is crucial. Gluten-free flour serves as the backbone of the recipe. I often use Bob’s Red Mill gluten-free flour, which is a blend of various gluten-free flours and starches. This combination provides structure and texture. Gluten-free bread lacks the elasticity that gluten provides, making the choice of flour essential for achieving that satisfying crumb.
Next on the list is psyllium husk, which acts as a binder. It mimics gluten’s properties, helping the bread maintain its shape and improve its moisture retention. If you’re in a pinch, a psyllium husk substitute could be ground flaxseed or chia seeds, but they may not yield the same results.
Yeast is another key ingredient. It helps the bread rise and contributes to its flavor and texture. A touch of sugar feeds the yeast, facilitating fermentation. Meanwhile, salt enhances the overall flavor and helps control yeast activity, ensuring your bread doesn’t overproof.
Other ingredients, like water and oil, provide hydration and tenderness. Using a stand mixer or a Kitchenaid commercial mixer can make mixing easier, ensuring all ingredients are well incorporated. In summary, understanding the purpose of each ingredient enables you to create a balanced gluten-free bread that everyone can enjoy.
Equipment You’ll Need for This Recipe
When embarking on your gluten-free bread journey, having the right equipment is essential to achieving that perfect loaf. A KitchenAid commercial mixer or a stand mixer is invaluable for mixing gluten-free dough, which can be thicker than traditional bread dough. These mixers have the power to thoroughly blend dry and wet ingredients, ensuring an even consistency. Alternatively, a hand mixer can work, but you’ll need to put in more elbow grease.
Next, consider investing in a Pullman loaf pan. This type of pan has straight sides and a lid, making it ideal for gluten-free bread. It helps create a uniform shape and the right crust texture. The lid also aids in even baking, preventing the bread from rising too high and collapsing. If you don’t have a Pullman pan, a standard loaf pan can work in a pinch.
For those who love convenience, a bread machine is a fantastic option for making gluten-free bread. Many gluten-free bread machine recipes are available, allowing you to set it and forget it. Just add the ingredients, select the gluten-free setting, and let the machine do the work. This is especially helpful if you’re busy or want to ensure consistent results.
Lastly, don’t forget the little things that make a big difference. A digital thermometer can help you check the internal temperature of your bread when it’s done baking. Ideally, gluten-free bread should reach an internal temperature of around 200°F.
Here’s a quick list of the essential equipment:
- KitchenAid commercial mixer or stand mixer
- Pullman loaf pan (or standard loaf pan)
- Bread machine (optional)
- Digital thermometer
Equipping your kitchen with these tools will set you up for success in your gluten-free baking adventures. The right equipment makes a noticeable difference in the final product, ensuring that your gluten-free bread turns out just right.
Step-by-Step Instructions for Making Gluten-Free Bread
-
In a large mixing bowl, combine all the dry ingredients: gluten-free all-purpose flour, baking powder, salt, and any additional seasonings you desire, such as garlic powder or herbs. Whisk the dry ingredients together thoroughly to ensure there are no lumps and everything is evenly distributed.
-
In a separate mixing bowl, whisk together the wet ingredients: eggs, milk (or a dairy-free alternative), and oil. Make sure the wet ingredients are well blended, and then gradually pour them into the bowl with the dry ingredients. Using an electric mixer on medium speed, mix the ingredients until a smooth batter forms, scraping down the sides of the bowl as needed to ensure everything is fully incorporated.
-
Preheat your oven to 350°F (175°C) and grease a loaf pan. Pour the batter into the prepared pan and smooth the top with a spatula. Bake in the preheated oven for 45-50 minutes, or until a toothpick inserted into the center comes out clean, indicating that the bread is fully cooked. To ensure perfect doneness, check that the internal temperature of the bread reaches at least 200°F (93°C).
Pro Tips & Tricks for Perfect Gluten-Free Bread
To achieve the best results with gluten-free bread, it’s essential to consider a few expert tips. Psyllium husk is a game-changer for preventing that dreaded gummy texture. This ingredient acts as a binder, giving the dough elasticity and helping it hold together. It’s crucial to measure it accurately; too little can lead to a dense loaf, while too much can create a gummy mess. If you don’t have psyllium husk on hand, you can use a psyllium husk substitute like ground chia seeds or flaxseeds, but this may slightly alter the texture.
Another important factor is understanding your dough’s consistency. Gluten-free dough is often wetter than traditional wheat-based dough, so don’t be alarmed if it looks different. You want a batter that is thick but still pourable. The key here is to monitor it closely; if it feels too dry, add a little water. Also, the internal temperature of bread when done baking is critical—aim for around 200°F (93°C) for the perfect finish. Using a thermometer can help ensure your bread is cooked through without being overdone.
Here’s what actually works: using a stand mixer can greatly simplify the mixing process. A Kitchenaid commercial mixer can thoroughly blend your ingredients, which is especially beneficial for gluten-free recipes that often require more mixing than traditional breads. Just remember to scrape down the sides of the bowl regularly for even mixing.
Pro Tip: For consistent results, try to keep your kitchen at a stable temperature while the dough rises. Yeast can be temperamental, and fluctuations can affect the outcome. If you want to dive deeper into gluten-free baking, check out this comprehensive guide. This resource is packed with helpful information and tips for achieving the best gluten-free results.
Enjoyed this recipe? Share it with a friend or save it to your board for later. Leave a comment below — I love hearing how it turned out!
You May Also Enjoy





You Might Also Love These 🍽️
Recipes picked just for you based on what you’re cooking