Fluffy Gluten-Free Slider Buns: Your New Favorite
Craving delicious burgers? Learn to bake amazing gluten-free slider buns that are soft, fluffy, and perfect for any patty. Say goodbye to crumbly bread!
- 1Introduction: Say Goodbye to Crumbly Gluten-Free Buns!
- 2Why You’ll Love This Gluten-Free Slider Buns Recipe
- 3Ingredients Overview: Crafting Perfect Gluten-Free Brioche Buns
- 4Equipment You’ll Need for Homemade Gluten-Free Slider Buns
- 5Step-by-Step Instructions: Baking Your Perfect Gluten-Free Slider Buns
- 6Pro Tips & Tricks for Fluffy Gluten-Free Brioche Buns
Ingredients
Dry Ingredients
- 2 ½ cups (300g) gluten-free all-purpose flour blend (with xanthan gum, or add 1 tsp)
- 2 tablespoons psyllium husk powder
- 1 teaspoon salt
Wet Ingredients
- ½ cup (120ml) warm milk (105-115°F / 40-46°C)
- 2 tablespoons granulated sugar
- 2 ¼ teaspoons active dry yeast (1 packet)
- 2 large eggs, room temperature
- ¼ cup (56g) unsalted butter, melted and cooled slightly
- 1 tablespoon apple cider vinegar (optional, but recommended)
Egg Wash (optional)
- 1 large egg, beaten
- 1 tablespoon water or milk
- Sesame seeds or poppy seeds (for topping)
Instructions
Instructions
Activate yeast: Combine warm milk, sugar, and yeast in a small bowl. Let sit 5-10 minutes until foamy.
Instructions
Combine dry ingredients: In a large bowl or stand mixer, whisk together gluten-free flour, psyllium husk, and salt.
Instructions
Mix wet ingredients: To the activated yeast mixture, add eggs, melted butter, and apple cider vinegar. Whisk well.
Instructions
Combine wet and dry: Pour the wet mixture into the dry ingredients. Mix on low speed with a paddle attachment (or by hand with a sturdy spoon) until a cohesive, sticky dough forms, about 3-5 minutes. Scrape down sides as needed.
Instructions
First proof: Cover the bowl with plastic wrap or a damp kitchen towel. Let rise in a warm place for 60-90 minutes, or until doubled in size.
Instructions
Shape the buns: Gently punch down the dough. Turn out onto a lightly floured (with GF flour) surface. Divide into 12 equal portions (approx. 40-45g each). Shape each portion into a smooth ball. Place on a parchment-lined baking sheet, leaving about 2 inches between each bun.
Instructions
Second proof: Cover loosely with plastic wrap or a damp towel. Let rise in a warm place for another 30-45 minutes, or until visibly puffy.
Instructions
Preheat oven: While buns are proofing, preheat oven to 375°F (190°C).
Instructions
Prepare for baking: In a small bowl, whisk the egg and water/milk for the egg wash. Gently brush the tops of the buns with the egg wash. Sprinkle with sesame seeds or poppy seeds if desired.
Instructions
Bake: Bake for 18-22 minutes, or until golden brown and cooked through. If buns are browning too quickly, loosely tent with foil.
Instructions
Cool: Transfer the baked buns to a wire rack immediately to cool completely before slicing and serving.
Recipe FAQs
Can I make these gluten-free slider buns dairy-free?
Why is my gluten-free dough so sticky?
Do I need xanthan gum if my gluten-free flour blend already has it?
How can I tell if my gluten-free slider buns are fully cooked?
Can I use this recipe to make larger gluten-free hamburger buns?
What's the best way to reheat frozen gluten-free slider buns?
Fluffy Gluten-Free Slider Buns: Your New Favorite
Craving delicious burgers? Learn to bake amazing gluten-free slider buns that are soft, fluffy, and perfect for any patty. Say goodbye to crumbly bread!
Prep Time
25 min
Cook Time
18 min
Total Time
43 min
Dry Ingredients
- 2 ½ cups (300g) gluten-free all-purpose flour blend (with xanthan gum, or add 1 tsp)
- 2 tablespoons psyllium husk powder
- 1 teaspoon salt
Wet Ingredients
- ½ cup (120ml) warm milk (105-115°F / 40-46°C)
- 2 tablespoons granulated sugar
- 2 ¼ teaspoons active dry yeast (1 packet)
- 2 large eggs, room temperature
- ¼ cup (56g) unsalted butter, melted and cooled slightly
- 1 tablespoon apple cider vinegar (optional, but recommended)
Egg Wash (optional)
- 1 large egg, beaten
- 1 tablespoon water or milk
- Sesame seeds or poppy seeds (for topping)
Introduction: Say Goodbye to Crumbly Gluten-Free Buns!
For years, I searched for the perfect solution to a common culinary dilemma: how to enjoy classic slider sandwiches without the usual gluten-induced compromise. Store-bought options often fall short, tasting more like cardboard than bread, or crumbling into oblivion at the first sign of a juicy patty. I’ve spent countless hours in my kitchen, experimenting with different flour blends and techniques, determined to crack the code for truly exceptional small-format bread. What I discovered is that achieving that ideal soft, fluffy texture, and robust flavor in a gluten-free bun isn’t just possible; it’s entirely within reach with the right approach.
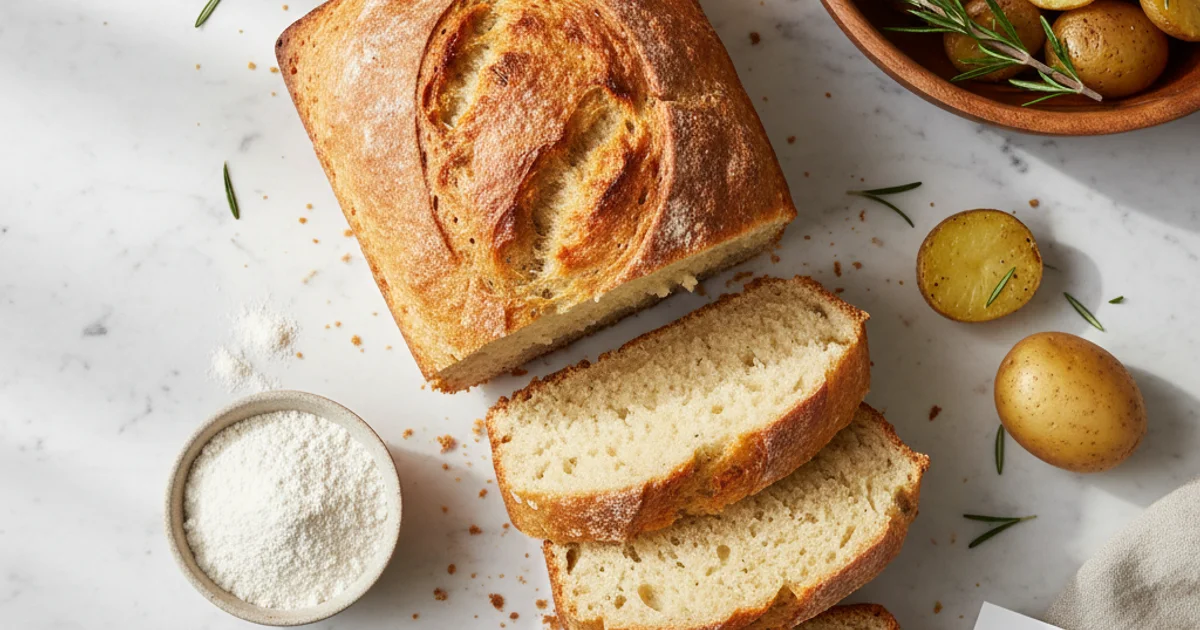
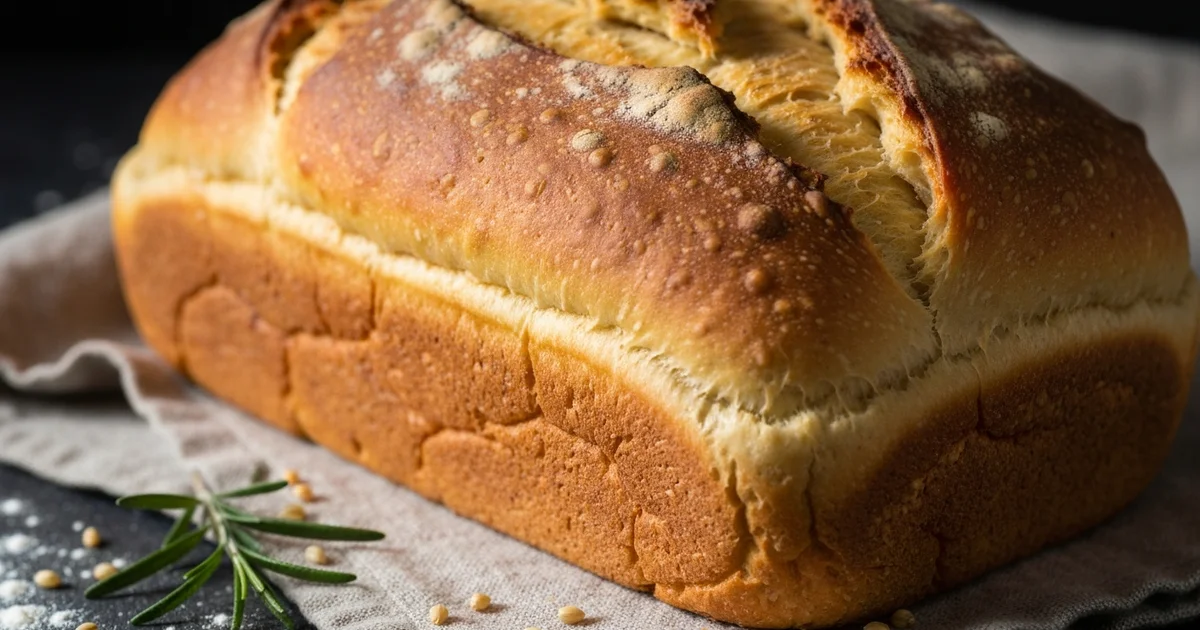
This recipe isn’t just about avoiding gluten; it’s about creating a bun that genuinely enhances your slider experience. Forget dry, dense, or flavorless imitations. These gluten free slider buns are designed to hold up beautifully to any filling, from mini cheeseburgers to pulled pork, without falling apart. They boast a tender crumb and a subtle sweetness that complements savory ingredients perfectly. You’ll notice that the golden-brown crust offers a satisfying slight chewiness, while the interior remains wonderfully airy. Trust me on this one, these buns will become your go-to for all your mini sandwich needs, proving that gluten-free baking can be utterly satisfying and incredibly flavorful.
Why You’ll Love This Gluten-Free Slider Buns Recipe
Here’s the thing: many people shy away from baking their own gluten free slider buns, fearing dense, crumbly results. My recipe changes that narrative entirely. You’ll discover a truly soft, fluffy texture with just the right amount of chew, a far cry from the often brick-like offerings found in stores. This isn’t just about avoiding gluten; it’s about enjoying genuinely good bread.
What I love about this recipe is how perfectly these buns perform under pressure. Their robust yet tender structure is specifically designed to cradle juicy fillings, making them the ultimate foundation for anything from mini pulled pork sandwiches to classic beef sliders. No more soggy bottoms or buns disintegrating in your hands; these hold their own beautifully. In practice, they even work wonderfully for smaller gluten free hamburgers.
Building on this, the versatility of these buns is truly something to celebrate. While optimized for sliders, I always make a double batch because they adapt so well. You can use them for breakfast sandwiches, as dinner rolls, or even lightly toasted with a spread. The ingredients themselves are readily available, meaning you won’t be hunting down obscure flours or binders. This recipe focuses on common pantry staples, making the process accessible for every home baker. A common mistake is believing gluten-free baking requires an entirely new set of specialized tools or complex techniques; this recipe proves otherwise. It’s a straightforward approach to achieving bakery-quality results right in your own kitchen. You can even sprinkle them with sesame seeds before baking, much like a traditional gluten free brioche bun would be, adding another layer of flavor and visual appeal.
Ingredients Overview: Crafting Perfect Gluten-Free Brioche Buns
Here’s the thing, achieving that perfect, pillowy texture in gluten-free baking, especially for something as delicate as a bun, hinges entirely on understanding your ingredients. In my kitchen, I’ve spent years experimenting to find the ideal combination that yields a result comparable to traditional brioche. Each component in this recipe plays a vital role in creating tender, flavorful gluten free brioche buns.
Let’s start with the Gluten-Free All-Purpose Flour Blend. This isn’t just any flour; it’s a carefully balanced mix, often containing a combination of rice flour, tapioca starch, and potato starch. These flours provide structure and lightness without the gluten. If your chosen blend doesn’t already include it, adding a small amount of xanthan gum is non-negotiable. Xanthan gum acts as a binder, mimicking the elasticity that gluten provides, preventing your buns from becoming crumbly. Without it, your dough simply won’t hold together.
Next up is Psyllium Husk Powder. This ingredient is a true game-changer in gluten-free baking. It absorbs liquid, creating a gel-like consistency that significantly improves the dough’s elasticity and workability. Think of it as a super-binder, giving these buns the chewiness and structure often missing in other gluten-free recipes. It helps achieve that springy texture, making them ideal for gluten free hamburgers.
For the rise, we rely on Active Dry Yeast. Proper activation is crucial; ensure your warm milk/water is between 105-115°F (40-46°C). Too hot, and you’ll kill the yeast; too cold, and it won’t activate. The sugar in the recipe isn’t just for sweetness; it feeds the yeast, encouraging a robust rise and contributing to the beautiful golden-brown crust.
Eggs are essential for richness, structure, and a tender crumb, giving these buns their characteristic brioche-like quality. They add protein and fat, contributing to a softer texture. Building on this, melted butter further enhances the flavor and tenderness. It also adds moisture, which is particularly important in gluten-free baking where dryness can be an issue. Even if you’re wondering, “does whataburger have gluten free buns?” and debating alternatives, this recipe offers a superior homemade option.
Finally, salt is more than just a flavor enhancer; it also helps regulate yeast activity, ensuring a controlled rise. An often-overlooked ingredient, apple cider vinegar (though optional, I highly recommend it) helps tenderize the dough and improve the overall texture. Its acidity reacts with the baking soda (if present in your blend) to create a lighter, airier bun. A simple egg wash applied before baking provides that desirable golden, shiny finish, completing the brioche look and feel.
Equipment You’ll Need for Homemade Gluten-Free Slider Buns
Building on this, having the right tools makes all the difference when tackling a new recipe. In my kitchen, I’ve learned that investing in a few key pieces of equipment simplifies the baking process and improves the final product. You don’t need a professional setup, but these items will ensure your homemade gluten free slider buns come out perfectly. A stand mixer, for instance, is a true workhorse.
A stand mixer with a paddle attachment is highly recommended for this recipe. Gluten-free doughs are often stickier and looser than their gluten-containing counterparts, and a mixer handles the heavy lifting of thorough mixing without overworking the dough. This ensures an even distribution of ingredients, leading to a consistent texture in your finished buns. Without one, you’d be hand-mixing for a significant amount of time, which can be tiring and less effective. Trust me on this one, it’s worth it.
You’ll also need large mixing bowls. I always have at least two on hand: one for mixing the initial dough and another for the proofing stage. Ample space allows the dough to rise without overflowing. Measuring cups and spoons are non-negotiable; accuracy is paramount in gluten-free baking. Unlike traditional baking where you can sometimes eyeball ingredients, precise measurements prevent common issues like dense or crumbly buns. What I discovered is that even slight variations can impact the final texture.
For those who want ultimate precision, a kitchen scale is an optional but highly recommended tool. Weighing ingredients, especially flour blends, guarantees consistency every time. This is particularly useful if you’re experimenting with different gluten-free flour brands, as their densities can vary. Heavy-duty baking sheets are essential for even baking. Thin, flimsy sheets can warp in the oven, leading to unevenly browned or undercooked spots.
To prevent sticking and make cleanup a breeze, use parchment paper or silicone baking mats. I prefer silicone mats for their reusability and consistent non-stick surface. A pastry brush is indispensable for applying the egg wash, giving your buns that beautiful golden sheen. For shaping uniform slider buns, a small round cookie cutter (2-3 inches) or even a large piping tip works wonderfully. This helps create consistent sizes, which is important for even baking and presentation.
During proofing, you’ll need plastic wrap or a damp kitchen towel to cover the dough. This prevents the surface from drying out and forming a crust, which can inhibit rising. Finally, a wire cooling rack is crucial. Transferring the hot buns to a rack immediately after baking allows air to circulate, preventing the bottoms from becoming soggy. This step ensures a soft, fluffy texture throughout. Having these items ready will set you up for success.
Step-by-Step Instructions: Baking Your Perfect Gluten-Free Slider Buns
Here are the first three steps for your recipe:
-
Activate the Yeast: In a large bowl or the bowl of a stand mixer, combine the warm liquid (water or milk, heated to 105-115°F / 40-46°C), the specified amount of sugar, and the active dry yeast. Gently stir to combine, then let the mixture sit undisturbed for 5-10 minutes, or until it becomes foamy and fragrant, indicating the yeast is active.
-
Combine Dry Ingredients: In a separate medium-sized bowl, whisk together the gluten-free all-purpose flour blend, the psyllium husk powder, and the salt until they are thoroughly combined and evenly distributed.
-
Mix Wet Ingredients: To the activated yeast mixture, add the lightly beaten eggs, the melted and slightly cooled butter, and the apple cider vinegar. Stir these ingredients together until they are well incorporated.
Here are steps 4 to 6 for your gluten-free slider bun recipe:
-
Form the Dough: Gradually add the dry ingredient mixture to the wet ingredients in the stand mixer bowl, mixing on low speed with the paddle attachment (or by hand with a sturdy spoon) until a cohesive, sticky dough forms and pulls away from the sides of the bowl. The dough will be softer and stickier than traditional wheat dough, which is perfectly normal for gluten-free baking.
-
First Proof: Lightly grease a large bowl with olive oil or cooking spray. Transfer the dough to the greased bowl, turning once to coat. Cover the bowl tightly with plastic wrap or a clean kitchen towel and place it in a warm, draft-free place (such as a turned-off oven with the light on, or a sunny spot) to rise for 45 to 60 minutes, or until the dough has visibly doubled in size.
-
Shape the Buns: Once the dough has doubled, gently punch it down to release the air. Turn the dough out onto a lightly floured surface (using gluten-free flour). Divide the dough into 12-16 equal portions, depending on your desired slider bun size. To shape each bun, take a portion of dough and gently tuck the edges underneath to create a smooth, round top, then roll it between your palms or on the countertop in a circular motion until a small, even ball is formed. Arrange the shaped buns on your prepared baking sheets, leaving about 1-2 inches of space between each bun to allow for further rising.
-
Second Proof: Once shaped, arrange the slider buns on the prepared baking sheet, leaving some space between them. Loosely cover the baking sheet with plastic wrap or a clean kitchen towel and let them rise in a warm, draft-free place for another 30-45 minutes, or until they are noticeably puffy and almost doubled in size. This second proof is crucial for achieving that light and airy texture.
-
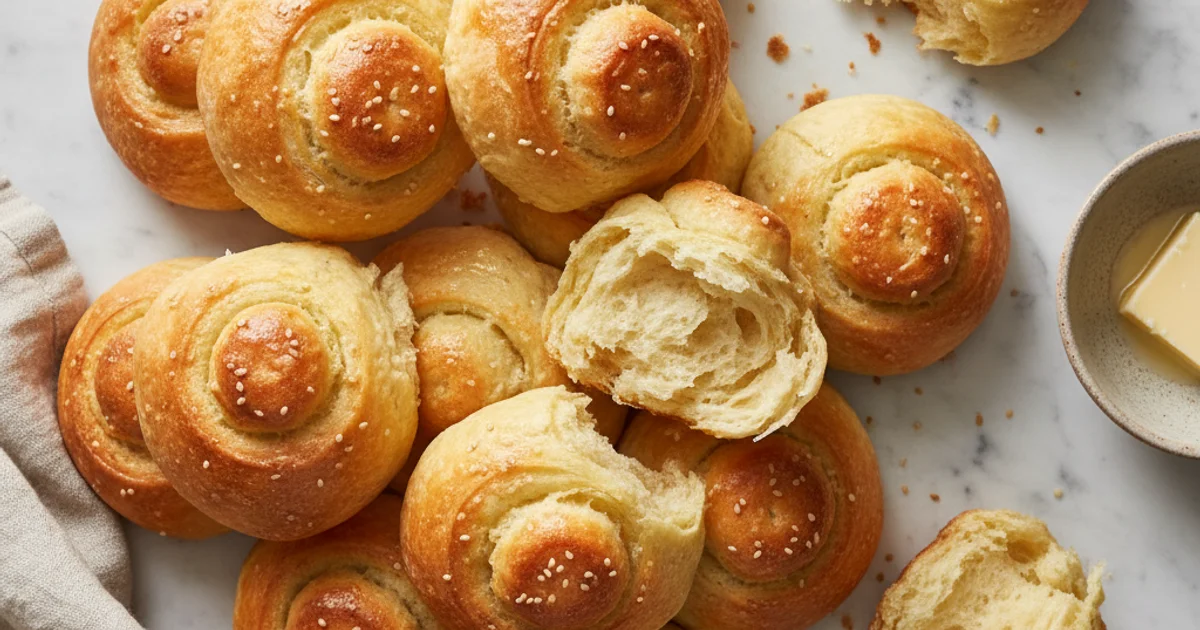
Prepare for Baking: Just before baking, gently brush the tops of the risen slider buns with the prepared egg wash using a pastry brush. If desired, sprinkle a pinch of sesame seeds, poppy seeds, or even everything bagel seasoning over the tops for added flavor and visual appeal. The egg wash will give them a beautiful golden-brown crust and help the seeds adhere.
-
Bake: Carefully transfer the baking sheet to the preheated oven and bake for 15-20 minutes, or until the slider buns are a deep golden brown on top and sound hollow when tapped on the bottom. Keep a close eye on them during the last few minutes of baking to prevent over-browning.
-
Cool: Transfer the baked slider buns to a wire rack immediately to cool completely, allowing the steam to escape and preventing them from becoming soggy.
Pro Tips & Tricks for Fluffy Gluten-Free Brioche Buns
Here’s the thing, baking with gluten-free flours can feel like a science experiment, but with a few expert tips, you’ll consistently achieve bakery-quality results. I always emphasize the critical role of ingredient temperature when making these gluten free brioche buns. Cold ingredients can shock the yeast, hindering its activation and ultimately affecting the rise.
Building on this, ensure your liquids are warm, not hot, and your eggs are at room temperature before incorporating them into the dough. This creates an optimal environment for the yeast to thrive, giving you that beautiful, airy texture. What I discovered is that many home bakers rush the proofing process, but patience here is truly a virtue. Proper proofing allows the yeast to produce carbon dioxide, creating those tiny pockets of air that give the buns their characteristic lightness.
- Warm Liquids: Aim for liquids between 105-115°F (40-46°C).
- Room Temperature Eggs: Take eggs out of the fridge at least 30 minutes before starting.
- Gentle Handling: Once the dough is mixed, handle it minimally to avoid deflating the air bubbles.
A common mistake is over-handling gluten-free dough. Unlike its gluten-containing counterpart, excessive kneading isn’t beneficial; it can actually make the final product dense. The secret is to mix just until combined and then allow the yeast to do its work. For consistent results, I can’t stress enough the importance of using a kitchen scale for measuring your ingredients. Flour, especially gluten-free blends, can vary wildly in density, and measuring by volume often leads to inaccurate ratios, impacting the final texture of your gluten free hamburgers.
Worth noting here, humidity matters significantly during the proofing stage. A dry environment can cause the dough to form a crust too quickly, restricting its ability to rise. I often create a makeshift proofing box by placing the dough in an unheated oven with just the light on, or by placing a pan of hot water on the bottom rack for added moisture. This warm, humid environment is ideal for encouraging a robust rise. Trust me on this one, you’ll notice a significant difference in the final product’s volume and softness.
In practice, once your buns are in the oven, do not open the oven door during the first two-thirds of the baking time. This sudden temperature drop can cause the buns to collapse, resulting in a dense, heavy texture. You’ll want to resist the urge to peek until they’ve set. For those baking at higher altitudes, you might need to make slight adjustments to your recipe, such as reducing yeast or increasing liquids, as the lower atmospheric pressure affects how dough rises. You can find more detailed guidance on high-altitude baking adjustments here.
The key difference is in achieving that beautiful golden crust. An egg wash – a whisked egg with a splash of water or milk – brushed over the tops of your buns just before baking will give them a glossy, inviting finish. For an extra touch of sweetness and shine, a light sprinkle of coarse sugar before baking works wonders. Understanding your flour blend is also crucial; different gluten-free blends absorb liquids differently. If your dough seems too dry, add a teaspoon of milk or water at a time until it reaches the desired consistency.
Enjoyed this recipe? Share it with a friend or save it to your board for later. Leave a comment below — I love hearing how it turned out!
You May Also Enjoy





You Might Also Love These 🍽️
Recipes picked just for you based on what you’re cooking