GF Lebanese Bread? Unlock Authentic Pita!
Discover if Lebanese bread is gluten-free and learn to make an amazing GF pita recipe. Perfect for those wondering, 'does pita have gluten?'
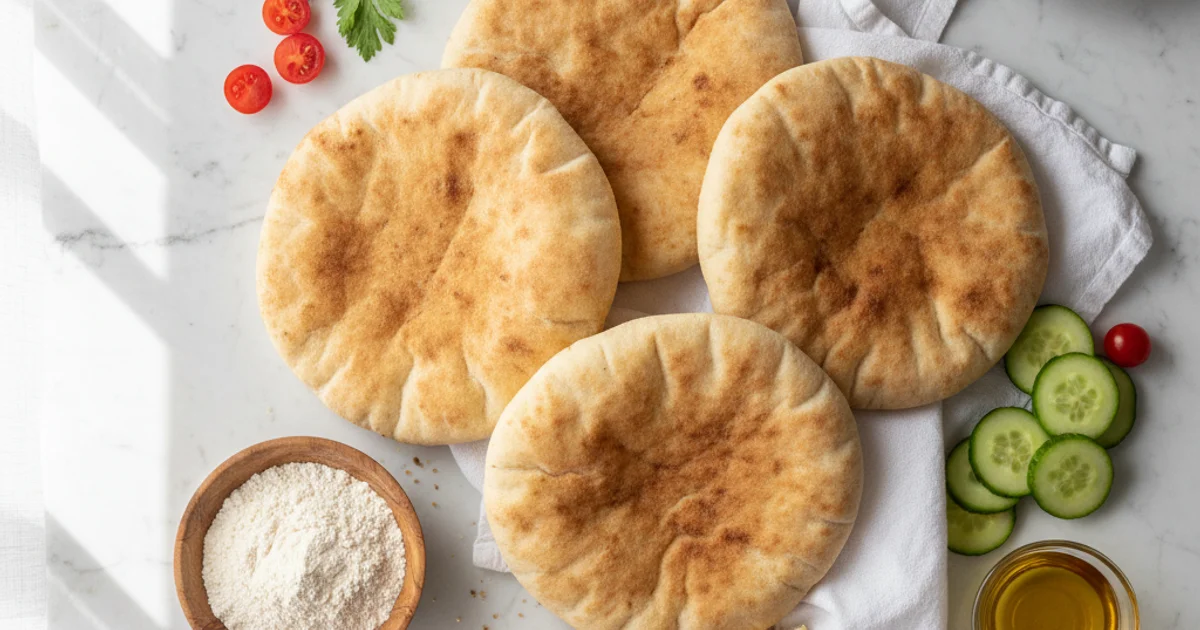
- 1Is Lebanese Bread Gluten-Free? The Truth About Traditional Pita and Your Dietary Needs
- 2Why You’ll Love This Authentic Gluten-Free Lebanese Bread Recipe
- 3Essential Ingredients for Your Gluten-Free Lebanese Bread (Pita) – No Gluten in Sight!
- 4Equipment You’ll Need to Master Gluten-Free Lebanese Bread
- 5Step-by-Step Instructions: Crafting Your Perfect Gluten-Free Lebanese Bread
- 6Pro Tips & Tricks for Gluten-Free Lebanese Bread Success
Ingredients
Dry Ingredients
- 2 cups (240g) gluten-free all-purpose flour blend (with xanthan gum or add 1/2 tsp separately)
- 2 tablespoons psyllium husk powder
- 1 teaspoon salt
- 1 teaspoon sugar (or honey)
Wet Ingredients
- 1 cup (240ml) warm water (105-115°F / 40-46°C)
- 2 teaspoons active dry yeast
- 2 tablespoons olive oil
For Dusting
- 2 tablespoons rice flour (or additional GF flour blend)
Instructions
Instructions
Activate yeast: Combine warm water, sugar, and yeast in a small bowl. Let sit 5-10 minutes until foamy.
Instructions
Combine dry ingredients: In a large bowl, whisk together gluten-free flour, psyllium husk powder, and salt.
Instructions
Mix dough: Add olive oil and activated yeast mixture to the dry ingredients. Mix with a spoon or stand mixer until a cohesive, shaggy dough forms.
Instructions
Knead (optional for GF): Knead on a lightly floured surface for 3-5 minutes until smoother. The dough will be softer and less elastic than wheat dough.
Instructions
First rise: Place dough in a lightly oiled bowl, cover with plastic wrap or a damp towel, and let rise in a warm place for 60-90 minutes, or until noticeably puffy.
Instructions
Divide dough: Gently punch down the dough and divide it into 8 equal pieces. Roll each piece into a smooth ball.
Instructions
Roll out: On a surface dusted with rice flour, roll each dough ball into a thin 6-8 inch circle, about 1/8 inch thick.
Instructions
Preheat skillet: Heat a cast iron skillet or baking steel/stone over high heat until very hot (about 5-10 minutes).
Instructions
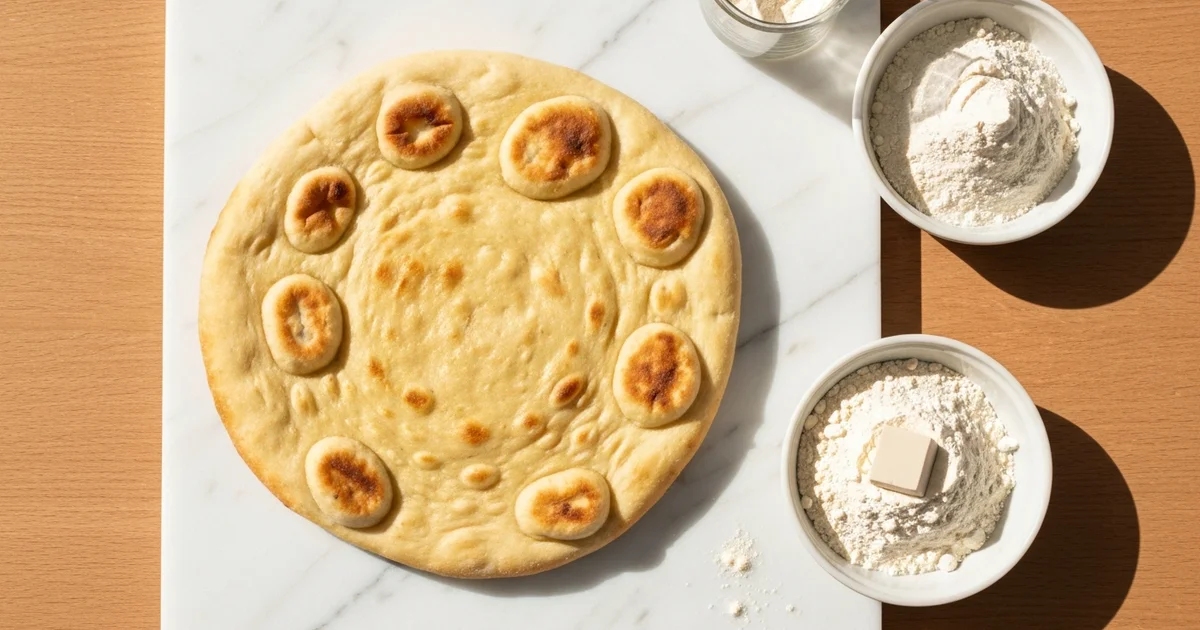
Cook bread: Place one rolled dough circle onto the hot skillet. Cook for 60-90 seconds until bubbles form and the bread begins to puff. Flip and cook for another 60-90 seconds, pressing gently with tongs if needed to encourage puffing. The bread should be lightly golden.
Instructions
Keep warm: Transfer cooked bread to a plate and cover with a clean kitchen towel to keep warm and soft. Repeat with remaining dough.
Instructions
Serve warm and enjoy!
Equipment You'll Need
Here's what I use to make this recipe perfectly every time:
- Large Mixing Bowl — This is your starting point. You need ample space to combine your flours, liquids, and leavening agents without spills. A generous size ensures easy mixing and allows the dough to expand comfortably during its first rise. → Buy Now
- Stand Mixer with Dough Hook (Optional but Recommended) — → Buy Now
- Measuring Cups and Spoons — → Buy Now
- Rolling Pin — To achieve that characteristic thinness without tearing, a good rolling pin is essential. I prefer a French-style rolling pin for better control, but any rolling pin will work. The goal is an even thickness, which promotes uniform cooking and helps the bread puff evenly. → Buy Now
- Cast Iron Skillet or Baking Steel/Stone — → Buy Now
- Parchment Paper — Gluten-free dough can be delicate and sticky. Rolling it out between two sheets of parchment paper prevents it from sticking to your work surface or rolling pin. It also makes transferring the rolled dough to your hot cooking surface much easier, minimizing handling and potential tearing. → Buy Now
- Kitchen Towel — After baking, the hot bread needs to be kept warm and moist. Covering the cooked pita with a clean kitchen towel immediately after it comes off the heat helps trap steam. This keeps the bread soft and pliable, preventing it from becoming brittle as it cools. → Buy Now
- Spatula/Tongs — → Buy Now
Recipe FAQs
Is traditional Lebanese bread naturally gluten-free?
What is the best gluten-free flour to use for pita bread?
Why didn't my gluten-free pita bread puff up?
Can I make this gluten-free Lebanese bread without yeast?
How does psyllium husk help in gluten-free bread?
Can I use this recipe to make 'keto flat bread'?
GF Lebanese Bread? Unlock Authentic Pita!
Discover if Lebanese bread is gluten-free and learn to make an amazing GF pita recipe. Perfect for those wondering, 'does pita have gluten?'
Prep Time
30 min
Cook Time
20 min
Total Time
50 min
Dry Ingredients
- 2 cups (240g) gluten-free all-purpose flour blend (with xanthan gum or add 1/2 tsp separately)
- 2 tablespoons psyllium husk powder
- 1 teaspoon salt
- 1 teaspoon sugar (or honey)
Wet Ingredients
- 1 cup (240ml) warm water (105-115°F / 40-46°C)
- 2 teaspoons active dry yeast
- 2 tablespoons olive oil
For Dusting
- 2 tablespoons rice flour (or additional GF flour blend)
Is Lebanese Bread Gluten-Free? The Truth About Traditional Pita and Your Dietary Needs
Here’s the thing, many people wonder if their favorite flatbread fits into a gluten-free lifestyle. Often, the first question that comes to mind when looking at that soft, chewy texture is, “is lebanese bread gluten free?” The straightforward answer, for traditional Lebanese bread, is no. This popular flatbread, beloved for its versatility and perfect pairing with dips like hummus, is conventionally made from wheat flour. That means, unequivocally, that does pita have gluten is answered with a definitive yes. For those navigating dietary restrictions due to Celiac disease or gluten sensitivity, this presents a significant challenge. Missing out on the joy of tearing into a warm piece of pita bread, especially with a flavorful naan dip, can be disheartening.
What I discovered through years of experimentation is that recreating that authentic experience without gluten is entirely possible. My kitchen has seen countless attempts to perfect a recipe that captures the essence of traditional Lebanese bread, ensuring it’s safe and satisfying for everyone. This recipe isn’t just a substitute; it’s a celebration of flavor and texture, specifically designed to address the common query: does pita contain gluten? It opens up a world of culinary possibilities, allowing you to enjoy all your favorite Mediterranean dishes without compromise. We’ll be using specialized flours, moving away from conventional options that contain gluten. You won’t have to worry about the typical ingredients found in a hot pocket nutrition label, which often include wheat. This gluten-free version provides that familiar, soft pocket, perfect for stuffing or dipping. It’s a game-changer for anyone who has felt limited by their dietary needs, proving that you can still enjoy delicious, authentic flatbreads.
Why You’ll Love This Authentic Gluten-Free Lebanese Bread Recipe
Here’s the thing, many people assume that because a bread is flat, it might be naturally gluten-free. That’s a common misconception. Traditional Lebanese bread, like most pita, is made with wheat flour, meaning it contains gluten. This recipe, however, changes that narrative entirely. It offers all the charm and utility of its conventional counterpart, but in a form suitable for those avoiding gluten.
What I discovered is that achieving that characteristic pliable, slightly chewy texture without wheat is entirely possible with the right blend of flours and techniques. You won’t find yourself wrestling with crumbly or stiff bread here. Instead, you’ll get a beautiful, soft bread with those signature air pockets, perfect for scooping up hummus or building a robust sandwich. The flavor profile is remarkably close to what you’d expect from a traditional pita, making it a fantastic substitute. This recipe directly addresses the question of “do pita bread have gluten” by providing a delicious alternative that doesn’t compromise on taste or texture.
Building on this, I always strive for recipes that are accessible, not intimidating. Despite being a gluten-free bake, this particular recipe is surprisingly simple and straightforward for home cooks. You don’t need specialized equipment or advanced baking skills to achieve excellent results. I’ve broken down each step to ensure success, even if you’re new to working with gluten-free flours. It’s a far cry from the complexity some assume comes with gluten-free baking.
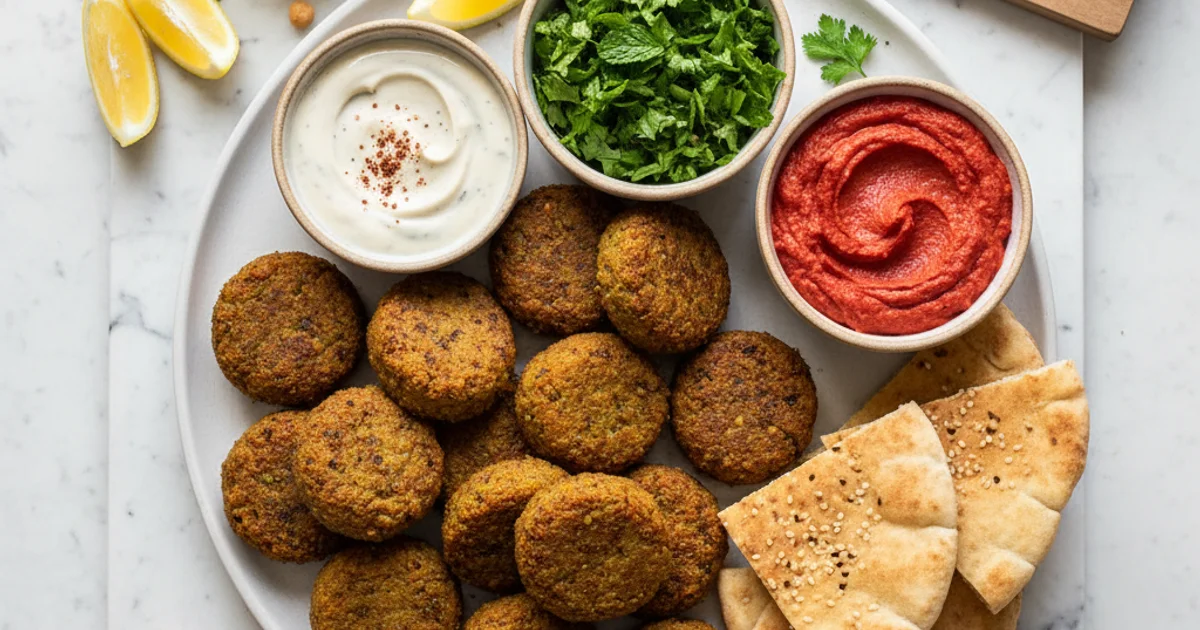
In practice, this bread is incredibly versatile, making it perfect for nearly every meal. I use it for everything from breakfast wraps to a side with my evening stew. Imagine warm, fresh bread ready to soak up the juices from a savory tagine, or as the base for a vibrant falafel sandwich. It’s also excellent for creating a quick, satisfying naan dip experience, offering a healthier, homemade alternative to some processed options you might find. You can even use it to make small pizzas or serve alongside a fresh Greek salad.
The key difference is that this recipe offers a health-conscious and allergen-friendly option that doesn’t sacrifice flavor. For anyone managing a gluten sensitivity or celiac disease, finding truly satisfying bread can be a challenge. This recipe provides a solution, allowing you to enjoy a staple food without worry. It’s also a much fresher alternative to many store-bought gluten-free breads, which can sometimes be dense or dry. This bread provides a light, airy texture that is truly enjoyable.
Essential Ingredients for Your Gluten-Free Lebanese Bread (Pita) – No Gluten in Sight!
Building on this, understanding each component in this recipe is crucial for success. In my kitchen, I’ve experimented endlessly with gluten-free baking. I always discover that the right ingredients make all the difference. This section breaks down every item you’ll need.
First, let’s talk about the Gluten-Free Flour Blend. This is the cornerstone of any successful gluten-free bread. Unlike traditional wheat flour, which inherently contains gluten for structure, a blend combines several flours and starches. This combination works to mimic the elasticity and chewiness that gluten provides. I often reach for blends like Caputo Gluten-Free Flour Recipes because they are specifically formulated for bread. You’ll notice that these blends typically contain a mix of rice flour, tapioca starch, and potato starch. Rice flour provides structure, while tapioca and potato starches contribute to a lighter texture and help with browning. This carefully balanced mix is essential for achieving that characteristic soft yet slightly chewy texture. Many wonder, “does pita have gluten?” With this blend, the answer is a resounding no.
Next up is Psyllium Husk Powder. This ingredient is a true MVP in gluten-free baking. It acts as a powerful binder and elasticity enhancer. In practice, it essentially replaces the function of gluten. Without it, your bread would be crumbly and lack the necessary structure to form those delightful pockets. A common mistake is to skip it or use too little. The key difference is comparing psyllium husk vs chia seeds for binding. While chia seeds offer some binding, psyllium husk powder provides a far superior, more robust elasticity vital for pliable bread. It helps create a dough that can be rolled thin without tearing. This is critical for achieving the authentic texture of this recipe.
Yeast, whether active dry or instant, is your leavening agent. It’s responsible for the rise and those signature air pockets. The secret is to activate it correctly. Warm Water is vital for this activation. It should be warm to the touch, around 105-115°F (40-46°C). Too hot, and you’ll kill the yeast; too cold, and it won’t activate. This precise temperature ensures your dough gets that beautiful lift.
Olive Oil adds richness and pliability to the dough. It contributes to a tender crumb and a subtle Mediterranean flavor. What I love about this is how it makes the bread soft and prevents it from drying out too quickly. It’s a small addition with a big impact on the final texture.
A touch of Sugar (or honey) feeds the yeast. This helps it become active and bubbly, ensuring a good rise. It also contributes a hint of sweetness and aids in browning. Worth noting here, this isn’t for a sweet bread, but rather to give the yeast a head start.
Finally, Salt is crucial for flavor. It balances the other ingredients and enhances the overall taste profile. Don’t underestimate its role; bland bread is no fun. For dusting, Rice Flour is my go-to. It prevents sticking without introducing any gluten. It’s also excellent for dusting your work surface. This ensures your dough handles beautifully.
Equipment You’ll Need to Master Gluten-Free Lebanese Bread
In my kitchen, having the right tools makes all the difference, especially when tackling a new gluten-free recipe. This is particularly true for something as specific as flatbread. You’ll notice that while many recipes claim to be simple, they often omit critical equipment details.
- Large Mixing Bowl: This is your starting point. You need ample space to combine your flours, liquids, and leavening agents without spills. A generous size ensures easy mixing and allows the dough to expand comfortably during its first rise.
- Stand Mixer with Dough Hook (Optional but Recommended): Here’s the thing: gluten-free doughs can be stickier and less elastic than traditional wheat doughs. A stand mixer with a dough hook significantly reduces the effort of kneading. It also helps develop the structure needed for the bread to puff beautifully, a key characteristic of good pita. This machine handles the arduous work, ensuring a uniform consistency that’s hard to achieve by hand with these delicate flours.
- Measuring Cups and Spoons: Precision is paramount in gluten-free baking. Unlike traditional baking where a little leeway exists, exact measurements prevent a dense, crumbly, or overly wet dough. I always level off my ingredients carefully to ensure the correct flour-to-liquid ratio. This attention to detail is crucial for the final texture.
- Rolling Pin: To achieve that characteristic thinness without tearing, a good rolling pin is essential. I prefer a French-style rolling pin for better control, but any rolling pin will work. The goal is an even thickness, which promotes uniform cooking and helps the bread puff evenly.
- Cast Iron Skillet or Baking Steel/Stone: The secret is high heat, and these tools deliver it consistently. A heavy-bottomed cast iron skillet on the stovetop creates an intense, even heat that mimics a traditional tandoor or oven. Alternatively, a baking steel or stone preheated in the oven provides a powerful thermal mass. This rapid heat transfer is what causes the steam inside the dough to expand, creating that iconic pocket.
- Parchment Paper: Gluten-free dough can be delicate and sticky. Rolling it out between two sheets of parchment paper prevents it from sticking to your work surface or rolling pin. It also makes transferring the rolled dough to your hot cooking surface much easier, minimizing handling and potential tearing.
- Kitchen Towel: After baking, the hot bread needs to be kept warm and moist. Covering the cooked pita with a clean kitchen towel immediately after it comes off the heat helps trap steam. This keeps the bread soft and pliable, preventing it from becoming brittle as it cools.
- Spatula/Tongs: For flipping the bread safely and efficiently. These tools allow you to handle the hot pita without burning your fingers. Quick, decisive flips ensure even cooking on both sides and help encourage that beautiful puff. In practice, a wide metal spatula works well for transferring, while tongs are great for adjusting on the hot surface.
Step-by-Step Instructions: Crafting Your Perfect Gluten-Free Lebanese Bread
- Activate the Yeast: In a small bowl, combine 1/2 cup warm water (105-115°F or 40-46°C), 1 teaspoon of sugar, and 2 1/4 teaspoons of active dry yeast; stir gently and let it sit for 5-10 minutes until foamy, indicating the yeast is active.
- Combine Dry Ingredients: In a large mixing bowl, whisk together 2 cups of your chosen gluten-free flour blend, 1 tablespoon of psyllium husk powder, and 1 teaspoon of salt until well combined.
- Mix Wet and Dry: Pour 2 tablespoons of olive oil and the activated yeast mixture into the bowl with the dry ingredients, then mix with a spoon or a stand mixer with a dough hook attachment until a shaggy, cohesive dough forms.
Here are steps 4 to 6 for your recipe article:
-
Knead the Dough: Knead the dough by hand on a lightly floured surface or using a stand mixer with a dough hook attachment on medium speed for 5-7 minutes, until it becomes smooth and cohesive, keeping in mind that gluten-free dough will not exhibit the same elasticity as traditional wheat dough.
-
First Rise: Lightly oil a large bowl, place the dough inside, turn to coat, then cover the bowl tightly with plastic wrap or a clean kitchen towel and let it rise in a warm, draft-free place for 1 to 1.5 hours, or until it has visibly increased in size, acknowledging that gluten-free dough may not double in volume as dramatically as traditional dough.
-
Divide and Shape: Gently punch down the risen dough to release air, then turn it out onto a lightly floured surface, divide it into 6-8 equal portions, and carefully roll each portion into a smooth, tight ball.
-
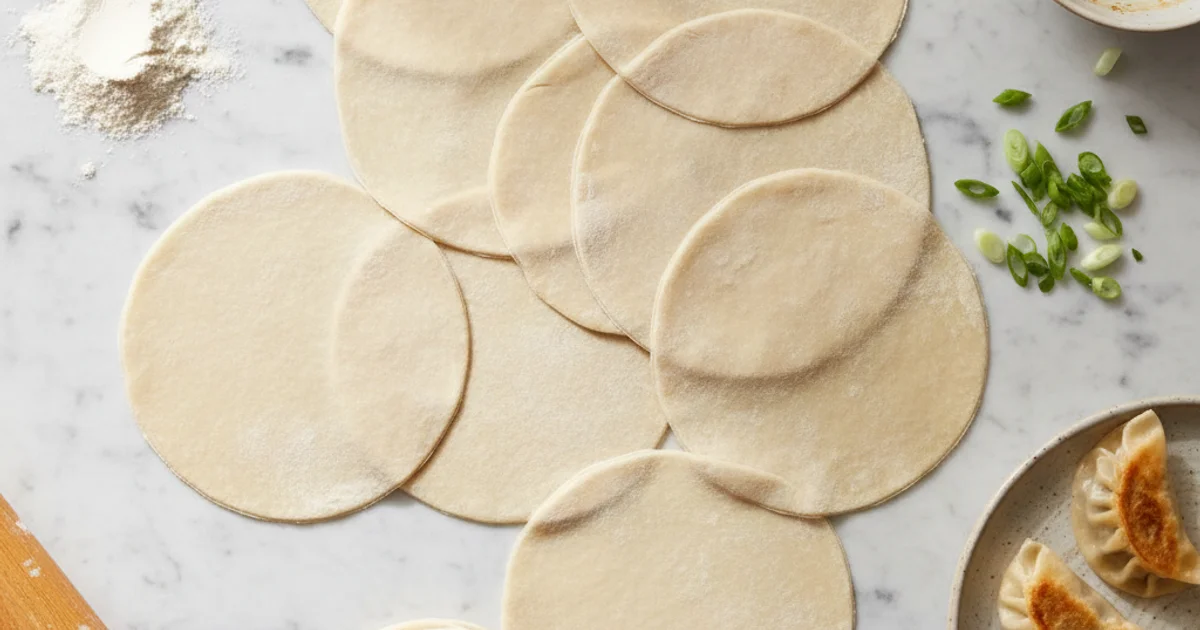
Roll Out: On a lightly floured surface, using rice flour to prevent sticking, roll each dough ball into a thin, round circle, aiming for approximately 6-8 inches in diameter.
-
Cook the Bread: Heat a cast iron skillet or baking stone over high heat until it’s very hot. Carefully place one rolled-out bread onto the hot surface and cook for 1-2 minutes per side, observing closely for the bread to puff up. If a piece doesn’t puff, gently press around its edges with a spatula to encourage it.
-
Cool and Store: Once cooked, immediately transfer the warm bread to a clean kitchen towel and cover it to keep it warm and soft until serving.
Pro Tips & Tricks for Gluten-Free Lebanese Bread Success
Building on this, mastering gluten-free baking requires a keen eye and a bit of patience, especially when working with different flour blends. I always tell my students that understanding the nuances of gluten-free dough is half the battle won. You’ll notice that this dough behaves differently from traditional wheat-based doughs. My personal experience has shown me that precise measurements are crucial for consistent results.
Here’s the thing, one of the most common pitfalls I observe in home bakers is over-flouring the workspace when rolling out dough. Too much extra flour, particularly rice flour or gluten-free cornstarch, can significantly dry out your finished product. I recommend using just a light dusting to prevent sticking, or even rolling between two sheets of parchment paper. This method keeps the dough moist and pliable. In my kitchen, I keep a small shaker with gluten-free flour blend specifically for dusting.
The key difference is in the cooking temperature. For that characteristic “hot pocket” effect and puffing, high heat is absolutely essential. I preheat my cast-iron skillet or griddle for at least 10 minutes over medium-high heat. You want it smoking slightly before placing your dough. This intense initial heat creates steam inside the dough, which forces it to puff up beautifully. Without this high heat, your bread will remain flat and dense.
A common mistake is overcooking the bread, which leads to a dry, brittle texture. I aim for just a minute or two per side, until the bread is lightly browned and fully puffed. The edges might get a little crispy, but the center should remain soft and pliable. Once removed from the heat, I immediately stack the cooked breads and cover them with a clean kitchen towel. This traps steam, keeping them soft and preventing them from drying out.
Worth noting here, working quickly once the dough is rolled is another critical aspect. The longer the rolled dough sits exposed to air, the more moisture it loses, making it less likely to puff. I usually roll out two or three pieces at a time and then immediately transfer them to the hot pan. This ensures maximum hydration and better puffing. This technique is particularly helpful when making flatbreads that rely on steam for their texture.
In practice, adjusting hydration is a skill that comes with practice, as various gluten-free flours absorb liquid differently. If your dough feels too stiff or crumbly, add a teaspoon of warm water at a time until it reaches a soft, pliable consistency. Conversely, if it’s too sticky to handle, sprinkle in a tiny bit more of your gluten-free flour blend. The goal is a dough that is easy to roll but not overly wet. Understanding gluten-free flour blends can help you anticipate these adjustments.
The secret is patience with rising times. Gluten-free doughs, unlike their wheat counterparts, often rise slower and less dramatically. Don’t expect the same voluminous rise you’d see with traditional yeast breads. I always allow ample time for the first rise, usually in a warm, draft-free spot. Even if it doesn’t double in size, a noticeable increase in volume indicates the yeast is active.
Finally, the importance of psyllium husk cannot be overstated in this recipe. It acts as a crucial binder, mimicking the elasticity and structure that gluten provides. Trust me on this one, omitting or significantly reducing the psyllium husk will result in a crumbly, unmanageable dough. It’s what gives this bread its characteristic chew and flexibility, ensuring it doesn’t fall apart when you fold or fill it.
Enjoyed this recipe? Share it with a friend or save it to your board for later. Leave a comment below — I love hearing how it turned out!
You May Also Enjoy





You Might Also Love These 🍽️
Recipes picked just for you based on what you’re cooking