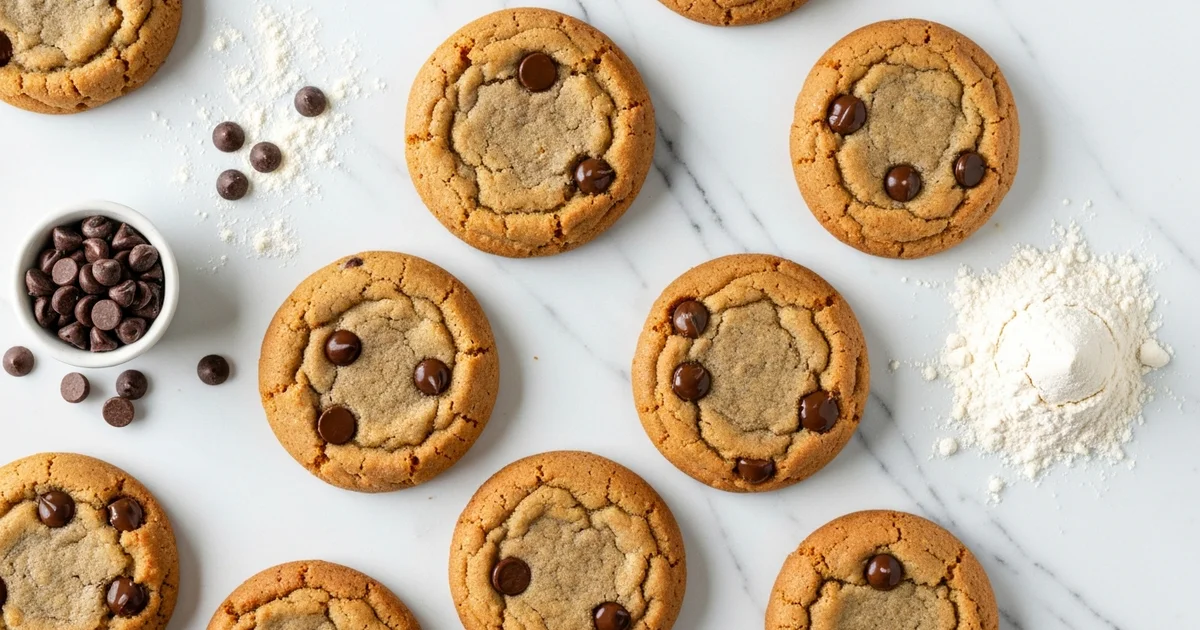
Irresistible Chocolate Chip Cookies for Everyone
Discover the best gluten-free, rice-free chocolate chip cookie recipe! Perfect for those with allergies, these delicious cookies are easy to make and supremely satisfying.
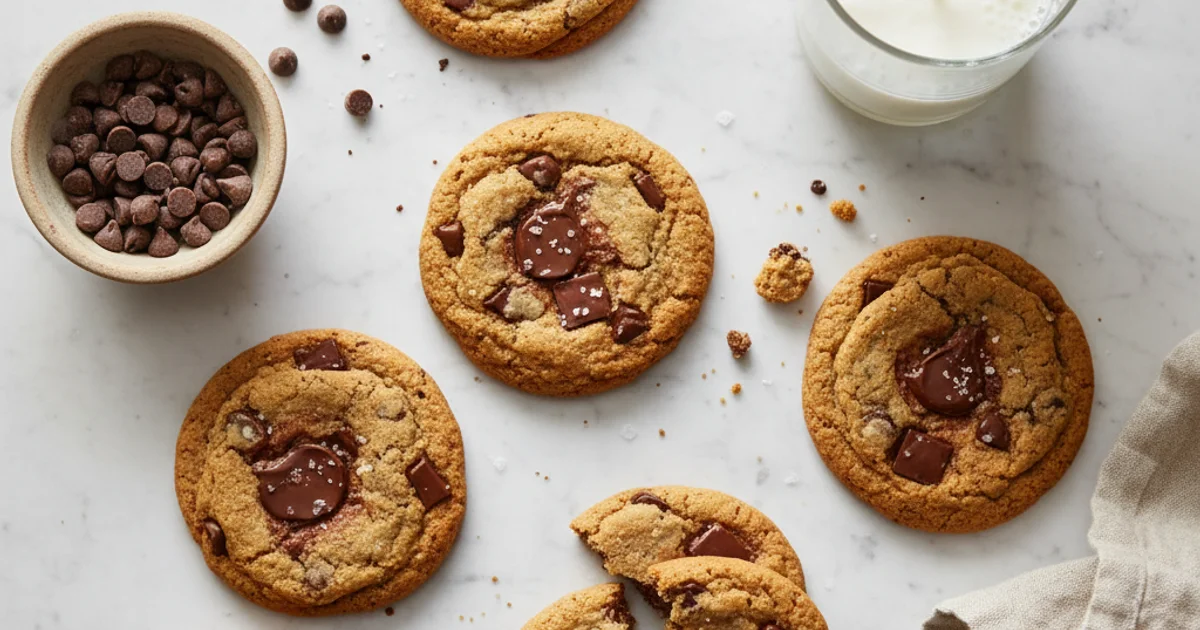
Ingredients
Dry Ingredients
- 1 cup (120g) sweet potato flour
- 1/2 cup (60g) tapioca starch (or tapioca flour)
- 1/4 cup (30g) gluten-free oat flour (certified GF)
- 1 tbsp potato starch
- 1 tsp xanthan gum
- 1 tsp baking soda
- 1/2 tsp salt
Wet Ingredients
- 1/2 cup (113g) unsalted butter, softened (or dairy-free butter)
- 1/2 cup (100g) granulated sugar
- 1/2 cup (100g) packed light brown sugar
- 1 large egg (or flax egg)
- 1 tsp vanilla extract
Add-ins
- 1 cup (170g) chocolate chips (dairy-free if needed)
Instructions
Instructions
Preheat oven to 375°F (190°C). Line baking sheets with parchment paper.
Instructions
In a medium bowl, whisk together sweet potato flour, tapioca starch, oat flour, potato starch, xanthan gum, baking soda, and salt. Set aside.
Instructions
In a large bowl, cream softened butter, granulated sugar, and brown sugar with an electric mixer until light and fluffy.
Instructions
Beat in the egg and vanilla extract until well combined.
Instructions
Gradually add the dry ingredient mixture to the wet ingredients, mixing on low speed until just combined. Do not overmix.
Instructions
Fold in the chocolate chips until evenly distributed.
Instructions
Scoop dough by rounded tablespoons onto prepared baking sheets, leaving about 2 inches between cookies.
Instructions
Bake for 10-12 minutes, or until edges are lightly golden and centers are still slightly soft.
Instructions
Let cookies cool on the baking sheet for 5 minutes before transferring to a wire rack to cool completely.
Recipe FAQs
Is this recipe truly `gluten free rice free`?
Can I use a `1 to 1 gluten free flour` blend that contains rice?
What is the best `oat flour replacement` if I can't use oats?
Where can I buy `xanthan gum near me`?
Can I substitute almond flour for all-purpose flour in this recipe?
Is `plain flour and all purpose` the same?
Irresistible Chocolate Chip Cookies for Everyone
Discover the best gluten-free, rice-free chocolate chip cookie recipe! Perfect for those with allergies, these delicious cookies are easy to make and supremely satisfying.
Prep Time
15 min
Cook Time
12 min
Total Time
27 min
Dry Ingredients
- 1 cup (120g) sweet potato flour
- 1/2 cup (60g) tapioca starch (or tapioca flour)
- 1/4 cup (30g) gluten-free oat flour (certified GF)
- 1 tbsp potato starch
- 1 tsp xanthan gum
- 1 tsp baking soda
- 1/2 tsp salt
Wet Ingredients
- 1/2 cup (113g) unsalted butter, softened (or dairy-free butter)
- 1/2 cup (100g) granulated sugar
- 1/2 cup (100g) packed light brown sugar
- 1 large egg (or flax egg)
- 1 tsp vanilla extract
Add-ins
- 1 cup (170g) chocolate chips (dairy-free if needed)
Introduction: Why Gluten-Free, Rice-Free Baking Matters
Navigating the world of baking can be challenging for those with gluten and rice sensitivities. The increasing prevalence of gluten intolerance and celiac disease has led to a surge in gluten-free products, yet many still rely heavily on rice flour. This can be frustrating for individuals seeking truly gluten free rice free options that do not compromise on taste or texture. For those of us avoiding both gluten and rice, finding a reliable recipe can feel like searching for a needle in a haystack.
What I love about this recipe is that it offers a delicious solution that caters to these dietary needs without sacrificing flavor. The joy of baking returns when you can whip up a treat that everyone can enjoy, regardless of dietary restrictions. In this guide, I’ll share how to create these delightful cookies using nutritious flour alternatives that ensure a satisfying experience in every bite. Let’s dive into the world of gluten-free, rice-free baking!
Why You’ll Absolutely Love These Gluten-Free, Rice-Free Cookies
What I love about these cookies is how truly allergy-friendly they are. By excluding both gluten and rice, this recipe provides a safe and satisfying option for anyone with dietary restrictions. No need to worry about cross-contamination or hidden ingredients. This dish allows you to indulge without anxiety, making it a go-to for gatherings where guests may have varying dietary needs.
You’ll notice that they achieve that classic chewy-on-the-inside, crispy-on-the-edges texture that everyone craves. The rich flavor is enhanced by a blend of quality ingredients that come together beautifully. You’ll feel like you’re enjoying a traditional cookie, even without the usual gluten-rich flour. It’s a delightful way to enjoy a timeless treat without compromising on taste.
The simplicity of this recipe is another highlight. Designed with home cooks in mind, you won’t find overly complex steps or hard-to-source ingredients. Many recipes for gluten and rice free flour can be daunting, but this one only requires a few straightforward components. This makes it easy to whip up a batch even on a busy day.
Additionally, these cookies are versatile and adaptable. You can easily customize them with various add-ins, like nuts or dried fruit, or swap in different sweeteners to suit your taste. This flexibility makes it your go-to recipe for any occasion, whether it’s a casual snack or a festive gathering. With such a delightful treat at hand, you’re sure to impress family and friends alike.
Ingredients Overview: Crafting Your Perfect Gluten-Free, Rice-Free Flour Blend
Crafting the perfect gluten free rice free flour blend is essential for achieving the right texture in your cookies. A blend is necessary because no single flour can replicate the properties of wheat flour. For this recipe, I recommend using a combination of tapioca powder, sweet potato flour, and oat flour gluten free. Tapioca flour, often confused with tapioca starch, gives a chewy texture and helps bind ingredients. Sweet potato flour adds a natural sweetness and moisture while oat flour provides a light, airy structure. These flours can be mixed in a ratio of 2:2:1 for optimal results.
For a more commercial option, you might consider brands like Bob’s gluten free flour or Better Batter flour. Just ensure they don’t contain rice, as that can ruin the goal of this recipe. If you’re wondering how to make flour at home, you can blend gluten-free oats or dried sweet potatoes into a fine powder using a high-speed blender.
Binding agents are another crucial aspect. Xanthan gum or guar gum acts as a substitute for gluten, creating elasticity in the dough. The key difference is that xanthan gum is better for recipes requiring a chewy texture, while guar gum is often used in baked goods that need a softer crumb. You can easily find xanthan gum near you in health food stores or online.
Next, let’s talk about fats. Unsalted butter brings richness and tenderness to your cookies. If you prefer a dairy-free option, coconut oil or a plant-based butter can work well.
In terms of sweetness, a combination of granulated sugar and brown sugar is perfect. Granulated sugar contributes to crispness, while brown sugar adds moisture and a chewy texture. Worth noting here is that superfine sugar dissolves better, making it a great choice for smoother cookie dough.
Eggs play a vital role in providing structure and binding. If you’re looking for a vegan alternative, flax eggs (made from ground flaxseeds and water) can effectively replace eggs in this recipe.
Finally, leavening agents are essential for achieving that ideal lift. A bit of baking soda will help your cookies spread and rise. Flavor enhancers like vanilla extract and chocolate chips are the finishing touches that elevate your treat.
By carefully selecting and combining these ingredients, you’ll create a tasty gluten-free, rice-free cookie that meets your dietary needs without compromising on flavor or texture.
Essential Equipment You’ll Need for Baking Success
When it comes to baking gluten-free, rice-free cookies, having the right equipment is vital to your success. Each tool plays a crucial role in ensuring your cookies turn out perfectly. Here’s a rundown of the essential equipment you’ll need.
Mixing Bowls: At least two mixing bowls are essential. A red glass bowl not only looks appealing but also allows you to see the consistency of your dough clearly.
Measuring Tools: Accurate measurements are key in gluten-free baking. Invest in measuring cups and spoons for both liquids and solids. A powder scale is particularly useful for measuring flour accurately, which is crucial for this recipe.
Whisk & Spatula: You’ll need a whisk for mixing dry ingredients and a spatula for folding in the wet ingredients. These tools ensure everything is combined evenly.
Electric Mixer (Optional but Recommended): A stand mixer or hand mixer is immensely helpful for creaming butter and sugar together smoothly. This step is essential for achieving the right texture in your cookies.
Baking Sheets & Parchment Paper: Use baking sheets lined with parchment paper for even baking and easy cleanup. This combination prevents sticking and ensures the cookies bake evenly.
Cookie Scoop: A cookie scoop is a game-changer for portioning your dough. It helps create uniform cookie sizes, ensuring they bake consistently throughout.
Cooling Rack: Once your cookies are out of the oven, transfer them to a cooling rack. This allows air to circulate, preventing sogginess and ensuring that the cookies maintain their structure.
Having these tools ready before you start will streamline your baking process, making it enjoyable and efficient. Each piece of equipment plays a role in developing that perfect cookie texture and flavor.
Step-by-Step Instructions: Baking Your Best Gluten-Free, Rice-Free Cookies
Instructions
Preparation: Begin by preheating your oven to 350°F (175°C). While the oven is heating, line two baking sheets with parchment paper to ensure that your cookies do not stick and bake evenly. This will help achieve the perfect texture for your cookies.
Cream Wet Ingredients: In a large mixing bowl, use an electric mixer to cream together 1 cup of softened unsalted butter with 3/4 cup of brown sugar and 3/4 cup of granulated sugar until the mixture is light and fluffy, which should take about 2-3 minutes. Once creamed, add in 2 large eggs and 1 teaspoon of pure vanilla extract, mixing until fully incorporated. This step is crucial for creating a light and tender cookie base.
Combine Dry Ingredients: In a separate bowl, whisk together 2 cups of your chosen rice-free gluten-free flour blend, 1 teaspoon of xanthan gum, 1 teaspoon of baking soda, and 1/2 teaspoon of salt until well combined. Understanding the components of your flour is important; for instance, if you want to make your own flour blend or even bread flour, you can experiment with various gluten-free grains and starches to create a balanced blend. Once mixed, gradually add the dry ingredients to the wet ingredients, stirring until just combined.
Combine Wet and Dry: Gradually add the dry ingredients to the wet mixture, using a spatula or wooden spoon to mix until just combined. Be careful not to overmix, as this can lead to dense cookies. The dough should be slightly thick and cohesive, with no visible dry flour remaining.
Fold in Chocolate Chips: Gently fold in the chocolate chips or any other desired add-ins, such as nuts or dried fruit, using the spatula. This ensures an even distribution of ingredients throughout the dough without overworking it, resulting in tender cookies with delightful bursts of chocolate in every bite.
Scoop & Bake: Using a cookie scoop or tablespoon, portion the dough onto the prepared baking sheets, spacing them about 2 inches apart to allow for spreading. Bake in a preheated oven at 350°F (175°C) for 10-12 minutes, or until the edges are golden brown and the centers are set but still soft. Remove from the oven and let them cool on the baking sheet for 5 minutes before transferring to a wire rack to cool completely.
Allow the cookies to cool on the baking sheet for about 5-10 minutes. This will help them set and maintain their shape while making them easier to transfer.
Carefully transfer the cookies to a wire rack using a spatula. This will allow them to cool completely and help prevent them from becoming soggy on the bottom.
Pro Tips & Tricks for Gluten-Free, Rice-Free Baking Success
Achieving the perfect gluten free rice free cookies can sometimes feel like a daunting task. However, with a few expert tips and tricks, you can ensure that your baking experience is smooth and the results are fantastic.
Accurate Measurement is Key: One of the most critical aspects of baking is precision. I always recommend using a powder scale for measuring flours and starches. When you’re using gluten-free blends, the weight can vary significantly, making cup measurements unreliable. This is particularly important when working with ingredients like gluten free flour with xanthan gum, which can be tricky to balance.
Don’t Overmix: Here’s the thing: overmixing can lead to tough cookies, even with a gluten-free blend. Gently mix your ingredients until just combined. This prevents any potential gluten development from trace amounts and keeps your cookies tender.
Chill Your Dough: If you want to elevate your cookie game, chilling your dough for at least 30 minutes is essential. This step reduces spreading and intensifies flavors. You’ll notice that the texture is also much improved after a chill.
Don’t Overbake: Gluten-free cookies can go from perfectly baked to dry in a matter of moments. Look for those lightly golden edges and a slightly soft center to ensure the best texture. Trust me on this one; it’s easy to lose track of time!
Flour Blend Adjustments: Different flours absorb moisture at varying rates. For instance, if you’re using whole grain gluten free flour or potato starch gluten free, you might need to adjust the liquid in your recipe. Experimenting with different blends can help you find the perfect combination.
Room Temperature Ingredients: Using room temperature butter and eggs helps create a smoother batter and better emulsion. This tip is often overlooked but can make a big difference in how your cookies turn out.
For more specific advice on gluten-free baking, check out this helpful guide on the topic. By following these tips, you’ll be well on your way to mastering perfect gluten-free, rice-free cookies every time.
Enjoyed this recipe? Share it with a friend or save it to your board for later. Leave a comment below — I love hearing how it turned out!
You May Also Enjoy





You Might Also Love These 🍽️
Recipes picked just for you based on what you’re cooking