Is Potato Bread Gluten Free? Plus, a Delicious Gluten-F
Wondering, 'is potato bread gluten free?' We break down the facts and share an easy, fluffy gluten-free potato bread recipe perfect for sandwiches and toast.
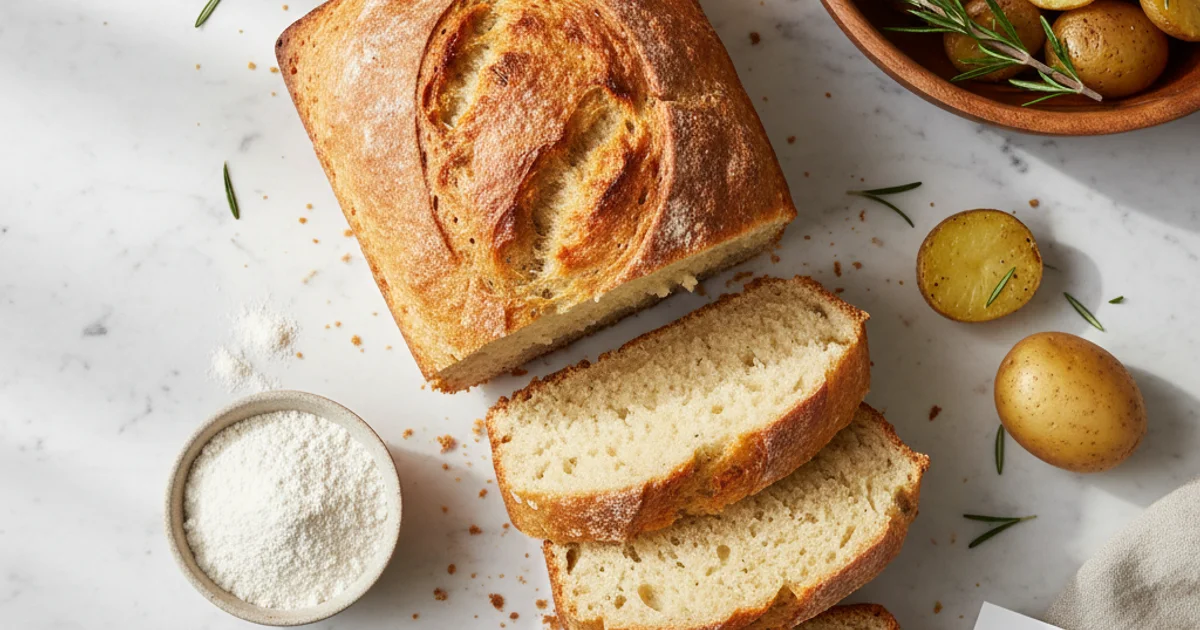
- 1Is Potato Bread Gluten Free? Unpacking the Truth for Your Kitchen
- 2Why You’ll Love This Gluten-Free Potato Bread Recipe
- 3Ingredients Overview: Crafting Your Perfect Gluten-Free Potato Bread
- 4Essential Equipment You’ll Need for Gluten-Free Potato Bread
- 5Step-by-Step Instructions: Baking Your Perfect Gluten-Free Potato Bread
- 6Pro Tips & Tricks for the Best Gluten-Free Potato Bread
Ingredients
Wet Ingredients
- 1 cup warm milk (105-115°F / 40-46°C)
- 2 ¼ teaspoons active dry yeast (1 standard packet)
- 1 tablespoon granulated sugar or honey
- 1 cup mashed potatoes, cooled (from about 1 medium Russet potato)
- 2 large eggs, room temperature
- ¼ cup olive oil or melted unsalted butter
- 1 tablespoon apple cider vinegar
Dry Ingredients
- 3 cups (420g) gluten-free all-purpose flour blend (with xanthan gum)
- 1 teaspoon xanthan gum (if your blend doesn't contain it)
- 1 ½ teaspoons salt
Instructions
Instructions
Prepare mashed potatoes and let cool completely.
Instructions
In a large bowl, combine warm milk, sugar, and yeast. Let sit 5-10 minutes until foamy.
Instructions
Add mashed potatoes, eggs, oil/butter, and apple cider vinegar to the yeast mixture. Whisk well.
Instructions
In a separate bowl, whisk together GF flour blend, xanthan gum (if using), and salt.
Instructions
Gradually add dry ingredients to wet ingredients, mixing with a stand mixer (dough hook) until a sticky, uniform dough forms (5-7 minutes).
Instructions
Lightly grease a large bowl. Transfer dough, cover with plastic wrap, and let rise in a warm place for 1-1.5 hours, or until doubled.
Instructions
Lightly grease a 9x5 inch loaf pan. Gently punch down dough, shape into a loaf, and place in the pan.
Instructions
Cover loosely and let rise again for 30-45 minutes, or until nearly doubled.
Instructions
Preheat oven to 375°F (190°C).
Instructions
Bake for 35-45 minutes, until golden brown and internal temperature reaches 200-210°F (93-99°C).
Instructions
Remove from pan immediately and cool completely on a wire rack before slicing.
Recipe FAQs
Is potato bread healthier than regular bread?
Can I use instant mashed potatoes for this recipe?
Why is my gluten-free potato bread dense?
What's the best gluten-free flour blend for bread?
Can I make this recipe without a stand mixer?
How long does gluten-free potato bread stay fresh?
Is Potato Bread Gluten Free? Plus, a Delicious Gluten-F
Wondering, 'is potato bread gluten free?' We break down the facts and share an easy, fluffy gluten-free potato bread recipe perfect for sandwiches and toast.
Prep Time
30 min
Cook Time
40 min
Total Time
70 min
Wet Ingredients
- 1 cup warm milk (105-115°F / 40-46°C)
- 2 ¼ teaspoons active dry yeast (1 standard packet)
- 1 tablespoon granulated sugar or honey
- 1 cup mashed potatoes, cooled (from about 1 medium Russet potato)
- 2 large eggs, room temperature
- ¼ cup olive oil or melted unsalted butter
- 1 tablespoon apple cider vinegar
Dry Ingredients
- 3 cups (420g) gluten-free all-purpose flour blend (with xanthan gum)
- 1 teaspoon xanthan gum (if your blend doesn't contain it)
- 1 ½ teaspoons salt
Is Potato Bread Gluten Free? Unpacking the Truth for Your Kitchen
Many people wonder, is potato bread gluten free? The short answer, for most commercially available or traditionally made potato breads, is no. This often surprises home bakers and those new to a gluten-free diet. What I discovered early in my culinary journey is that the presence of potato in a bread recipe doesn’t automatically make it suitable for those avoiding gluten.
Here’s the thing: while potatoes themselves are naturally gluten-free, and is potato flour gluten free? Yes, potato flour and potato starch are indeed gluten-free ingredients. The confusion arises because traditional potato bread recipes almost always use wheat flour as their primary base. The potato component, whether mashed, flaked, or as potato flour, is typically added as a supplement. It contributes to the bread’s texture and moisture but isn’t usually the sole flour. This means if you pick up a loaf from the store labeled “potato bread,” it’s highly likely to contain wheat and, therefore, gluten.
A common mistake is assuming that because an ingredient like potato is naturally gluten-free, any product containing it will also be. This simply isn’t the case with most baked goods. For individuals with celiac disease or gluten sensitivity, this distinction is crucial. To truly enjoy a bread that captures the comforting essence of potato bread without the gluten, a specially formulated recipe is required. This recipe offers a fantastic solution, allowing you to enjoy a flavorful, tender loaf. Making your own gluten free potato bread recipe ensures complete control over ingredients, eliminating any hidden sources of gluten and preventing cross-contamination, which is paramount for sensitive individuals. This homemade approach also means you can avoid many of the additives found in store-bought options.
Why You’ll Love This Gluten-Free Potato Bread Recipe
Here’s the thing: many people assume that because a bread contains potato, it automatically means it’s suitable for a gluten-free diet. What I discovered in my own kitchen is that traditional potato bread often uses wheat flour as its base, making it off-limits for those with sensitivities. This recipe, however, is a game-changer for anyone asking, “is potato bread gluten free?” because it’s specifically formulated to be so. You’ll find that this particular loaf defies the common perception of gluten-free breads being dense or crumbly; instead, it offers an incredibly soft and fluffy texture that rivals its conventional counterparts.
Building on this, the inclusion of real potato in this recipe does more than just lend its name; it imparts a subtle, earthy flavor and contributes significantly to the bread’s moist crumb. This isn’t just about avoiding gluten; it’s about creating a truly enjoyable eating experience. I always aim for recipes that are approachable, and this gluten-free potato bread recipe is surprisingly easy to make, even if you’re new to gluten-free baking. The steps are straightforward, and the ingredients are readily available, ensuring a stress-free baking session.
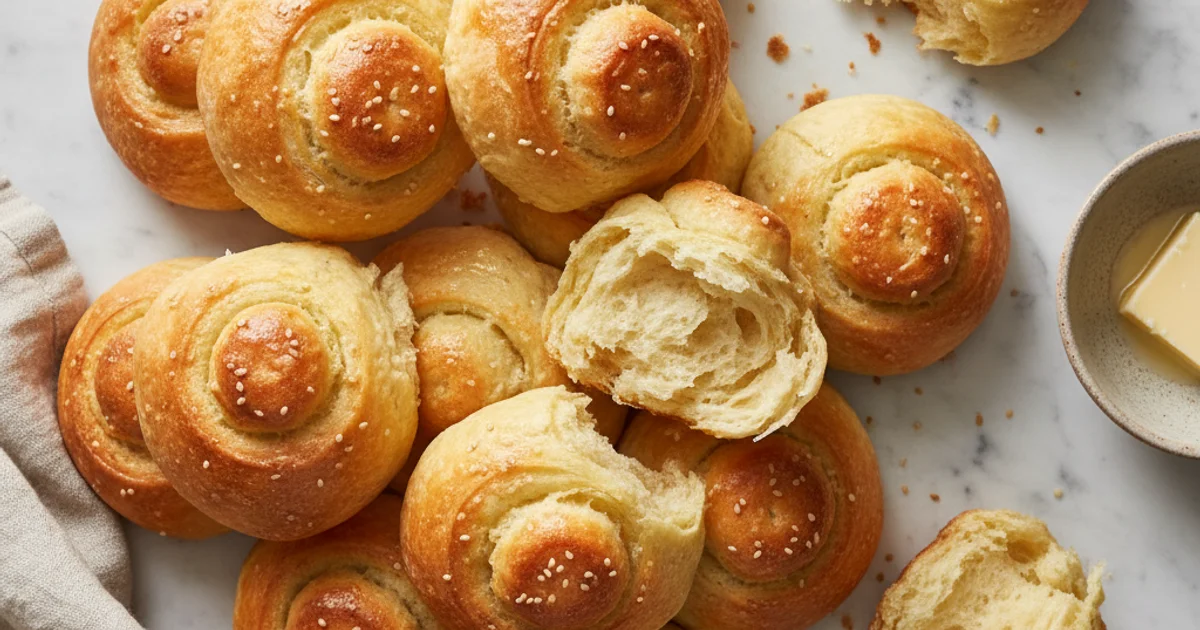
In practice, this bread is wonderfully versatile. I’ve used it for everything from hearty sandwiches to morning toast slathered with jam. It also makes fantastic dinner rolls, perfect for soaking up gravies or stews. For those who miss the simple pleasure of a good slice of bread, this recipe truly satisfies those cravings, providing a genuine bread experience without any gluten. You might even find yourself wondering if it’s potato bread healthier than other options, given its wholesome ingredients. This recipe delivers on taste, texture, and dietary needs, making it a staple in my kitchen.
Ingredients Overview: Crafting Your Perfect Gluten-Free Potato Bread
Building on this, let’s talk about the foundation of any great bread: the ingredients. In my kitchen, I’ve learned that the right components make all the difference, especially when navigating the nuances of gluten-free baking. Every item in this recipe has a specific job, contributing to the ultimate texture and flavor of your loaf. Understanding these roles helps you troubleshoot and even adapt in the future.
Here’s what you’ll need to create a truly exceptional gluten-free potato bread recipe:
-
Cooked Mashed Potatoes: This is the star ingredient. I always opt for Russet or Yukon Gold potatoes. Russets are starchy, creating a light, fluffy texture, while Yukon Golds offer a creamier consistency and a lovely yellow hue. They add incredible moisture and tenderness, preventing the dry, crumbly texture often associated with gluten-free breads. Make sure your mashed potatoes are cooled completely before adding them to the dough; hot potatoes can kill your yeast.
-
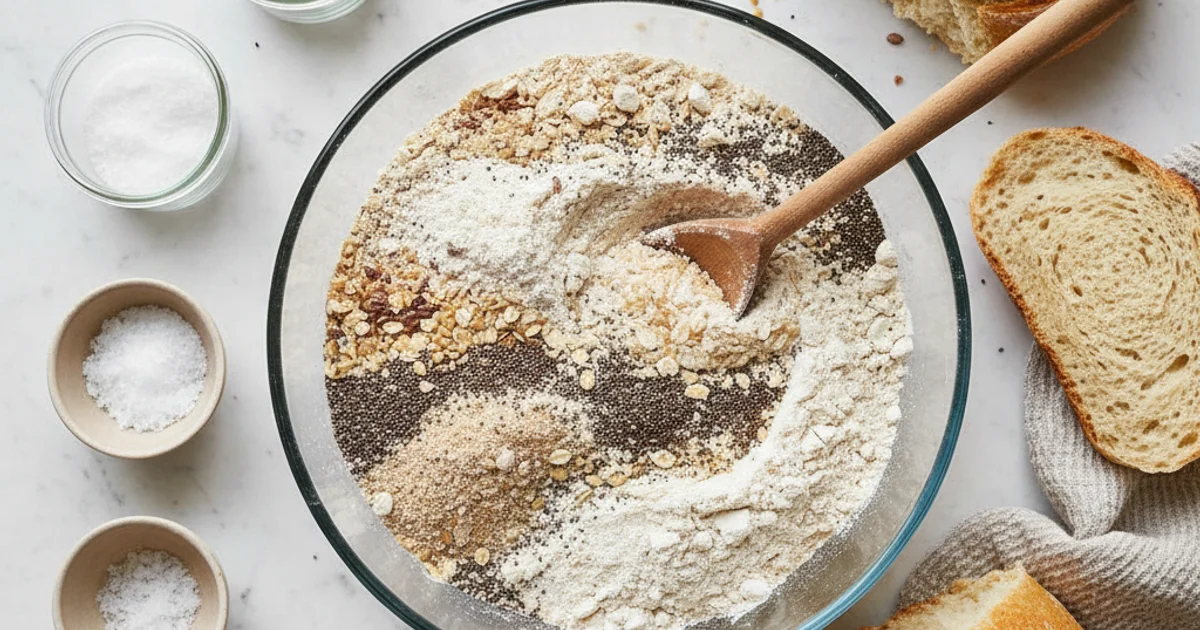
Gluten-Free Flour Blend: This is crucial for structure. I recommend a blend that includes a mix of starches and whole grain flours. My go-to often contains brown rice flour, tapioca starch, and potato starch. This combination provides both structure and elasticity. If your chosen blend doesn’t already contain it, you’ll need to add a small amount of xanthan gum. Xanthan gum mimics the elasticity of gluten, preventing your bread from falling apart. It’s a non-negotiable for successful gluten-free baking.
-
Active Dry Yeast: This is your leavening agent, responsible for that beautiful rise. If you’re using active dry yeast, you’ll need to activate it first in warm liquid with a pinch of sugar. Instant yeast can often be mixed directly with the dry ingredients, but I prefer the little extra step for active dry; it assures me the yeast is alive and ready to work.
-
Granulated Sugar or Honey: Beyond just sweetness, this feeds the yeast, encouraging it to activate and produce carbon dioxide, which creates air pockets in your bread. It also contributes to a lovely golden-brown crust.
-
Salt: Essential for flavor, salt also plays a role in controlling yeast activity, ensuring a steady, even rise. Don’t skip it; bland bread is a missed opportunity.
-
Large Eggs: Eggs act as a binder, helping to hold the gluten-free dough together. They also add richness and contribute to the overall structure and tenderness of the crumb.
-
Milk (Dairy or Dairy-Free): This provides necessary moisture and can add richness. I often use unsweetened almond milk, but whole dairy milk works beautifully for a richer flavor.
-
Melted Butter or Neutral Oil: Fat contributes to moisture, tenderness, and a softer crumb. Unsalted butter offers a richer flavor, while a neutral oil like canola or grapeseed keeps the flavor profile simple and allows the potato to shine.
-
Apple Cider Vinegar: This is my secret weapon in gluten-free baking. A small amount of apple cider vinegar helps tenderize the crumb and can even aid in giving your bread a better rise by reacting with baking soda (if used) or simply by slightly acidifying the dough, which yeast often appreciates.
Each of these components works in harmony to create a loaf that challenges the notion that is potato bread gluten free by offering a truly satisfying alternative.
Essential Equipment You’ll Need for Gluten-Free Potato Bread
Here’s the thing, while baking can seem intimidating, having the right tools makes all the difference, especially when venturing into gluten-free territory. You don’t need a professional kitchen, but a few key pieces of equipment will elevate your results and make the process much smoother. I always say, good tools are an investment in your baking success.
What I discovered is that a stand mixer with a dough hook is a true game-changer for this gluten-free potato bread recipe. Unlike traditional wheat doughs that require extensive kneading to develop gluten, gluten-free doughs benefit from thorough mixing to properly hydrate the flours and distribute ingredients evenly. Trying to achieve this consistency by hand can be a real workout, and often leads to a less uniform crumb. A stand mixer ensures everything is perfectly incorporated without overworking the delicate gluten-free structure. Building on this, you’ll also want several large mixing bowls. I often use one for combining dry ingredients, another for wet, and a third for the initial autolyse phase if I’m feeling particularly meticulous. This multi-bowl approach keeps things organized and prevents cross-contamination, which is crucial when making sure your potato bread is gluten free.
A common mistake is underestimating the importance of precise measurements in gluten-free baking. This is why measuring cups and spoons are non-negotiable; accuracy ensures the correct ratio of flours, liquids, and leavening agents. For even greater precision, especially with gluten-free flours that can vary greatly in weight per volume, I highly recommend a kitchen scale. It’s optional, but trust me on this one, weighing your ingredients, particularly flours, will significantly improve the consistency of your loaves. In practice, a standard 9x5 inch loaf pan is ideal for this recipe. I prefer light-colored metal pans as they conduct heat more evenly, preventing overly dark crusts before the interior is fully baked. You’ll notice that a good quality rubber spatula is indispensable for scraping down the sides of your mixing bowl and ensuring no precious dough is left behind. Finally, for proper proofing, you’ll need either plastic wrap or a clean, damp kitchen towel to cover your dough and prevent it from drying out. The secret is creating a warm, humid environment for the yeast to thrive. Once baked, a wire cooling rack is essential; placing your hot loaf directly on a solid surface traps steam, leading to a soggy bottom, and nobody wants that after all your hard work.
Step-by-Step Instructions: Baking Your Perfect Gluten-Free Potato Bread
-
Prepare Mashed Potatoes: Begin by cooking the potatoes until they are very tender, then mash them thoroughly to ensure no lumps remain, and allow them to cool completely to room temperature before proceeding.
-
Activate Yeast: In a small bowl, combine the warm water (or milk), a pinch of sugar, and the active dry yeast, then gently stir and let the mixture sit for 5-10 minutes until it becomes foamy, indicating the yeast is active.
-
Combine Wet Ingredients: In a large mixing bowl, thoroughly whisk together the cooled mashed potatoes, eggs, milk, vegetable oil, and apple cider vinegar until the mixture is smooth and well-combined.
-
Combine Dry Ingredients: In a separate large bowl, whisk together the gluten-free all-purpose flour blend, salt, and xanthan gum (if not already included in your flour blend) until thoroughly combined and lump-free.
-
Mix Dough: Gradually add the dry ingredient mixture to the wet ingredients in the stand mixer, mixing on low speed with the dough hook until all ingredients are well combined and a shaggy dough forms; gluten-free dough will be noticeably stickier than traditional wheat dough.
-
First Rise (Bulk Fermentation): Cover the bowl tightly with plastic wrap or a clean kitchen towel and let the dough rise in a warm, draft-free place for 1.5 to 2 hours, or until it has visibly doubled in size, keeping in mind that gluten-free dough often takes a bit longer to rise than its gluten-containing counterpart.
-
Shape the Loaf: Once the dough has completed its first rise, gently deflate it by pressing down lightly, then shape it into a log and carefully place it into your greased 9x5-inch loaf pan.
-
Second Rise (Proofing): Cover the loaf pan with a clean kitchen towel or plastic wrap, and let the dough rise again in a warm, draft-free place for another 30-60 minutes, or until it has nearly doubled in size.
-
Preheat Oven & Bake: While the dough is proofing for the second time, preheat your oven to 375°F (190°C). Bake for 30-40 minutes, or until the crust is golden brown and an instant-read thermometer inserted into the center of the loaf registers an internal temperature of 200-210°F (93-99°C).
-
Allow the bread to cool completely in the pan on a wire rack before attempting to slice it, as this crucial step ensures the gluten-free bread structure sets properly and prevents crumbling.
Pro Tips & Tricks for the Best Gluten-Free Potato Bread
Building on this, mastering gluten-free baking requires a slightly different approach than traditional bread making. My years in the kitchen have taught me that small adjustments yield significant improvements, particularly when working with alternative flours. Here’s what actually works to ensure your gluten-free potato bread turns out perfectly every time.
-
Don’t Over-Mix: Unlike wheat-based doughs, gluten-free dough doesn’t develop gluten. Excessive mixing will not create structure; instead, it can lead to a dense, tough loaf. Mix only until the ingredients are just combined.
-
Accurate Flour Measurement: This is perhaps the most critical tip for consistent results. I always recommend using a kitchen scale to measure your flours by weight rather than volume. A cup of flour can vary significantly depending on how it’s scooped. For precise measurements, weighing ingredients is essential, as even a slight variation can impact the final texture of your bread.
-
Warm Environment for Rising: Yeast thrives in warmth. If your kitchen is cool, your dough will struggle to rise. I often preheat my oven to its lowest setting for a few minutes, then turn it off and place the covered dough inside. This creates a cozy, consistent environment for the yeast to work its magic. A good rise is crucial for light, airy bread.
-
Don’t Rush Cooling: This step is often overlooked but is absolutely vital for gluten-free bread. The internal structure continues to set as the bread cools. Slicing into a hot loaf can lead to a gummy, dense texture. Trust me on this one; patience here prevents disappointment. Let it cool completely on a wire rack before slicing.
-
Handling Sticky Dough: Gluten-free dough is inherently stickier than its gluten-containing counterparts. Don’t be alarmed by this texture. Lightly oiling your hands or using a wet rubber spatula can make shaping and transferring the dough much easier. This simple trick prevents frustration and helps maintain the dough’s structure.
-
Check for Doneness: Visual cues alone aren’t always enough. I always use an instant-read thermometer to check the internal temperature. For most yeasted breads, including this one, an internal temperature of 200-210°F (93-99°C) indicates it’s fully baked. This ensures no raw spots and a perfectly cooked crumb.
-
High-Quality GF Flour Blend: The quality of your gluten-free flour blend makes a huge difference. Not all blends are created equal, especially for yeasted breads. I’ve found that blends specifically formulated for bread, often containing a mix of starches and whole grains like brown rice flour or sorghum flour, yield the best results. Understanding gluten-free flours can help you choose wisely. Using a reliable blend ensures better rise and texture.
Enjoyed this recipe? Share it with a friend or save it to your board for later. Leave a comment below — I love hearing how it turned out!
You May Also Enjoy





You Might Also Love These 🍽️
Recipes picked just for you based on what you’re cooking