Crispy GF Taco Shells: Your New Taco Night Go-To!
Discover how to make the best gluten free taco shells at home! Say goodbye to crumbly store-bought options and enjoy crispy, flavorful tacos every time.
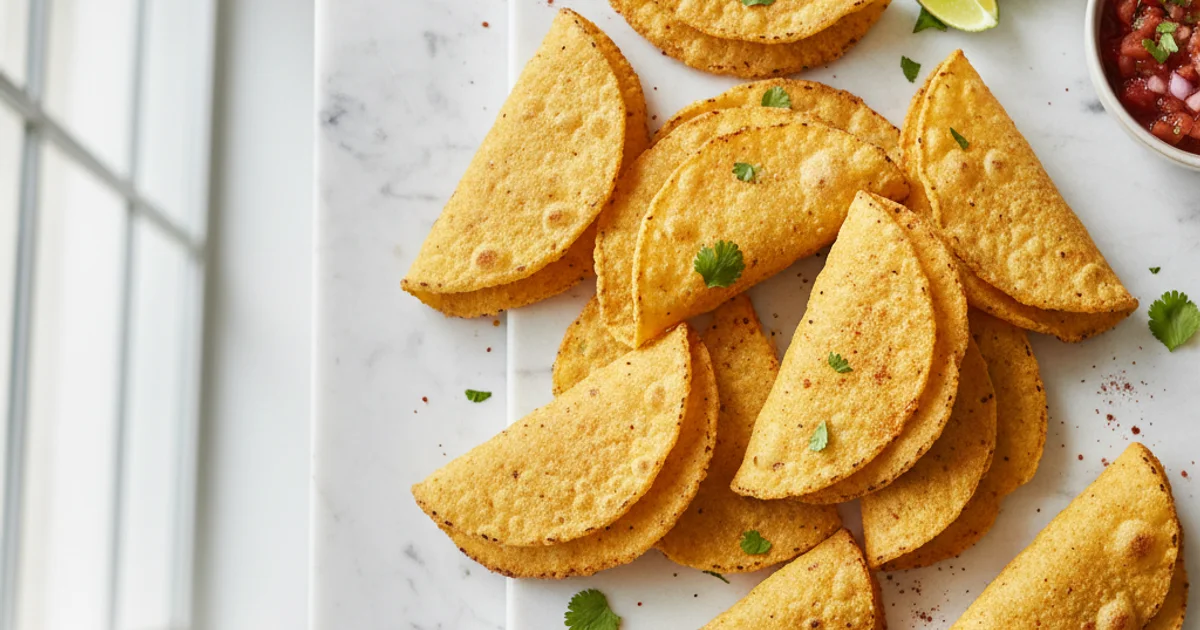
- 1Introduction: Why Homemade Gluten Free Taco Shells Are a Game Changer
- 2Why You’ll Love These Easy Gluten-Free Taco Shells
- 3Ingredients Overview: Crafting the Best Gluten Free Tortillas into Shells
- 4Essential Equipment You’ll Need for Perfect Taco Shells
- 5Step-by-Step Instructions: How to Make Crispy Gluten-Free Taco Shells
- 6Pro Tips & Tricks for the Best Gluten Free Taco Shells
Ingredients
For the Taco Shells
- 8-12 gluten-free tortillas (corn, cassava, or your preferred blend)
- 2 tbsp neutral oil (avocado, coconut, or light olive oil)
- 1/2 tsp fine sea salt
- Optional: 1/4 tsp chili powder, 1/4 tsp cumin, 1/4 tsp garlic powder
Instructions
Instructions
Preheat oven to 375°F (190°C).
Instructions
Lightly moisten tortillas if needed (optional, but helps prevent cracking).
Instructions
In a small bowl, whisk together oil, salt, and optional seasonings.
Instructions
Brush both sides of each tortilla with the oil mixture.
Instructions
Drape tortillas over two rungs of an oven rack or place in a taco shell rack.
Instructions
Bake for 7-10 minutes, then flip (if using oven rack) and bake for another 5-8 minutes, until golden and crispy.
Instructions
Remove from oven and let cool completely on a wire rack to crisp further.
Recipe FAQs
Why do my gluten-free tortillas keep breaking when I try to bend them?
Can I deep fry these gluten-free taco shells instead of baking?
What are the 'best gluten free tortillas' to use for this recipe?
How do I prevent my taco shells from getting soggy after filling?
Are 'gluten free corn free tortillas' suitable for this recipe?
Can I make these taco shells ahead of time for a party?
Crispy GF Taco Shells: Your New Taco Night Go-To!
Discover how to make the best gluten free taco shells at home! Say goodbye to crumbly store-bought options and enjoy crispy, flavorful tacos every time.
Prep Time
10 min
Cook Time
20 min
Total Time
30 min
For the Taco Shells
- 8-12 gluten-free tortillas (corn, cassava, or your preferred blend)
- 2 tbsp neutral oil (avocado, coconut, or light olive oil)
- 1/2 tsp fine sea salt
- Optional: 1/4 tsp chili powder, 1/4 tsp cumin, 1/4 tsp garlic powder
Introduction: Why Homemade Gluten Free Taco Shells Are a Game Changer
Have you ever reached for a box of store-bought gluten free taco shells, only to be met with disappointment? I know the feeling. Too often, they’re brittle, flavorless, and crumble into a sad pile of corn dust before they even make it to your plate. It’s a culinary frustration that many of us face, especially when trying to enjoy a classic taco night. The good news? You don’t have to settle for subpar options anymore. What I discovered is that making your own at home is surprisingly simple and yields a far superior result.
In my kitchen, I always prioritize flavor and texture, and that’s exactly what this recipe delivers. Imagine perfectly crispy shells, golden brown and ready to cradle your favorite fillings, without any of the crumbly drama. This isn’t just about avoiding gluten; it’s about elevating your entire taco experience. You gain complete control over the ingredients, ensuring freshness and avoiding any unwanted additives. Plus, it’s incredibly cost-effective compared to those specialty store-bought varieties. This guide will walk you through transforming simple gluten-free tortillas into the most satisfying, sturdy, and delicious taco shells you’ve ever tasted. Get ready to revolutionize your taco Tuesday with these homemade beauties.
Why You’ll Love These Easy Gluten-Free Taco Shells
You’re here because you’re tired of compromise. I always found store-bought alternatives often crumbled too easily or tasted like cardboard. This recipe changes everything. You’ll achieve that coveted, satisfying crunch, without any of the dryness often associated with gluten-free options. The edges turn beautifully golden brown, offering a delightful texture contrast.
Here’s the thing: these shells are incredibly simple to make. They come together in minutes, requiring minimal effort and no fancy equipment. You won’t spend hours in the kitchen, yet you’ll produce something truly special. This quick preparation means fresh, warm shells are always within reach.
What I love about this recipe is its adaptability. You can easily adjust the seasoning to perfectly complement your chosen fillings. Want a little more heat? Add a pinch of cayenne. Prefer a smoky note? Smoked paprika works wonders. This customization ensures your best gluten free tortillas are always tailored to your taste.
Building on this, making these at home is significantly more economical. Specialty gluten-free products can be pricey. This recipe uses common ingredients, saving you money in the long run. You’ll get more shells for your buck, making it a budget-friendly choice.
Finally, these versatile shells are perfect for any taco night. Whether you’re stuffing them with traditional carne asada, fresh fish, or a vibrant vegetarian mix, they hold up beautifully. They’re a fantastic base for all your creative culinary ideas. This recipe delivers on both taste and practicality.
Ingredients Overview: Crafting the Best Gluten Free Tortillas into Shells
Here’s the thing: the foundation of truly great taco shells lies in the quality of your ingredients. Choosing the right components makes all the difference in achieving that perfect crispiness and flavor profile. You’ll notice that I always prioritize fresh, high-quality items in my kitchen.
The star of this recipe, naturally, is the gluten-free tortilla. This is where many store-bought options fall short, often being brittle or lacking in flavor. When selecting your tortillas, think about the base flour. Corn tortillas are a classic for a reason, offering a sturdy structure and a subtle sweetness that complements many fillings. However, if you’re looking for gluten-free corn-free tortillas, options made from almond flour or cassava flour are excellent alternatives. What I discovered is that not all brands are created equal; some can be quite fragile. Look for brands known for their pliability. A common mistake is grabbing any “gluten-free” tortilla without checking reviews or trying a small batch first. Traditional flour tortillas inherently contain gluten, so we’re specifically seeking out those labeled as such. The best gluten-free tortillas will bend without immediately cracking, which is crucial for shaping.
Next up, we have the oil. This isn’t just for preventing sticking; it’s essential for achieving that satisfying golden-brown crisp. I prefer using avocado oil due to its high smoke point and neutral flavor, which won’t overpower your other ingredients. Coconut oil is another fantastic choice, especially if you enjoy a subtle, slightly tropical note, but be mindful of its lower smoke point. Olive oil can work in a pinch, but its distinct flavor might not be ideal for every taco filling. In practice, a good quality oil ensures even cooking and a delightful crunch.
A pinch of salt might seem minor, but it’s incredibly important. It doesn’t just add salinity; it enhances all the other flavors present in the tortilla itself. Trust me on this one, a little salt goes a long way in bringing out the best in this dish. I always use fine sea salt for even distribution.
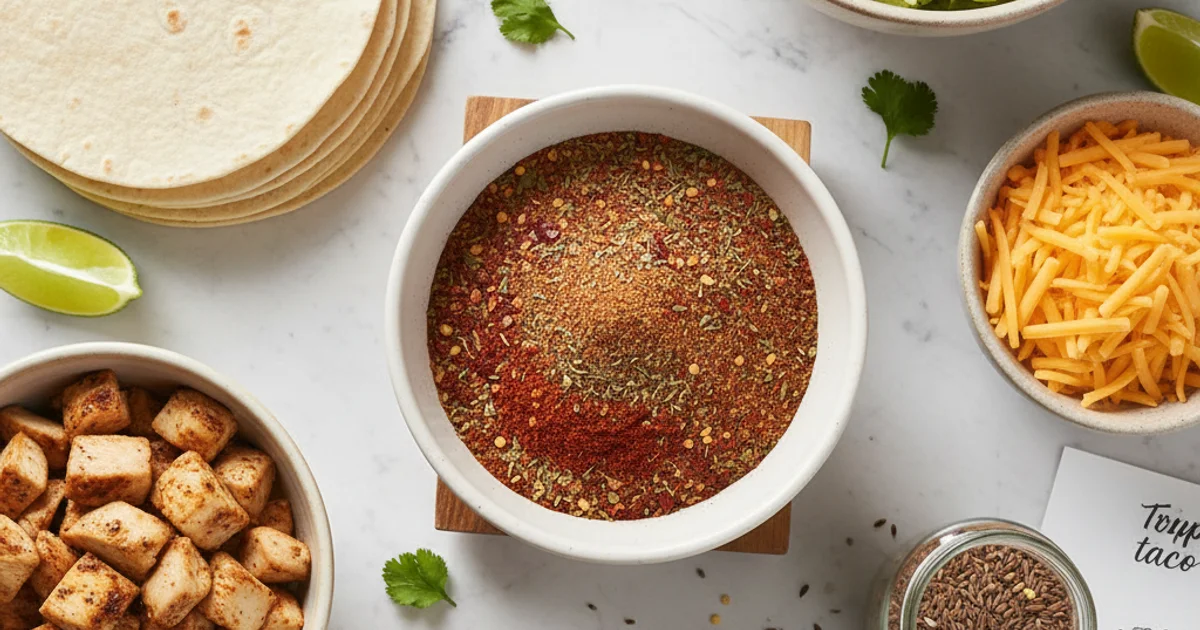
Finally, consider optional seasonings. While perfectly delicious on their own, a sprinkle of chili powder, cumin, or garlic powder can elevate your shells to another level. These spices infuse the tortillas with an extra layer of savory depth as they crisp. The secret is to use them sparingly, just enough to hint at flavor without overwhelming the main event. These additions are what truly make these the best gluten-free flour tortillas for your next taco night.
Essential Equipment You’ll Need for Perfect Taco Shells
In my kitchen, having the right tools makes all the difference. You don’t need a professional setup, but a few key items will ensure your homemade shells turn out perfectly crispy. Trust me on this one; scrambling for equipment mid-recipe is never fun. Gathering everything beforehand streamlines the entire process, making cooking much more enjoyable.
First up, you’ll definitely need a baking sheet. I always line mine with parchment paper for easy cleanup and to prevent sticking. This provides a flat, even surface for your tortillas to crisp up beautifully. What I discovered is that using a good quality, heavy-duty baking sheet helps with heat distribution, leading to more uniformly cooked shells. This means less guesswork and more reliably golden results.
Next, and this is crucial for shaping, you’ll want either an oven rack or a dedicated taco shell rack. If you don’t have a specialty taco rack, simply draping your tortillas over the bars of your oven rack works wonderfully. This allows air to circulate around them, creating that signature U-shape as they bake. The trick is to position them carefully so they don’t flatten out.
A pastry brush or a spray bottle is essential for applying oil evenly. I prefer a pastry brush for more control, ensuring every part of the tortilla gets a light coating. This thin layer of oil is what helps achieve that satisfying sizzle and golden brown exterior. Alternatively, a spray bottle provides a very fine, even mist, which can be great for a lighter touch.
You’ll also need a good pair of tongs. These are indispensable for safely handling hot tortillas. Trying to flip or remove hot shells with your bare hands is a recipe for burnt fingers! Long-handled tongs give you the reach and grip needed to move them from the baking sheet to the shaping rack and then off to cool. Finally, a small bowl is handy for mixing your oil and any seasonings you might want to add to your shells. This keeps your workspace tidy and your ingredients ready to go.
Step-by-Step Instructions: How to Make Crispy Gluten-Free Taco Shells
-
Preheat Oven: Preheat your oven to 375°F (190°C). This optimal temperature ensures the taco shells will crisp up nicely without burning.
-
Prepare Tortillas: If using store-bought gluten-free corn tortillas, it’s often beneficial to lightly moisten them with a damp paper towel or a quick spritz of water on both sides. This step is particularly important for brands labeled “best gluten free corn tortillas” as it helps prevent cracking during the shaping process.
-
Oil & Season: Lightly brush or spray both sides of each tortilla evenly with a neutral-flavored oil such as avocado or olive oil. Then, sprinkle a pinch of fine sea salt or your favorite taco seasoning blend over each side for enhanced flavor.
-
Shape: Carefully drape each warm, pliable tortilla over two rungs of your oven rack, ensuring they form a “U” shape, or place them snugly into a dedicated taco shell baking rack if you have one.
-
Bake: Return the rack to the preheated oven and bake for 8-12 minutes, or until the taco shells are golden brown and delightfully crispy, flipping them halfway through if they are draped over rungs to ensure even browning.
-
Cool: Once baked, remove the taco shells from the oven and carefully transfer them to a wire cooling rack, allowing them to cool completely to room temperature, which is essential for achieving their maximum crispiness and structural integrity.
Pro Tips & Tricks for the Best Gluten Free Taco Shells
Here’s the thing, making your own gluten free taco shells is a rewarding experience, but a few insider tips can truly elevate your results from good to exceptional. I always tell people that patience and observation are your best friends in the kitchen, especially when working with gluten-free ingredients. You’ll notice that these tortillas behave a little differently than their wheat-based counterparts, often crisping up much faster.
Don’t overcrowd the oven when baking your shells. I know the temptation is to get them all done at once, but trust me on this one. Overcrowding blocks proper air circulation, leading to uneven cooking and shells that are soft in some spots and burnt in others. Give each shell its space to breathe; it will ensure that satisfying, uniform crispness we all crave. In practice, I usually bake no more than 4-5 shells at a time, depending on my oven size. This method guarantees every single shell achieves that golden brown perfection.
Watch carefully during the baking process. Gluten-free tortillas, whether they are best gluten free tortillas made from corn or a blend, can go from perfectly golden to charred in a matter of seconds. I typically set a timer for half the recommended baking time, then I stand by the oven, peering through the glass. The moment you see those edges start to turn a rich brown, it’s time to check them. This vigilant approach prevents any burning disasters and ensures a delicious outcome every time you make this recipe.
Moisture is key to preventing cracks when shaping your shells. If your tortillas feel a bit stiff, a quick warm-up can make all the difference. I lightly dampen them between two pieces of paper towel and microwave them for about 15-20 seconds. This step makes them pliable and much easier to bend without breaking. For those wondering, is there gluten in tortillas – specifically the ones we’re using here – the answer is no, which is why they sometimes need a little extra care to become flexible.
Experiment with seasonings to add an extra layer of flavor to your shells. While a simple sprinkle of salt is classic, consider brushing them with a little olive oil and then dusting them with chili powder, cumin, or even a smoked paprika blend before baking. This simple trick infuses the shells with a subtle, aromatic kick that complements any filling. What I discovered is that a pinch of garlic powder also works wonders, adding a savory depth without overpowering the main dish. Worth noting here, this customization really makes the finished product uniquely yours.
Achieving the perfect bend for your shells involves a few methods. Some people like to drape them over oven racks, which works well for a classic U-shape. However, I often use a taco shell holder or even aluminum foil molded into a V-shape to get a more consistent, sturdy base. The trick is to shape them while they are still warm and pliable from the initial heating, but before they get fully crisp in the oven. For a deeper dive into shaping techniques, you can explore various methods on culinary sites like Serious Eats. This ensures your fillings stay put.
Troubleshooting common issues will help you master this recipe. If your shells are too soft, they likely need more baking time or a slightly higher oven temperature. If they’re too brittle and break easily, they might have been overbaked, or perhaps they weren’t warmed sufficiently before shaping. A common mistake is not adjusting for your specific oven’s quirks. Every oven is different, so getting to know how yours bakes gluten-free products will improve your results significantly. The secret is to find that sweet spot between pliable and perfectly crisp.
Enjoyed this recipe? Share it with a friend or save it to your board for later. Leave a comment below — I love hearing how it turned out!
You May Also Enjoy





You Might Also Love These 🍽️
Recipes picked just for you based on what you’re cooking