Your Own GF Bread Mix: Perfect Loaves Await!
Craft your own gluten-free bread mix at home! This recipe makes baking delicious, wholesome loaves simple and accessible for everyone.
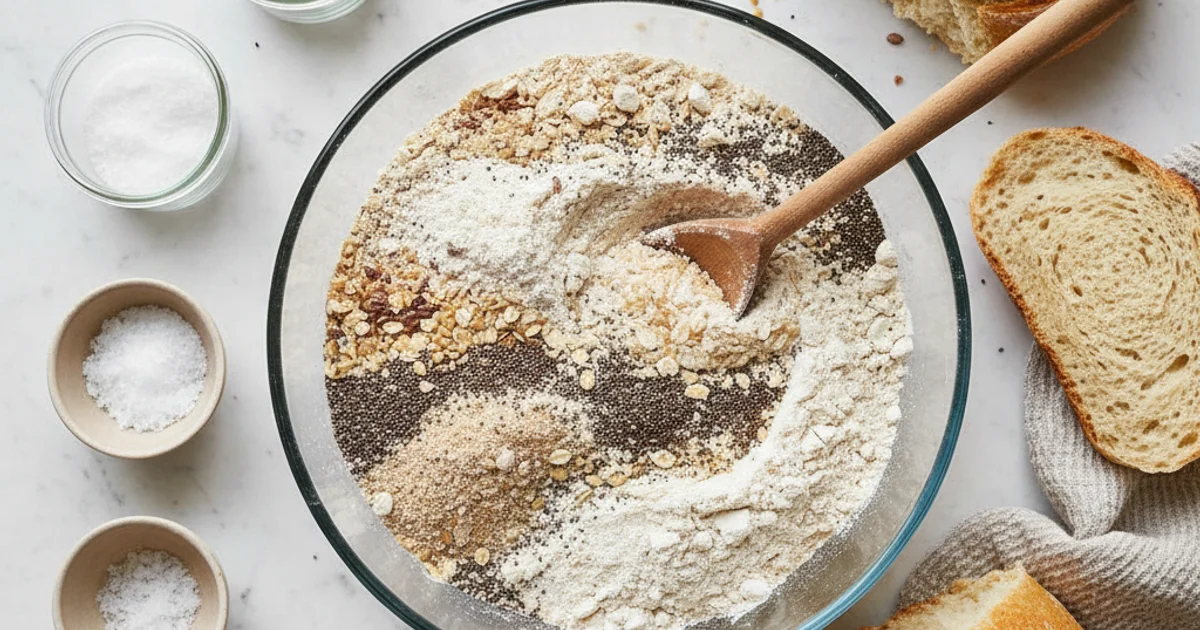
- 1Introduction: Unlock the Secret to Effortless Gluten-Free Baking with Your Own Bread Mix
- 2Why You’ll Love This Homemade Gluten-Free Bread Mix Recipe
- 3Ingredients Overview: Crafting Your Perfect Gluten-Free Bread Flour Blend
- 4Essential Equipment You’ll Need for Your Gluten-Free Bread Mix
- 5Step-by-Step Instructions: Creating Your Own Gluten-Free Bread Mix and Baking a Loaf
- 6Pro Tips & Tricks for Gluten-Free Bread Mix Success
Ingredients
Gluten-Free Bread Mix Ingredients
- 1 ½ cups brown rice flour
- 1 cup white rice flour
- ¾ cup sorghum flour
- ¾ cup tapioca starch
- ½ cup potato starch (not flour)
- 2 tablespoons granulated sugar (optional, for mix)
- 1 tablespoon xanthan gum
- 1 teaspoon salt
For One Loaf of Bread (using the mix)
- 3 cups (approx 450g) Gluten-Free Bread Mix
- 1 ½ cups warm water (105-115°F / 40-46°C)
- 2 ¼ teaspoons active dry yeast (1 standard packet)
- 2 tablespoons olive oil or other neutral oil
- 1 large egg (room temperature), or flax egg for egg-free
Instructions
Instructions
**To Make the Gluten-Free Bread Mix:**
Instructions
1. In a large bowl, combine all dry ingredients for the mix (brown rice flour, white rice flour, sorghum flour, tapioca starch, potato starch, optional sugar, xanthan gum, and salt).
Instructions
2. Whisk thoroughly for at least 2-3 minutes to ensure all ingredients, especially xanthan gum, are evenly distributed.
Instructions
3. Transfer the prepared mix to an airtight container. Store in a cool, dark place for up to 3-6 months.
Instructions
**To Bake One Loaf of Bread (using 3 cups of mix):**
Instructions
1. **Activate Yeast:** In a small bowl, combine warm water and yeast. If your mix did not include sugar, add 1 teaspoon of sugar to the yeast mixture. Let sit for 5-10 minutes until foamy.
Instructions
2. **Combine Wet Ingredients:** In a large mixing bowl (or stand mixer bowl), add the activated yeast mixture, olive oil, and egg (or flax egg). Whisk to combine.
Instructions
3. **Add Dry Mix:** Gradually add 3 cups of your prepared gluten-free bread mix to the wet ingredients. Mix on low speed (or with a spoon/spatula) until just combined, then increase speed to medium and beat for 3-5 minutes until the dough is smooth and sticky. It will be more like a thick batter than a traditional dough.
Instructions
4. **First Rise:** Lightly grease a 9x5 inch loaf pan and line with parchment paper, leaving an overhang on the sides. Scrape the dough into the prepared loaf pan and smooth the top with a wet spatula. Cover loosely with plastic wrap or a damp kitchen towel. Let rise in a warm, draft-free place for 60-90 minutes, or until nearly doubled in size.
Instructions
5. **Preheat Oven:** While the dough is rising, preheat your oven to 375°F (190°C).
Instructions
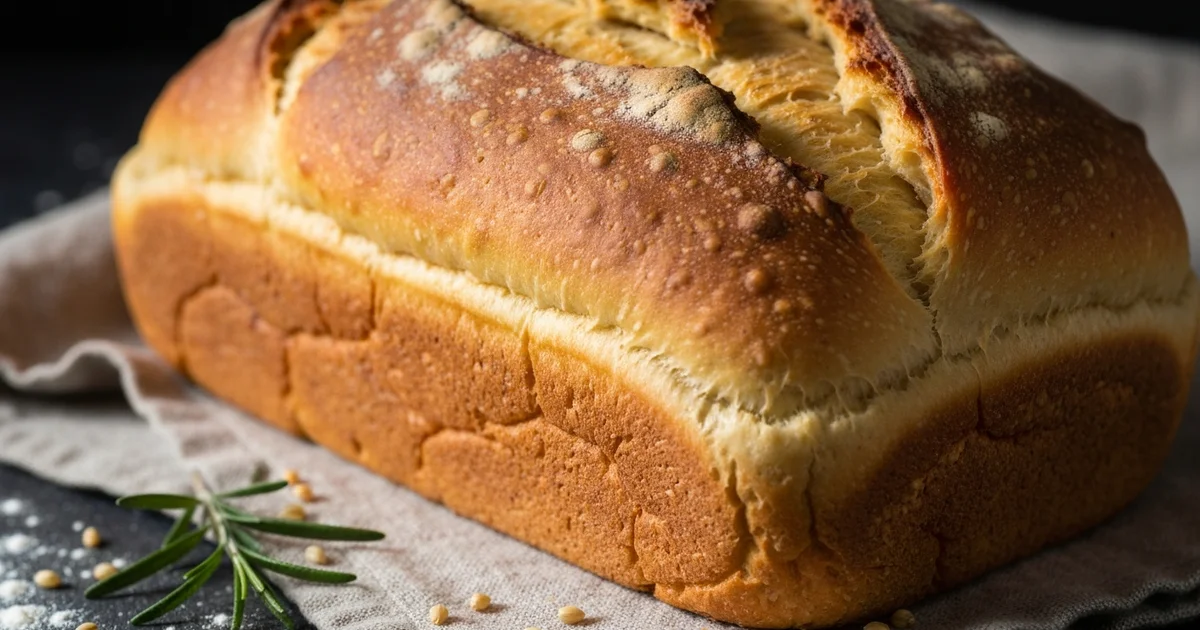
6. **Bake:** Once risen, remove the cover and place the loaf pan in the preheated oven. Bake for 40-50 minutes, or until the top is golden brown and an instant-read thermometer inserted into the center reads 200-210°F (93-99°C).
Instructions
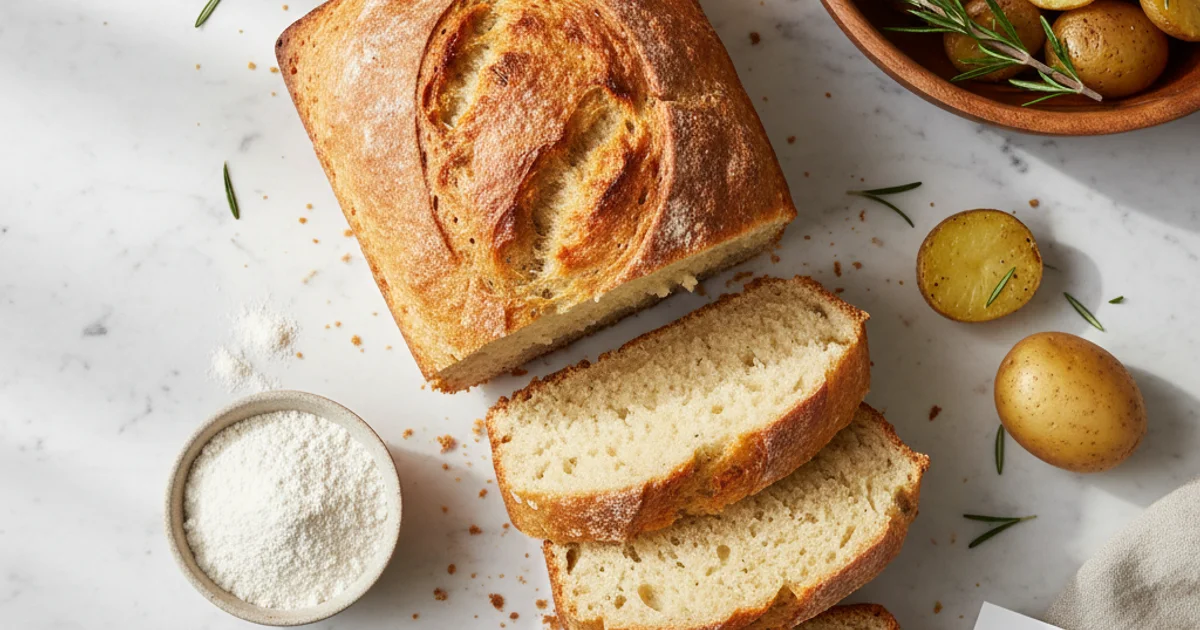
7. **Cool Completely:** Carefully remove the bread from the oven. Immediately lift it out of the pan using the parchment paper overhang and transfer it to a wire rack. **Crucially, let the bread cool completely for at least 2-3 hours before slicing.** This allows the internal structure to set and prevents a gummy texture.
Recipe FAQs
What is the best gluten free bread mix for a bread machine?
Can I use this gluten-free bread mix for other recipes, like muffins or pizza dough?
Why is xanthan gum so important in gluten-free bread?
How do I make bread flour if I don't have all the specialty flours?
My gluten-free bread is dense/gummy. What went wrong?
What is the calorie count for gluten-free bread flour compared to regular bread flour?
Your Own GF Bread Mix: Perfect Loaves Await!
Craft your own gluten-free bread mix at home! This recipe makes baking delicious, wholesome loaves simple and accessible for everyone.
Prep Time
15 min
Cook Time
45 min
Total Time
60 min
Gluten-Free Bread Mix Ingredients
- 1 ½ cups brown rice flour
- 1 cup white rice flour
- ¾ cup sorghum flour
- ¾ cup tapioca starch
- ½ cup potato starch (not flour)
- 2 tablespoons granulated sugar (optional, for mix)
- 1 tablespoon xanthan gum
- 1 teaspoon salt
For One Loaf of Bread (using the mix)
- 3 cups (approx 450g) Gluten-Free Bread Mix
- 1 ½ cups warm water (105-115°F / 40-46°C)
- 2 ¼ teaspoons active dry yeast (1 standard packet)
- 2 tablespoons olive oil or other neutral oil
- 1 large egg (room temperature), or flax egg for egg-free
Introduction: Unlock the Secret to Effortless Gluten-Free Baking with Your Own Bread Mix
Baking gluten-free bread often feels like a quest, doesn’t it? Store-bought options can be shockingly expensive, and frankly, sometimes the texture leaves much to be desired. You invest your money, follow the instructions, and still end up with something dense, crumbly, or just plain bland. It’s a common frustration in the gluten-free world, and for years, I wrestled with it myself. What I discovered, after countless experiments and a fair share of baking disasters, is that the secret to truly satisfying gluten-free bread isn’t found on a supermarket shelf; it’s made right in your own kitchen. Creating your own gluten free bread mix at home puts you firmly in control. You dictate the quality of ingredients, customize the flavor profile, and, perhaps most importantly, save a significant amount of money in the long run. This isn’t just about avoiding gluten; it’s about crafting loaves that are genuinely enjoyable, with a tender crumb and a delicious crust that rivals any traditional bread. This guide will walk you through making a foundational mix that will transform your baking. Get ready to experience the joy of consistently perfect, homemade gluten-free bread.
Why You’ll Love This Homemade Gluten-Free Bread Mix Recipe
Building on this, I always found store-bought gluten free bread mix options limiting. They often contained ingredients I didn’t want, or simply didn’t deliver on taste. In my kitchen, crafting my own mix changed everything. It’s significantly more economical than purchasing individual specialty flours or pre-packaged mixes. You’ll notice a substantial saving over time.
Here’s the thing, this recipe provides unparalleled customization. You can fine-tune the flour ratios to suit your dietary needs. Perhaps you prefer a higher protein content, or a specific grain. This flexibility is key to consistent results. What I love about this approach is having a ready-made solution. No more last-minute grocery runs for obscure ingredients. When the mood strikes for fresh bread, it’s just a few steps away.
The key difference is the superior taste and texture you’ll achieve. Many commercial gluten free bread mix products yield dense or crumbly loaves. This homemade blend helps produce a soft, airy crumb. It rivals traditional bread in a way I never thought possible. This recipe truly demystifies the process of blending gluten-free flours. It makes achieving a perfect loaf approachable for anyone. It’s truly a straightforward process. You won’t be asking “how do I make bread flour” after this. The simplicity of this method will become your new standard. This method also helps you control the bread flour calories in your final product. You’ll know exactly what’s going into your bread.
Ingredients Overview: Crafting Your Perfect Gluten-Free Bread Flour Blend
Here’s the thing, creating your own gluten free bread mix is all about understanding the unique properties of each ingredient. It’s not simply throwing flours together; it’s a science to mimic wheat’s complex structure. What I discovered is that a balanced blend yields the best texture and flavor.
Let’s break down the components. Brown rice flour brings a nutty flavor and fiber, while white rice flour offers a lighter texture. Combining them prevents a gritty mouthfeel often found in single-flour gluten-free recipes. This duo forms the backbone of our blend, providing structure without heaviness.
Sorghum flour is a superstar in gluten-free baking. It has a mild, slightly sweet flavor that doesn’t overpower other ingredients. More importantly, it contributes to a soft, tender crumb, closely replicating the texture of wheat-based bread. It helps prevent that dry, crumbly outcome.
For chewiness and binding, we turn to tapioca starch. This ingredient is essential for giving the bread that elastic quality we associate with traditional loaves. Without it, your bread can be too dense or fall apart easily. It’s truly a game-changer for texture.
Potato starch (not potato flour) is another crucial component. It adds a delightful lightness and tenderness to the bread, preventing it from becoming too heavy. The distinction between starch and flour is vital here; starch is nearly pure carbohydrate, offering different structural benefits.
Building on this, xanthan gum is non-negotiable for gluten-free baking. It acts as a substitute for gluten, providing elasticity and trapping gas, which is necessary for a good rise. Without xanthan gum, your bread would likely be dense and crumbly. For those with sensitivities, psyllium husk powder can be a suitable alternative, though it absorbs more liquid.
A touch of sugar (or other sweetener) plays a specific role. It feeds the active dry yeast, kickstarting its fermentation process and ensuring a good rise. This small amount is mostly consumed by the yeast, so it doesn’t make the bread overtly sweet.
Salt is more than just a flavor enhancer. It balances the sweetness and also helps regulate yeast activity, preventing it from rising too quickly. This careful control leads to a more consistent crumb and better overall structure.
Active dry yeast is our leavening agent. It produces carbon dioxide, which creates air pockets, giving the bread its characteristic light and airy texture. Always check the expiration date for optimal results.
In practice, when people ask how do I make bread flour in a gluten-free context, they’re essentially asking for this precise blend. Gluten-free bread flour isn’t a single grain; it’s a carefully balanced mixture of flours and starches designed to mimic the protein structure and baking characteristics of traditional wheat bread flour. This section is how you make it.
Worth noting here, bread flour calories in a gluten-free blend will vary depending on the specific ratios of flours used. Generally, a blend like this will have a similar caloric density to wheat flour, though the nutrient profiles will differ. Understanding these individual roles helps you appreciate the complexity and ingenuity behind a successful gluten free bread mix.
Essential Equipment You’ll Need for Your Gluten-Free Bread Mix
In my kitchen, having the right tools makes all the difference, especially when venturing into the world of homemade mixes. You don’t need a professional setup, but a few key items will ensure your success. Starting with the mix itself, a large mixing bowl is essential. This allows you to combine all your dry ingredients without making a mess, giving everything ample space to be incorporated properly.
A whisk is another non-negotiable item for this process. It helps break up any clumps in your flours and ensures that every component, especially the gums, is evenly distributed throughout the mix. This even distribution is crucial for the final texture of your bread; unevenly mixed gums can lead to dense spots or a crumbly loaf. Once your mix is prepared, you’ll need airtight containers or jars for storage. I always opt for glass jars or sturdy zip-top bags to keep moisture out and maintain freshness, preserving the quality of your homemade bread flour blend.
Moving on to the actual baking process, measuring cups and spoons are fundamental. Accuracy is paramount in gluten-free baking; even slight variations can impact the outcome significantly. For even greater precision, a kitchen scale is highly recommended. Flours can vary in weight by volume, so weighing them ensures consistent results every time you use this recipe. What I discovered is that using a scale takes the guesswork out of how you make bread flour, ensuring each batch is perfect.
When it comes to preparing the dough, a stand mixer with a dough hook is a fantastic investment, though not strictly necessary. It simplifies the kneading process, saving you time and effort. If you don’t have one, mixing by hand is perfectly fine, just be prepared for a bit more arm work. Of course, a loaf pan is vital for shaping your bread. A standard 9x5 inch pan is ideal for most recipes, providing a good structure for rising.
To ensure easy removal and minimize cleanup, parchment paper is a lifesaver. Lining your loaf pan prevents sticking and makes transferring the baked bread a breeze. Lastly, and perhaps most obviously, a reliable oven is required for baking your beautiful loaf. Understanding these tools helps demystify how do I make bread flour into a delicious, baked good, turning a complex process into an enjoyable one.
Step-by-Step Instructions: Creating Your Own Gluten-Free Bread Mix and Baking a Loaf
-
Measure all of your dry ingredients precisely: the gluten-free flour blend, starches (such as tapioca or potato starch), xanthan gum, salt, and sugar if you are including it in your pre-made mix.
-
Transfer all of the measured dry ingredients into a large mixing bowl and whisk them thoroughly until they are uniformly combined, paying special attention to distributing the xanthan gum evenly throughout the mixture, as this is crucial for the bread’s structure.
-
Combine Wet Ingredients: In a large bowl, whisk together the activated yeast mixture, milk (or dairy-free alternative), melted butter (or oil), and eggs until well combined.
-
Integrate Dry Mix: Gradually add your prepared gluten-free bread mix to the wet ingredients, mixing with a sturdy spoon or stand mixer on low speed until a shaggy dough forms. Continue mixing for another 2-3 minutes until the dough is uniformly moistened and slightly sticky.
-
First Rise (Proofing): Lightly grease a clean bowl with a little oil, transfer the dough to the bowl, and turn it once to coat. Cover the bowl tightly with plastic wrap or a clean kitchen towel and place it in a warm, draft-free spot for 60-90 minutes, or until the dough has roughly doubled in size.
-
Preheat Oven: While your dough is finishing its second rise, preheat your oven to the temperature specified in your chosen recipe (typically around 375-400°F or 190-200°C) to ensure it’s ready for baking.
-
Bake: Once the oven is preheated and the dough has risen, carefully place the loaf pan into the hot oven and bake for the time indicated in your recipe, usually 35-50 minutes, or until the crust is golden brown and the internal temperature reaches 200-210°F (93-99°C).
-
Cool and Serve: After baking, remove the bread from the oven and immediately transfer it from the loaf pan to a wire rack to cool completely before slicing and serving, which helps prevent a gummy texture.
-
Preheat Oven: Preheat your oven to 375°F (190°C) to ensure it reaches the optimal baking temperature before the bread enters, promoting even cooking and a good crust.
-
Bake: Carefully transfer the baking pan to the preheated oven and bake for 45-55 minutes, or until the top is golden brown and a digital thermometer inserted into the center of the loaf registers an internal temperature of 200-210°F (93-99°C).
-
Cool Completely: Once baked, remove the bread from the oven and immediately turn it out onto a wire rack to cool completely for at least 2-3 hours before slicing, as this crucial step allows the internal structure to set and prevents a gummy texture.
Pro Tips & Tricks for Gluten-Free Bread Mix Success
Achieving consistently good results with gluten-free baking requires a few nuanced approaches. I always recommend precision, especially when it comes to your dry ingredients. Here’s what actually works: accurate measuring is non-negotiable. Using a digital kitchen scale for all your flours and starches ensures you get the exact ratios needed for a balanced crumb. Volume measurements, like cups, can vary wildly depending on how densely you pack the flour, leading to unpredictable outcomes.
Building on this, creating the right environment for your dough to rise is another critical step. Gluten-free dough benefits immensely from a warm, humid environment. In my kitchen, I often use my oven with just the light on; it creates a gentle warmth perfect for proofing. Another method involves placing the covered bowl of dough in a slightly warm, turned-off oven with a pan of hot water on the rack below. This prevents the dough from drying out while it slowly expands.
The secret is to resist the urge to overmix your dough. While traditional bread relies on gluten development from kneading, that’s not a factor here. Don’t overmix your gluten-free dough; once the ingredients are just combined and there are no dry streaks, stop. Overmixing can incorporate too much air, which might initially seem beneficial, but it often leads to a crumbly, dry texture in the final loaf. What I discovered is that a gentle hand yields a much softer crumb.
Worth noting here, patience after baking is paramount. Cool completely before even thinking about slicing into your fresh loaf. This is perhaps the most difficult waiting game in baking, but it’s essential. Slicing warm gluten-free bread almost guarantees a gummy, unappetizing texture because the internal starches haven’t had time to fully set. Let it rest on a wire rack for at least two hours, or even longer for a larger loaf, to ensure it achieves its proper structure.
In practice, managing humidity during baking can also enhance your crust. Consider placing a small, oven-safe pan of water on the bottom rack of your oven while your bread bakes. This creates steam, which helps develop a beautiful, slightly crisp crust and prevents it from hardening too quickly. For more insights on the science of baking, you can explore resources like BBC Good Food’s baking guides.
A common mistake is assuming all gluten-free flours are created equal. Sourcing ingredients from reputable suppliers is key. I always look for finely milled flours and fresh starches, often found in specialty health food stores or online. Quality ingredients directly impact the taste and texture of your finished bread. This is especially true when trying to replicate the texture of traditional bread flour.
Finally, for ultimate convenience, consider batching your dry mix. Once you’ve perfected your ratios for this gluten free bread mix, multiply the recipe by two or three. Store the extra dry mix in airtight containers in a cool, dark pantry. This way, you’ll always have a ready-to-go base for your next loaf, making homemade gluten-free bread a regular, effortless treat.
Enjoyed this recipe? Share it with a friend or save it to your board for later. Leave a comment below — I love hearing how it turned out!
You May Also Enjoy





You Might Also Love These 🍽️
Recipes picked just for you based on what you’re cooking