Sweet Fluffy GF Hawaiian Rolls: Your New Favorite!
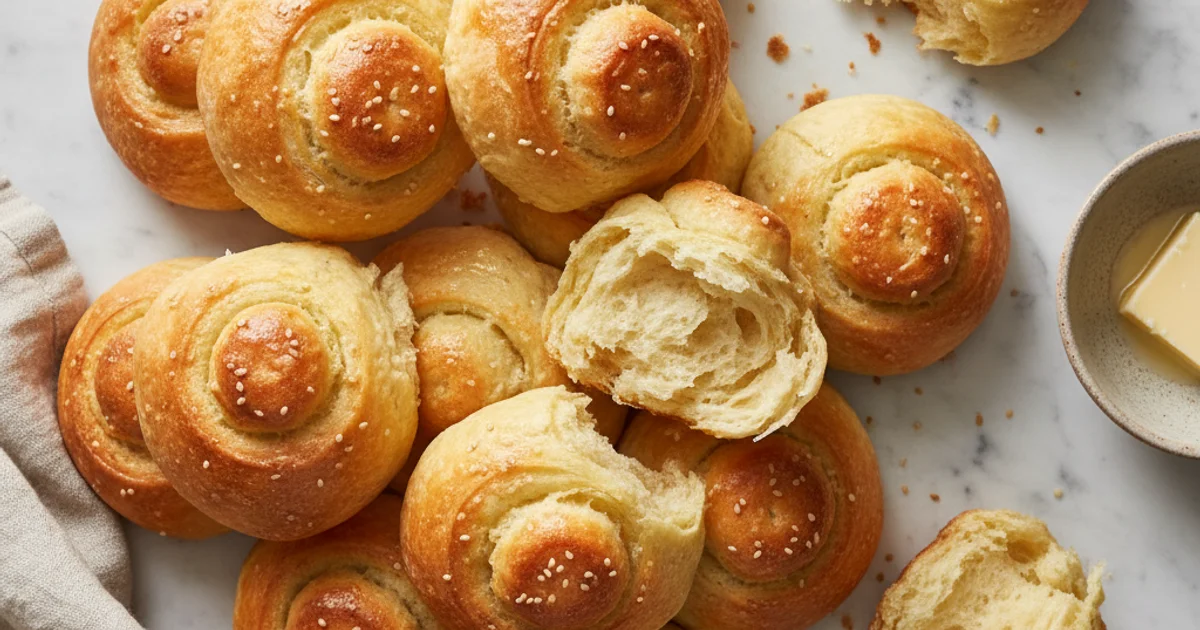
Craving soft, sweet Hawaiian bread? Our easy recipe for gluten-free Hawaiian rolls delivers that classic taste and texture you love, without the gluten!
- 1Introduction: Bringing the Aloha Spirit to Your Gluten-Free Table
- 2Why You’ll Love This Gluten-Free Hawaiian Bread Recipe
- 3Ingredients Overview: Crafting Perfect Gluten-Free Hawaiian Rolls
- 4Essential Equipment You’ll Need for Gluten-Free Baking Success
- 5Step-by-Step Instructions: Baking Your Own Gluten-Free Hawaiian Rolls
- 6Pro Tips & Tricks for Perfect Gluten-Free Hawaiian Rolls
Ingredients
For the Dough
- 1 cup warm milk (dairy or non-dairy, 105-115°F)
- 2 ¼ teaspoons active dry yeast (1 standard packet)
- ¼ cup granulated sugar
- 2 large eggs, at room temperature
- ¼ cup unsalted butter, melted and cooled (or vegan butter)
- ¼ cup pineapple juice
- 3 cups gluten-free all-purpose flour blend (with xanthan gum)
- 2 tablespoons brown sugar, packed
- 1 teaspoon salt
For the Topping (Optional)
- 1 large egg, beaten (for egg wash)
- 1 tablespoon unsalted butter, melted (or vegan butter)
Instructions
Instructions
Activate yeast: Combine warm milk, 1 tsp granulated sugar, and yeast. Let sit 5-10 minutes until foamy.
Instructions
Whisk wet ingredients: In a separate bowl, whisk eggs, melted butter, and pineapple juice.
Instructions
Combine dry ingredients: In a stand mixer bowl, whisk GF flour blend, remaining granulated sugar, brown sugar, and salt.
Instructions
Form dough: Add activated yeast mixture and wet ingredients to dry ingredients. Mix with dough hook on low speed until a cohesive, sticky dough forms (5-7 minutes).
Instructions
First proof: Transfer dough to a lightly greased bowl, cover, and let rise in a warm place for 60-90 minutes, or until doubled in size.
Instructions
Shape rolls: Gently punch down dough. Divide into 12 equal pieces. Roll each piece into a smooth ball.
Instructions
Second proof: Arrange rolls in a greased 9x13 inch baking pan, leaving slight space between them. Cover and let rise for another 30-45 minutes.
Instructions
Preheat oven: Preheat oven to 375°F (190°C).
Instructions
Egg wash & bake: Brush rolls with beaten egg. Bake for 18-22 minutes, or until golden brown and cooked through.
Instructions
Butter brush (optional): Remove from oven and immediately brush with melted butter.
Instructions
Cool: Let cool in the pan for 10 minutes, then transfer to a wire rack to cool completely.
Recipe FAQs
Can I use any gluten-free flour blend for these Hawaiian rolls?
Why is pineapple juice used in Hawaiian rolls?
My gluten-free dough is very sticky, is that normal?
How can I tell if my gluten-free Hawaiian rolls are fully baked?
Can I make these rolls dairy-free or egg-free?
Do gluten-free Hawaiian rolls rise as much as regular ones?
Sweet Fluffy GF Hawaiian Rolls: Your New Favorite!
Craving soft, sweet Hawaiian bread? Our easy recipe for gluten-free Hawaiian rolls delivers that classic taste and texture you love, without the gluten!
Prep Time
30 min
Cook Time
20 min
Total Time
50 min
For the Dough
- 1 cup warm milk (dairy or non-dairy, 105-115°F)
- 2 ¼ teaspoons active dry yeast (1 standard packet)
- ¼ cup granulated sugar
- 2 large eggs, at room temperature
- ¼ cup unsalted butter, melted and cooled (or vegan butter)
- ¼ cup pineapple juice
- 3 cups gluten-free all-purpose flour blend (with xanthan gum)
- 2 tablespoons brown sugar, packed
- 1 teaspoon salt
For the Topping (Optional)
- 1 large egg, beaten (for egg wash)
- 1 tablespoon unsalted butter, melted (or vegan butter)
Introduction: Bringing the Aloha Spirit to Your Gluten-Free Table
For years, the quest for truly satisfying gluten-free bread felt like chasing a culinary unicorn. While basic loaves have improved, specialty items, especially those with a unique texture and flavor profile, remained elusive. Think about the soft, slightly sweet, and incredibly fluffy texture of a classic Hawaiian roll – a staple for holiday dinners and BBQ sliders alike. Missing out on that distinctive experience because of dietary restrictions can be genuinely disheartening.
Here’s the thing: everyone deserves to enjoy those comforting, nostalgic flavors. That’s precisely why I embarked on a mission to create the ultimate gluten free Hawaiian rolls recipe. This isn’t just another gluten-free bread; it’s a recreation of that beloved island-inspired sweetness, designed to be pillowy soft and perfectly golden. What I love about this recipe is how it brings back those cherished memories of gatherings, ensuring no one feels left out.
What I discovered is that with the right blend of flours and a careful technique, you can achieve that characteristic light chew and delicate sweetness. Originating from the King’s Hawaiian bakery, these rolls have charmed tables worldwide with their signature taste. My aim was to capture that essence, making it accessible for everyone. This recipe promises to deliver rolls that are not only safe for those with gluten sensitivities but also genuinely delightful for all palates. Get ready to bake a batch of pure joy.
Why You’ll Love This Gluten-Free Hawaiian Bread Recipe
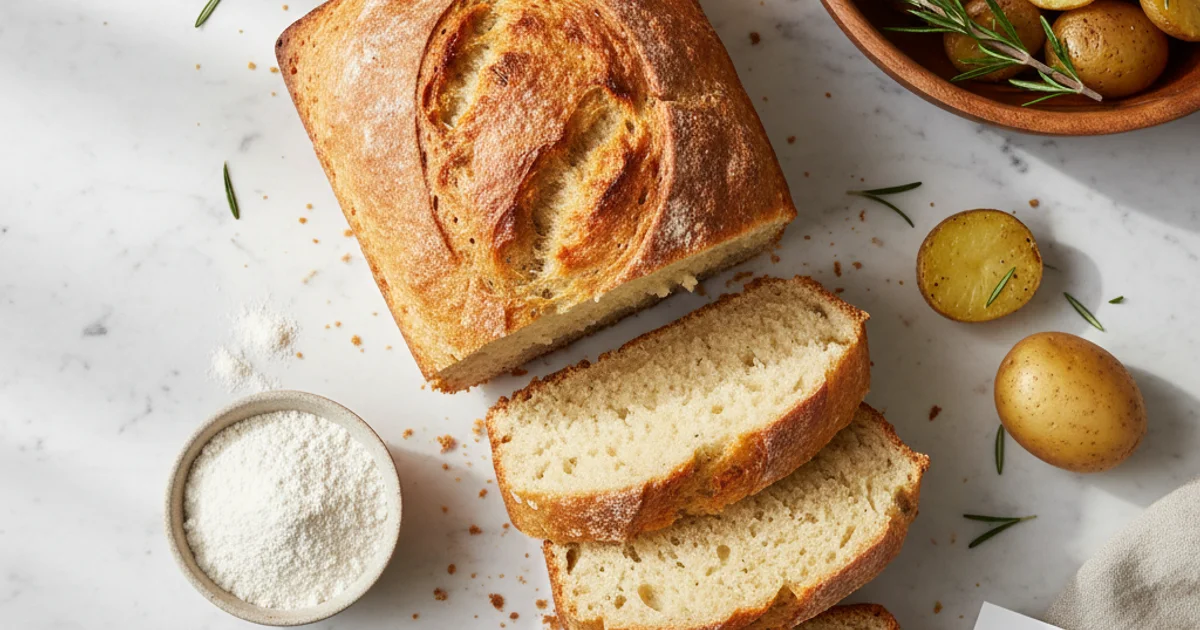
Here’s the thing: many gluten-free bread recipes can feel like a compromise. You often sacrifice that signature chew or delicate crumb. What I discovered through years of experimentation is that achieving truly soft, pillowy rolls without gluten is absolutely possible. This recipe delivers exactly that, creating a texture so close to the original, you’ll forget it’s even gluten-free.
The key difference is in the careful balance of flours and liquids, which work together to mimic gluten’s elasticity. I always struggled with dry, crumbly gluten-free rolls until I landed on this precise combination. You’ll notice that these rolls possess a beautiful, golden-brown crust while remaining incredibly tender inside. This is not just another dense, heavy gluten-free loaf.
In practice, the flavor profile of these rolls is another major draw. They strike that perfect balance of sweetness, reminiscent of pineapple juice, with a subtle savory undertone. This makes them incredibly versatile, whether you’re pairing them with a savory pulled pork slider or simply enjoying them with butter. My family, including those who eat gluten, consistently reaches for these first.
A common mistake is thinking gluten-free baking has to be overly complicated. This recipe is intentionally straightforward, designed for success even if you’re new to gluten-free bread making. All the ingredients are readily available at most major grocery stores. I’ve refined the steps to be clear and concise, ensuring a smooth baking experience from start to finish. The secret is in the gentle handling of the dough and the specific rising times.
Worth noting here, these rolls are a true crowd-pleaser. They disappear quickly at potlucks and holiday gatherings. Whether you’re serving them as dinner rolls, mini sandwich buns, or even for breakfast with a smear of jam, they consistently receive rave reviews. This recipe truly brings the warmth and comfort of classic gluten free hawaiian bread to your table, without any dietary restrictions holding you back.
Ingredients Overview: Crafting Perfect Gluten-Free Hawaiian Rolls
Let’s dive into the heart of what makes these gluten free hawaiian rolls so special: the ingredients. Each component plays a vital role in achieving that signature fluffy texture and sweet, rich flavor. Understanding their purpose is key to baking success.
First up, the gluten-free flour blend. This isn’t just any flour; it’s the foundation of our rolls. I always recommend a high-quality all-purpose gluten-free flour blend that already contains xanthan gum. This gum is crucial for mimicking the elasticity that gluten provides, preventing your rolls from being crumbly. Look for blends that include a mix of starches like tapioca starch and flours such as rice flour and sorghum flour. This combination yields a lighter crumb and better overall structure. In my kitchen, I’ve found that using a blend specifically designed for yeast baking often gives the best results.
Next, we have milk, whether dairy or a non-dairy alternative like almond or oat milk. Milk contributes significantly to the tenderness and moisture of the dough. The proteins and fats in milk help create a softer crumb, and its liquids activate the yeast. Building on this, butter (or a dairy-free butter alternative) is essential for richness and that melt-in-your-mouth quality. It also aids in creating a tender texture and adds a beautiful golden hue to the crust.
For sweetness and browning, we rely on a combination of granulated sugar and brown sugar. Granulated sugar feeds the yeast, helping it activate and produce carbon dioxide, which makes the rolls rise. Brown sugar, with its molasses content, adds a deeper, more complex sweetness and contributes to the rolls’ characteristic soft chewiness and golden-brown crust. What I discovered is that this blend of sugars truly elevates the flavor profile.
Now, for the secret ingredient that truly brings the Hawaiian essence: pineapple juice. This isn’t just for flavor; the acidity in pineapple juice also helps tenderize the dough, and its natural sugars contribute to browning. It infuses the rolls with that subtle tropical sweetness without being overpowering. Of course, active dry yeast is our leavening agent. It’s what gives these rolls their airy, fluffy texture, creating those delightful pockets of air. Without properly activated yeast, your rolls won’t rise.
Finally, eggs bind all the ingredients together, adding richness, structure, and a beautiful golden color to the finished product. They also contribute to the overall softness of the crumb. A common mistake is skipping the egg wash, but it’s vital for that glossy, golden top. Lastly, a pinch of salt is non-negotiable. It balances the sweetness, enhances all the other flavors, and controls yeast activity, preventing the rolls from over-proofing. Every ingredient here plays a specific, important role in crafting these perfectly soft and flavorful rolls.
Essential Equipment You’ll Need for Gluten-Free Baking Success
In my kitchen, having the right tools makes all the difference, especially when tackling gluten-free baking. You’ll notice that gluten-free dough often behaves differently than traditional wheat-based dough. It can be stickier and less elastic, making certain equipment particularly helpful. What I discovered is that a few key items will simplify your process and lead to far better results.
First and foremost, a stand mixer with a dough hook is a true lifesaver for this recipe. While you can mix by hand, the stand mixer does the heavy lifting, ensuring all ingredients are thoroughly combined without overworking the delicate gluten-free flours. This thorough mixing creates a smoother dough, which translates to a better texture in your finished rolls. Building on this, a 9x13 inch baking pan is the perfect size for letting your rolls proof and bake up against each other, creating those soft, pull-apart sides we all love. This specific dimension allows the rolls to rise beautifully and achieve that classic shape.
Accuracy is paramount in gluten-free baking, so measuring cups and spoons are non-negotiable. I always level off my dry ingredients precisely to avoid a dense or crumbly outcome. You’ll also need a couple of mixing bowls – one for activating the yeast and another larger one for combining the main dough ingredients. A whisk is handy for aerating dry ingredients, and a spatula helps scrape down the sides of the bowl, ensuring everything is incorporated. For that beautiful golden sheen, a pastry brush is essential for applying an egg wash or melted butter topping before baking. Finally, while optional, a kitchen scale is highly recommended for measuring flour by weight. This is the most accurate way to measure gluten-free flours, which can vary significantly in volume depending on how they’re scooped. Trust me on this one; precise flour measurement is a secret to consistently soft gluten free hawaiian bread.
Step-by-Step Instructions: Baking Your Own Gluten-Free Hawaiian Rolls
-
Activate the Yeast: In a medium microwave-safe bowl, warm the milk until it reaches about 105-115°F (40-46°C). Stir in 1 tablespoon of the granulated sugar, then sprinkle the active dry yeast over the milk. Let it sit for 5-10 minutes until the mixture becomes foamy, indicating the yeast is active.
-
Combine Wet Ingredients: In a large mixing bowl, whisk together the activated yeast mixture, the beaten eggs, the melted unsalted butter, and the pineapple juice until well combined.
-
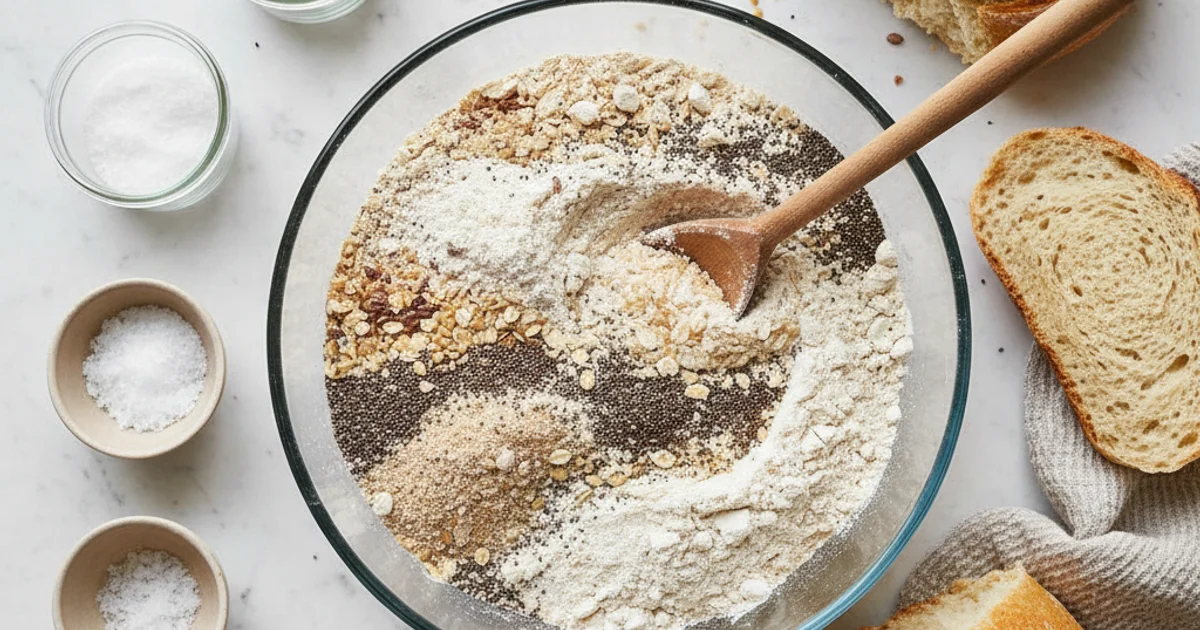
Mix Dry Ingredients: In a separate large bowl, whisk together the gluten-free all-purpose flour blend, the remaining granulated sugar, and the salt until thoroughly blended.
Here are steps 4 to 6 for your recipe instructions:
-
Form Dough: Gradually add the wet mixture to the dry ingredients in the stand mixer, mixing on low speed with the dough hook attachment until a cohesive, albeit sticky, dough forms. Continue mixing for 5-7 minutes until the dough is smooth and elastic.
-
First Proof: Lightly grease a large bowl with olive oil or cooking spray, then transfer the dough to the bowl, turning once to coat. Cover the bowl tightly with plastic wrap or a clean kitchen towel and let it rise in a warm, draft-free place for 1 to 1.5 hours, or until doubled in size.
-
Shape Rolls: Gently punch down the risen dough to release the air. Turn the dough out onto a lightly floured surface and divide it into 12-16 equal pieces, then gently shape each piece into a smooth, uniform ball.
-
Second Proof: Once the rolls are shaped, arrange them in a lightly greased 9x13 inch baking pan, leaving a small space between each roll to allow for expansion. Cover the pan loosely with plastic wrap or a clean kitchen towel and let them rise in a warm, draft-free place for another 30-45 minutes, or until they have nearly doubled in size and are puffy to the touch.
-
Egg Wash & Bake: Preheat your oven to 375°F (190°C). In a small bowl, whisk together one egg with a tablespoon of water to create an egg wash. Gently brush the tops of the risen rolls with this egg wash, ensuring an even coating for a beautiful golden crust. Bake for 18-22 minutes, or until the rolls are deeply golden brown on top and sound hollow when tapped on the bottom.
-
Brush with Butter (Optional): For an irresistible shine and an extra layer of rich flavor, remove the rolls from the oven and immediately brush their tops with 2 tablespoons of melted unsalted butter. Allow the rolls to cool slightly in the pan before serving warm.
-
Once baked, carefully transfer the hot rolls from the baking dish to a wire rack to cool completely, which allows steam to escape and prevents the bottoms from becoming soggy.
Pro Tips & Tricks for Perfect Gluten-Free Hawaiian Rolls
Building on this, mastering a few key techniques can truly elevate your gluten free hawaiian rolls from good to exceptional. One of the most common pitfalls I see home bakers make, especially with gluten-free dough, is over-flouring. This type of dough often feels much stickier than traditional wheat-based dough. Resist the urge to continuously add more flour when you’re shaping the rolls. A light dusting on your work surface and hands is usually sufficient. Too much extra flour will result in dry, dense rolls, which is the opposite of the light and airy texture we’re aiming for. Instead, embrace the slight stickiness and work quickly.
Here’s the thing: a warm proofing environment is absolutely critical for a good rise in gluten-free dough. Unlike wheat flour, gluten-free flours don’t have the same elastic structure to trap gases as effectively. Yeast needs warmth to activate properly and produce those gases. In my kitchen, I often preheat my oven to its lowest setting for a few minutes, then turn it off and let the dough rise inside. Another trick is to place the bowl in a warm, draft-free spot, perhaps near a sunny window or even on top of a warm (but not hot) appliance. What I discovered is that patience during this stage truly pays off. Don’t rush the proofing process; let the dough double in size, even if it takes a bit longer than the recipe suggests. The secret is that a well-proofed dough will give you those coveted light and airy rolls.
Worth noting here is the importance of measuring by weight, especially for gluten-free flours. Flour can compact differently depending on how it’s scooped, leading to inconsistent results. Using a kitchen scale ensures you have the exact amount of flour needed, which is crucial for the delicate balance of gluten-free baking. A common mistake is using measuring cups for flour, which can easily add too much or too little, impacting the final texture. For perfectly baked rolls, even shaping is also key. Try to make each roll roughly the same size and weight. This ensures they bake uniformly, preventing some from being overdone while others are still doughy. Trust me on this one, consistency in size means consistency in bake. When your rolls come out of the oven, you can confirm their doneness with an internal temperature check. A reliable instant-read thermometer inserted into the center of a roll should register between 200-210°F (93-99°C) for fully baked bread. This is a far more accurate method than simply relying on visual cues. For more detailed information on baking temperatures, you can consult resources like BBC Good Food’s baking guides. Finally, the success of this recipe hinges significantly on using a high-quality gluten-free flour blend. Look for blends that already contain xanthan gum, as this ingredient mimics the elasticity of gluten and helps bind the dough together, giving your rolls a better structure and texture.
Enjoyed this recipe? Share it with a friend or save it to your board for later. Leave a comment below — I love hearing how it turned out!
You May Also Enjoy





You Might Also Love These 🍽️
Recipes picked just for you based on what you’re cooking